Let’s do something from scratch in Blender.
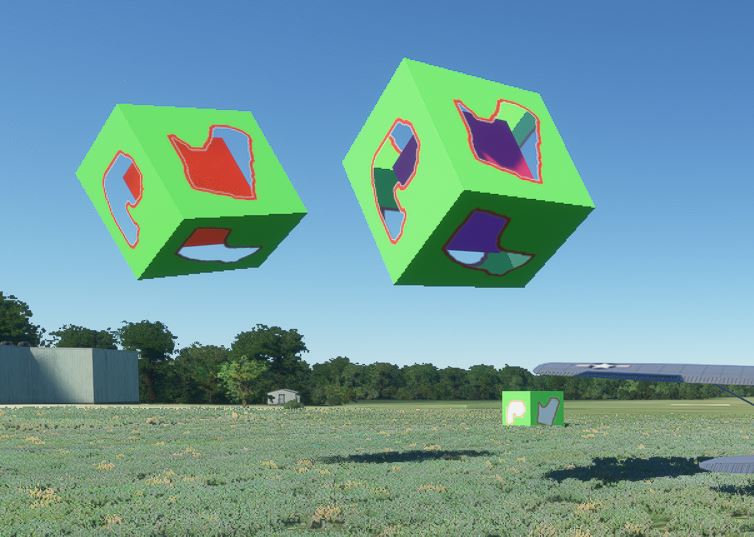
First create a simple mono color PNG texture with a cube mapping with Blender and Save it, or use an existing cube texture PNG. Then, modify the image in Photosho, drawing the shapes. Fill each shape with “clear Alpha” brush. Save the png and in Blender, create a new Cube, assign a new Material, set Material Color to Texture, then open the modified texture .png file for it. For fun, put a smaller red cube inside… then, export BOTH objects in a GLB 2.0 for MSFS. Put the 3 files that result in a new directory under \modellib. Make sure you put your texture file in \modellib\texture.
Start MSFS, open your project and Build it first. Rebuild until you see 0 errors in Console. Then, open Scenery editor and click Load Assets. Wait until your scenery is loaded. Then go View Objects, find your object name and place the object.

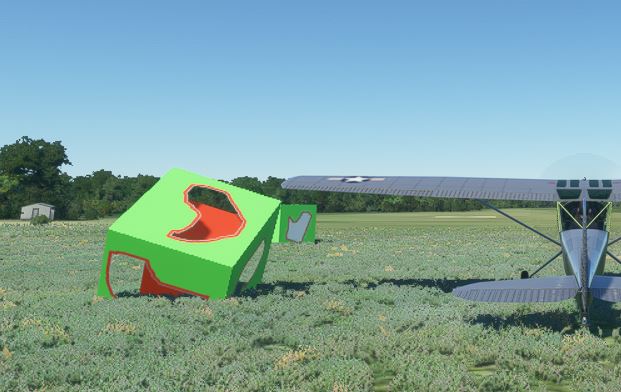
Note: in the background see what happens if Alpha channel in “window holes” is left to 100% you get opaque holes, in this case white. You “puinch” these holes by setting Alpha=0 inside the holes.
Mind the checkbox for back face culling in Blender. When you do back face culling, you get the object like above, which is actually one-side transparent. in Blender, you can also get a version with opaque wands. To do that, switch off back face culling in Blender and export again. It will show the inner wands see below the object on the right. But keep in mind MSFS will not shade that correctly from any looking angle… Better use wands instead !
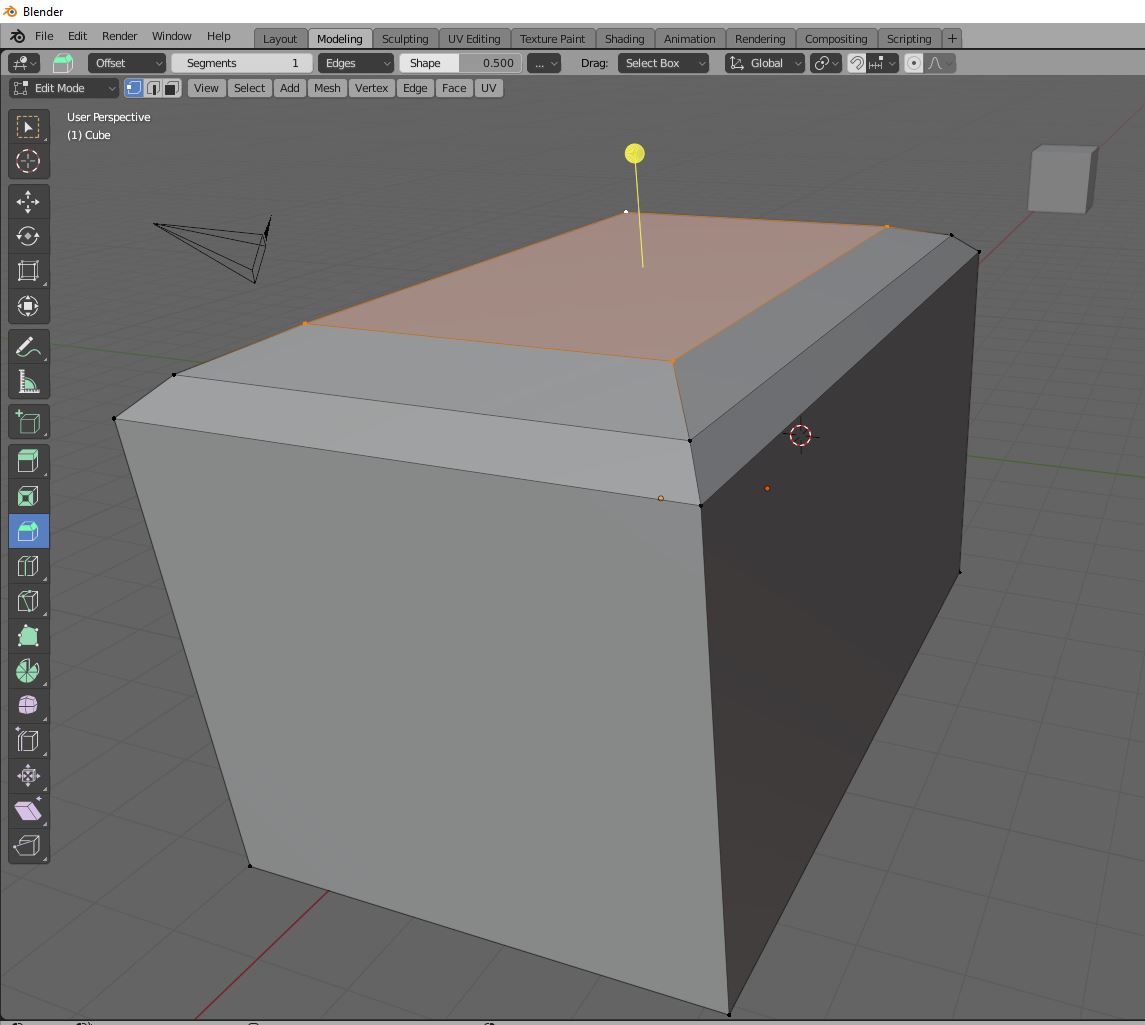
Blender has a Bevel option in Edit mode. Keep shift key, select 4 edges on the top and pull the yellow dot… see what happens.
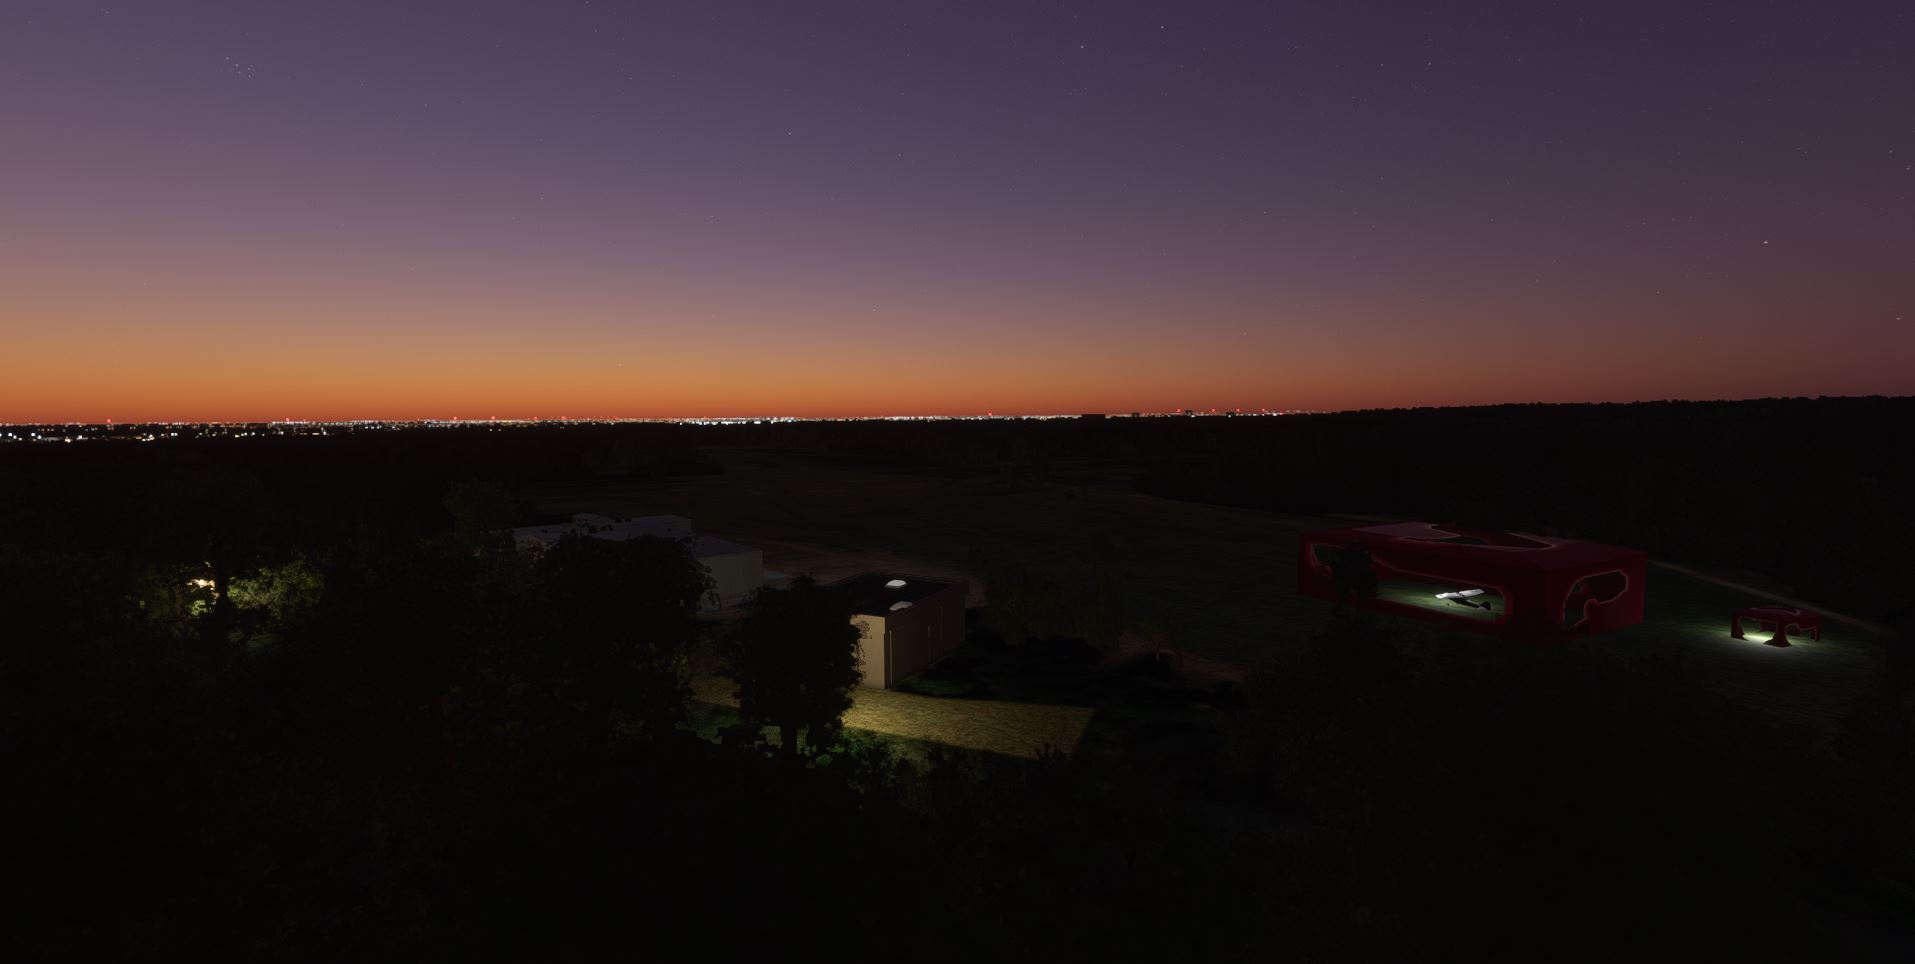
Elongate a bit… put a point light inside… and export again. You can stay in the game… give the object another name, add a subdirectory in \modellib, copy the files there… copy texture to \modellib\texture and build the project again in MSFS. The new object will be available after you close and open the scenery editor and click “Load Assets”. That gives a long wait again… but you’ll not have to leave MSFS.
I put the box around the airplane… and put evening light to test the Blender point light effect. You get this: