Note: I assume you know how to run Developer mode on in MSFS2020.
Note: If you don’t have Microsoft Visual Studio Community 2019 (VS) shut down MSFS2020, then download and install VS. Enable all C++ options in the installation screen. Then, start MSFS2020 again and reinstall your MSFS2020 SDK. The reinstall will add libraries and some templates to VS that you will need to recompile the example code.
Note: the airplane modified in this tutorial is only the Gauges Aircraft example from the SDK. The change in the layout of the compass is done for this airplane only. The SDK will not allow you to change instruments in any other airplane types, unless you have the package Source code to build them.
Purpose
The C++ Gauges example in the SDK allows you to draw cockpit instruments and handle mouse events.
This tutorial modifies the Compass instrument in the SDK Gauges Aircraft cockpit panel.
1. Make your first flight with the SDK Gauges Aircraft.
To use the example airplane, you’ll have to enter Developer mode in MSFS2020 and open the project:
C:\MSFS SDK\Samples\Aircraft\GaugeAircraft\GaugeAircraftProject.xml
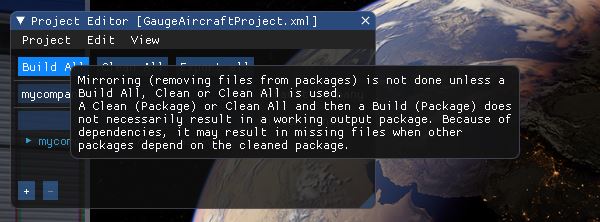
This will take a while, wait for it. If all went well, the Project Editor appears. Issue a Build, then close the Project Editor window (x) and go World Map in MSFS. You can now choose an airplane that looks like this one..
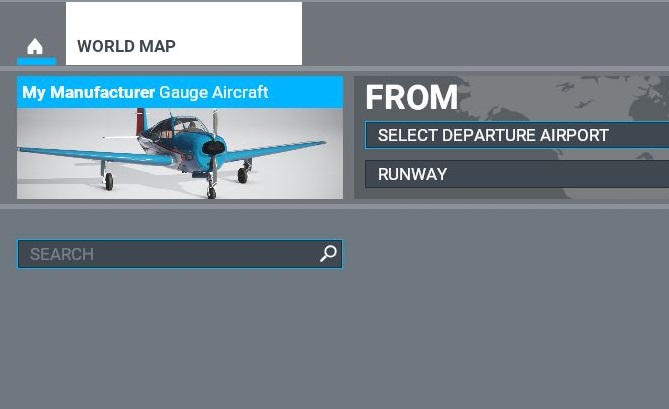
Take a short flight first.. the SDK dialogs work best when Bing has been properly initialized.
When you hop inside the aircraft, you have a cockpit panel that looks as follows:
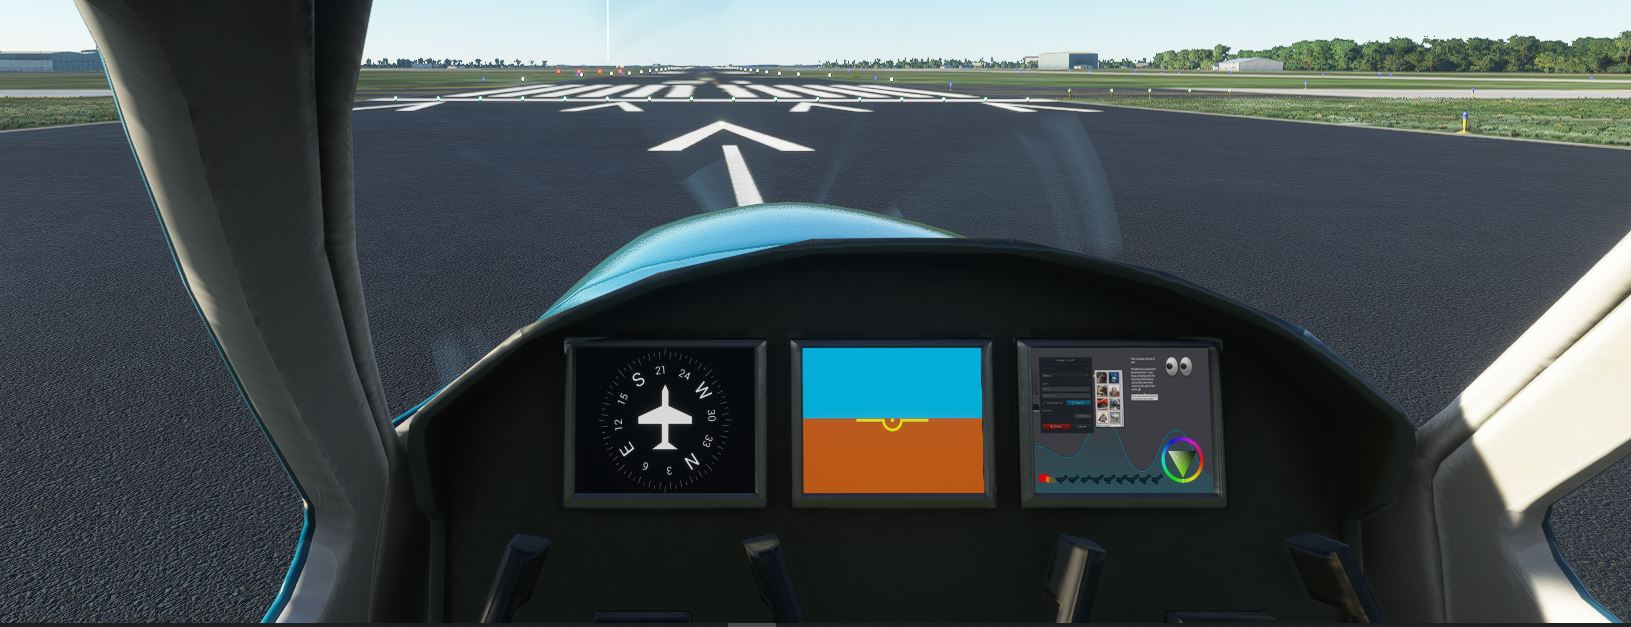
The purpose of this tutorial is to show how to change a small detail. You won’t need understanding of the complete Gauges API to run this. I will show how to do a very minor change to the left instrument, which is the compass.
Let’s go to Visual Studio now. Always make sure you leave the simulator in Main Menu, this will allow Visual Studio to change files.
When you fully installed the SDK and C++ examples are installed in the default path, the three example instruments are found in the following C++ solution:
C:\MSFS SDK\Samples\Aircraft\GaugeAircraft\Sources\Code\SampleWasmModule.sln
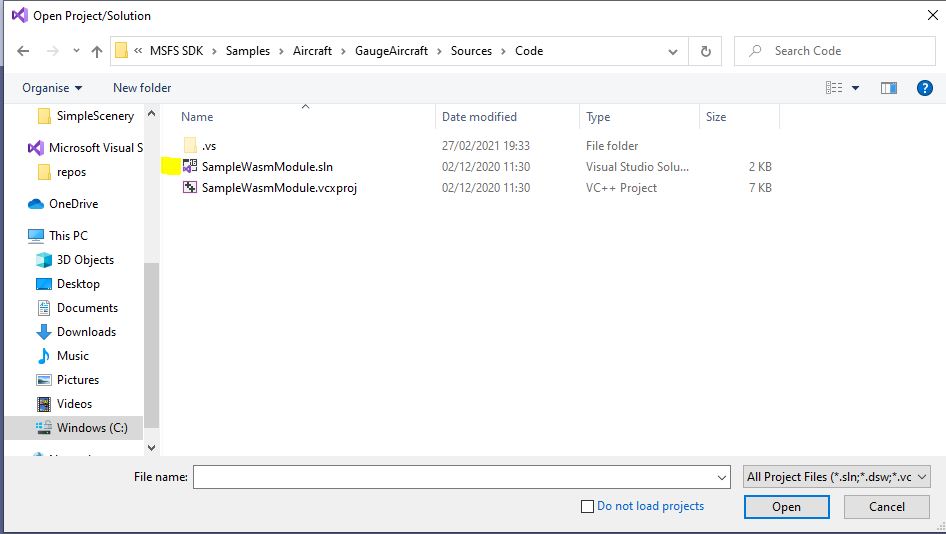
Double click the solution SampleWasmModule.sln, and using Solution Explorer on the right, navigate to Compass.CPP at line number 153.
You see how the instrument C++ initialzes the wind directions on the compass, that is N, E, S and W.
	switch (i)
					{
					case 0:
						strcpy(cNumber, "N");
						break;
					case 90:
						strcpy(cNumber, "E");
						break;
					case 180:
						strcpy(cNumber, "S");
						break;
					case 270:
						strcpy(cNumber, "W");
						break;
					default:
						sprintf(cNumber, "%i", i / 10);
						break;
					}
For this tutorial, we’re going to change this code, to let the compass show NZOW (in Dutch) instead of NSEW (English)
	switch (i)
					{
					case 0:
						strcpy(cNumber, "N");
						break;
					case 90:
						strcpy(cNumber, "O");
						break;
					case 180:
						strcpy(cNumber, "Z");
						break;
					case 270:
						strcpy(cNumber, "W");
						break;
					default:
						sprintf(cNumber, "%i", i / 10);
						break;
					}
Testing the change
After doing above change in the code, choose Visual Studio menu Build, click Rebuild Solution. This will update a Web Assembly object, that is the .wasm file needed by MS2020 to run the gauges. When you compile the project in the default SDK samples directory, the .wasm file is automatically copied into our Gauges Aircraft directory also. All is set for a Project Build in the Simulator now.
Go back to the Simulator, select the Project Editor, perform the Build.
This can take some time.. Now close the Project Editor and go to the World Map. Check airplane choice and pick the Gauges Aicraft, if it is not already selected. You’ll now see this panel:

The “S” in the compass is modified to “Z” and “E” has become “O”. You now have a Dutch compass !