My favorite way to play Flight Simulator(s) is by doing sightseeing, VFR trips. I’m not an airliner person. So Flight Simulator 2020 is perfect because there’s loads of detail and everything looks great!
I’m loving the bush trips, and hope more will come soon!
The downside of it, especially when using tail draggers, is that its really heard to do a flight purely by VFR when you’re limited to a relatively small screen. It gets boring really fast if you constantly need to use the mouse to look around.
Enter head-tracking. I finally thought it would be a good time to try it. Of course everyone knows TrackIR, which uses a special camera and gear to detect head movements with great precision regardless of lighting conditions.
But I was not prepared to spend 200$+ on one, especially considering I never tried it before.
So I spent the last week just trying out different alternatives and decided to write a short blog post to summarize my findings, in case they are useful for people who might want to try this as well.
I installed and used:
- ViewTracker
- FaceTrackNoIR
- OpenTrack
- AITrack
- FacePoseApp
Most of these options allow you to use different input sources. So let’s see one by one
ViewTracker
ViewTracker was the first one and although it’s not free, its quite affordable (12$ or so), but luckily there is a free 7-day trial to make sure it works for you.
The headtracking is probably one of the best of whole lot. But it had one big disadvantage: very high CPU usage (around 17%), which is not a good idea along side FS2020.
FaceTrackNoIR
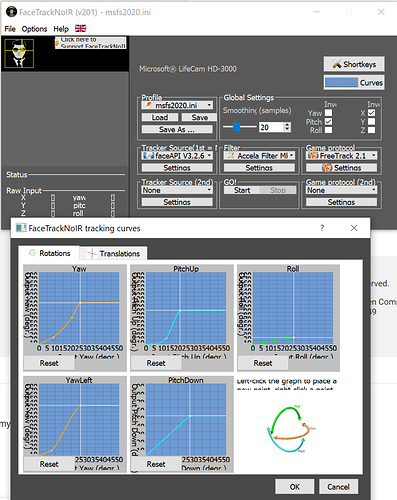
FaceTrackNoIR seems to be one of the most famous free alternatives. It gives you plenty of flexibility in configuring different sources and outputs (you can even combine 2 sources at the same time).
The facetracking was pretty good for a free product and CPU usage about half of ViewTracker. But it had a few cons. I noticed that the facetracking algorithm didn’t play well in darker lighting or too bright, which is a problem in the place where I’m sitting. The other issue is that it tends to crash a lot.
This is where I decided to try FacePoseApp.
FacePoseApp is installed in your smartphone and uses the smartphone camera to track the face, so your CPU is spared of the work. It then communicates via UDP to FaceTrackNoIR which translates the data to 3d movement. Unfortunately, the facetracking was not as good for me, or maybe it was the light again….
AITrack
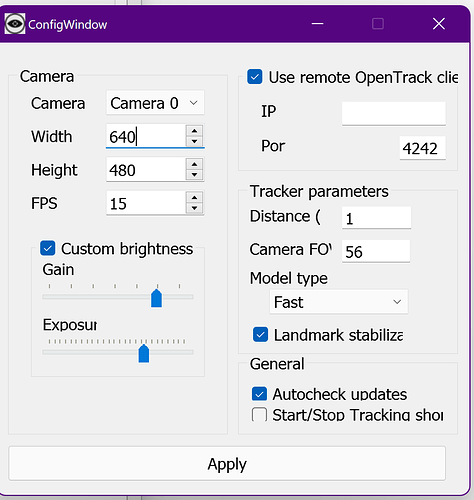
AITrack is a tool exclusively to track your face and send data via UDP to another program. So I connected it with OpenTrack. The facetracking algorithm was very good (I think viewtracker-good), but it tended to be more jumpy if I looked sideways too much. Unfortunately, like viewtracker, it consumed a lot of CPU as well… and I still needed a 2nd program to do the rest of the work.
OpenTrack
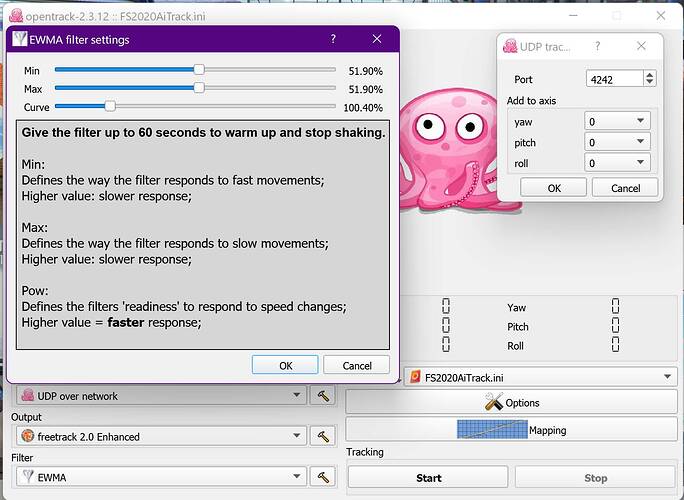
OpenTrack is the only one of this list which doesn’t include facetracking option. It has plenty of input sources which include Oculus, Valve VR, IR Cameras, Point trackers and… Aruco Paper Tracker!
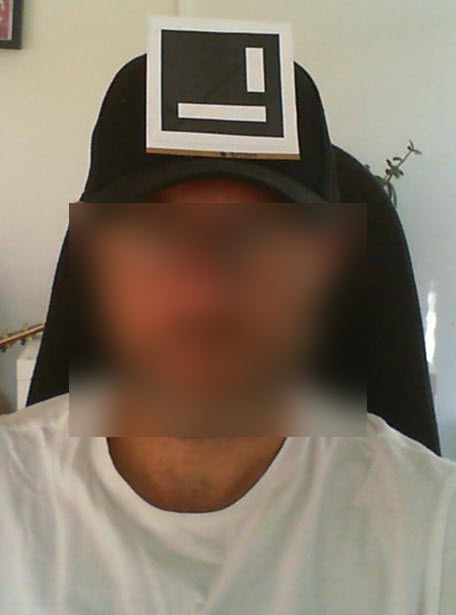
I had never heard about Aruco before so I had to give it a try. You basically print a special marker to a paper, glue it to a cardboard or something hard, and stick it on top of your head. The aruco tracker looks for that layout (like a simplified QR Code) and tracks the distortion in 3D space. I was amazed at how well it worked and, best of all, very low CPU usage, which is great for gaming.
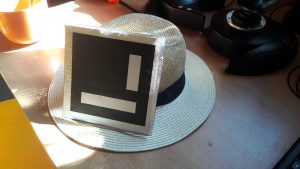
The only disadvantage is having to “wear” the paper tracker, but after 5min I forget that its there. The level of immersion is greatly enhanced compared to when you are playing without any sort of tracking. I can actually lift slightly up from my chair and look left and down to see stuff.
I even made a short video to demonstrate this
Important things to know
Tune the webcam settings. For some reason my default settings when I open OpenTrack have a “compensate low light” option enabled, which messes up the light and the tracking. I always turn it off and bring the exposure down.
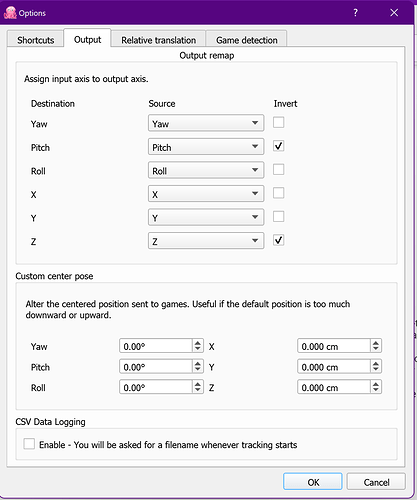
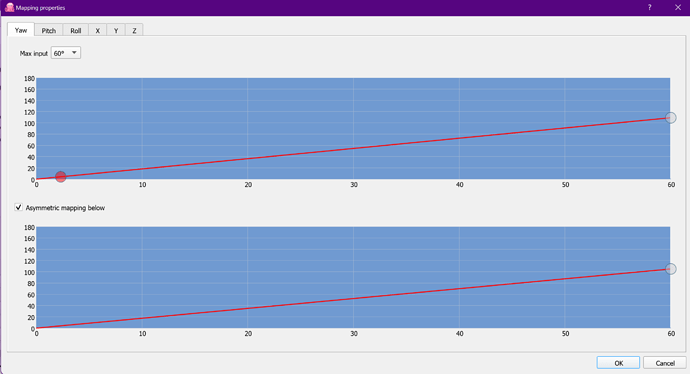
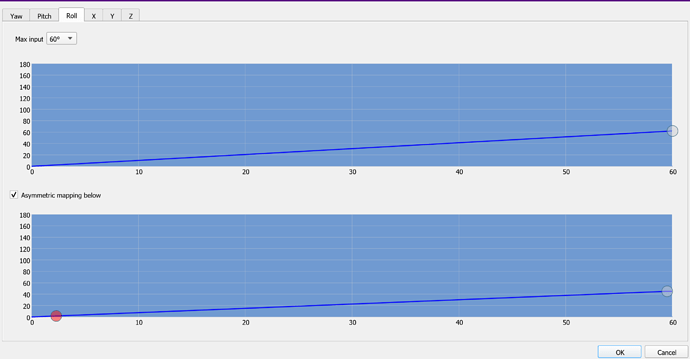
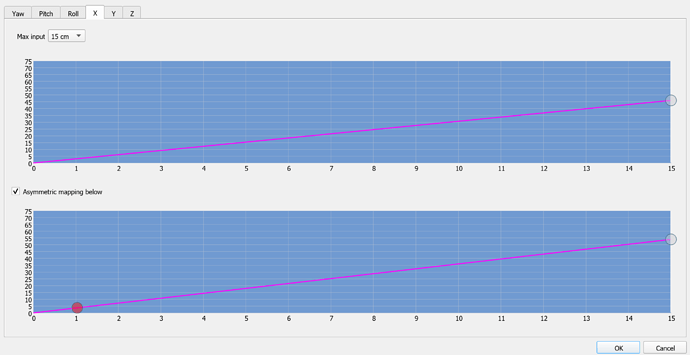
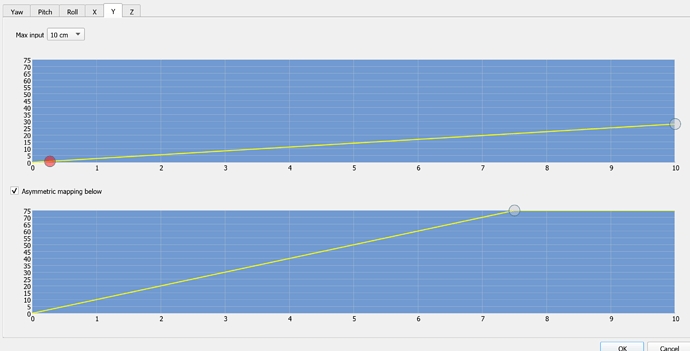
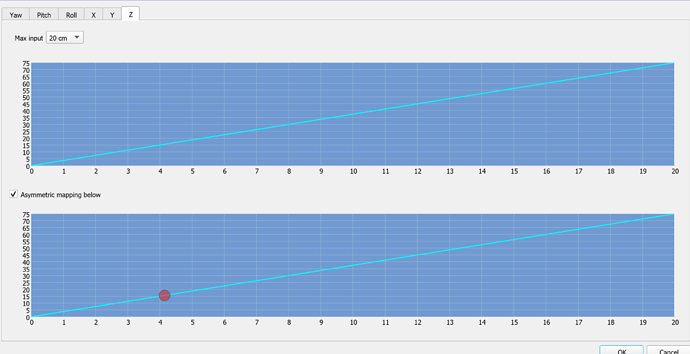
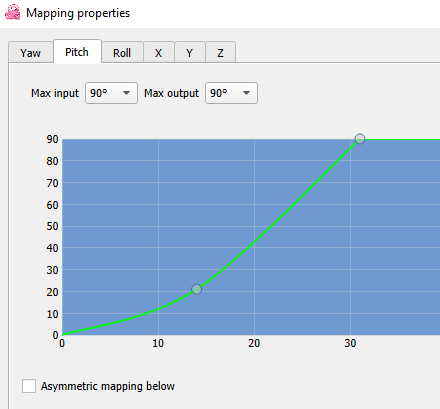
Make sure you adjust the Curves Mapping ! It will basically give you the ability to fine tune how your movements and rotations translate to the in-game movements and rotation. The best way to do this is to start the game, be inside the cockpit and then start tweaking the curves. You can immediately see the effect and adjust as you need.
I turned my head left to the maximum I felt comfortable while still looking at the screen, and dragged the curve so that it would correspond to the maximum left turn in the game. Do that for up-down and then for the movements as well. (left-right, up-down and in-out)
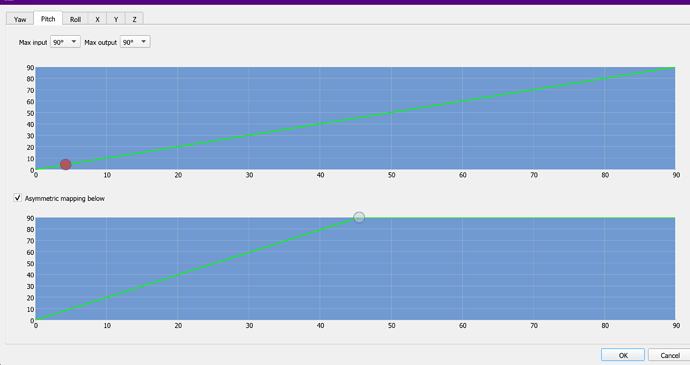
As you can see below, my pitch curve is not linear because I don’t like to turn my head up or down too much. The first part is softer but if I’m really interested in looking up or down, then it will rotate faster in the game.
Finally, and very important, map shortcut buttons to your joystick buttons. Many people complain that they suffer from “stiff” neck after playing with head tracking. That happens because you are trying to be very still in order for the camera not to shake so much. This is solved by:
- tweaking the curves! – the first part of the movement can be very soft and then intensified as it grows
- having a quick way to “reset” the view back to the normal cockpit view. It’s inevitable that we move slightly in our chairs or adjust our position. I can quickly “center” the view, which will tell OpenTrack that this position is now position zero(center). That way I can freely move and when I’m comfortable it’s just a button-press away.
It’s also good to map a shortcut to toggle the tracking on/off. This is useful when you are using the mouse to press buttons or knobs in the cockpit. Your head will move too much and its frustrating to keep missing the target. So when I move my head in to see instruments, I quickly press the toggle button to stop tracking. Adjust knobs or whatever and when you are finished, press the toggle button again to resume tracking. Works like a charm.
My VFR has never been the same again ![]()

