I am trying to make my little Arduino send a key stroke to FS2020. I wrote a small sketch and sent it to my Arduino Micro. At the moment, it’s a button that sends ‘z’ to the PC as if it was a keyboard. It works in Notepad. I press the button - a ‘z’ appears in Notepad.
However, in FS2020, I expect it to arm the auto pilot. When I press z on the keyboard, AP light goes on. But when I press the button on my Arduino - nothing. If I exit the flight, and go to a screen in the menus that allows me to type something - a search box, for example, and press the button - I get text. a ‘z’ appears.
But it seems inflight, FS is ignoring the Arduino. Has anyone got any info or ideas that may help?
Hi guys, unfortunately at the moment keystrokes are not working anymore like they do with FSX and P3D. Also not all FSUIPC Offsets and SimConnect EventIDs are working.
Still many of them are still working out of the box and MobiFlight should help you get started.
Hi there, just got MobiFlight up and going and have to say it is a nice piece of software once you understand the program flow. You mention keystrokes are not working and I’m interested in what they will allow you to do.
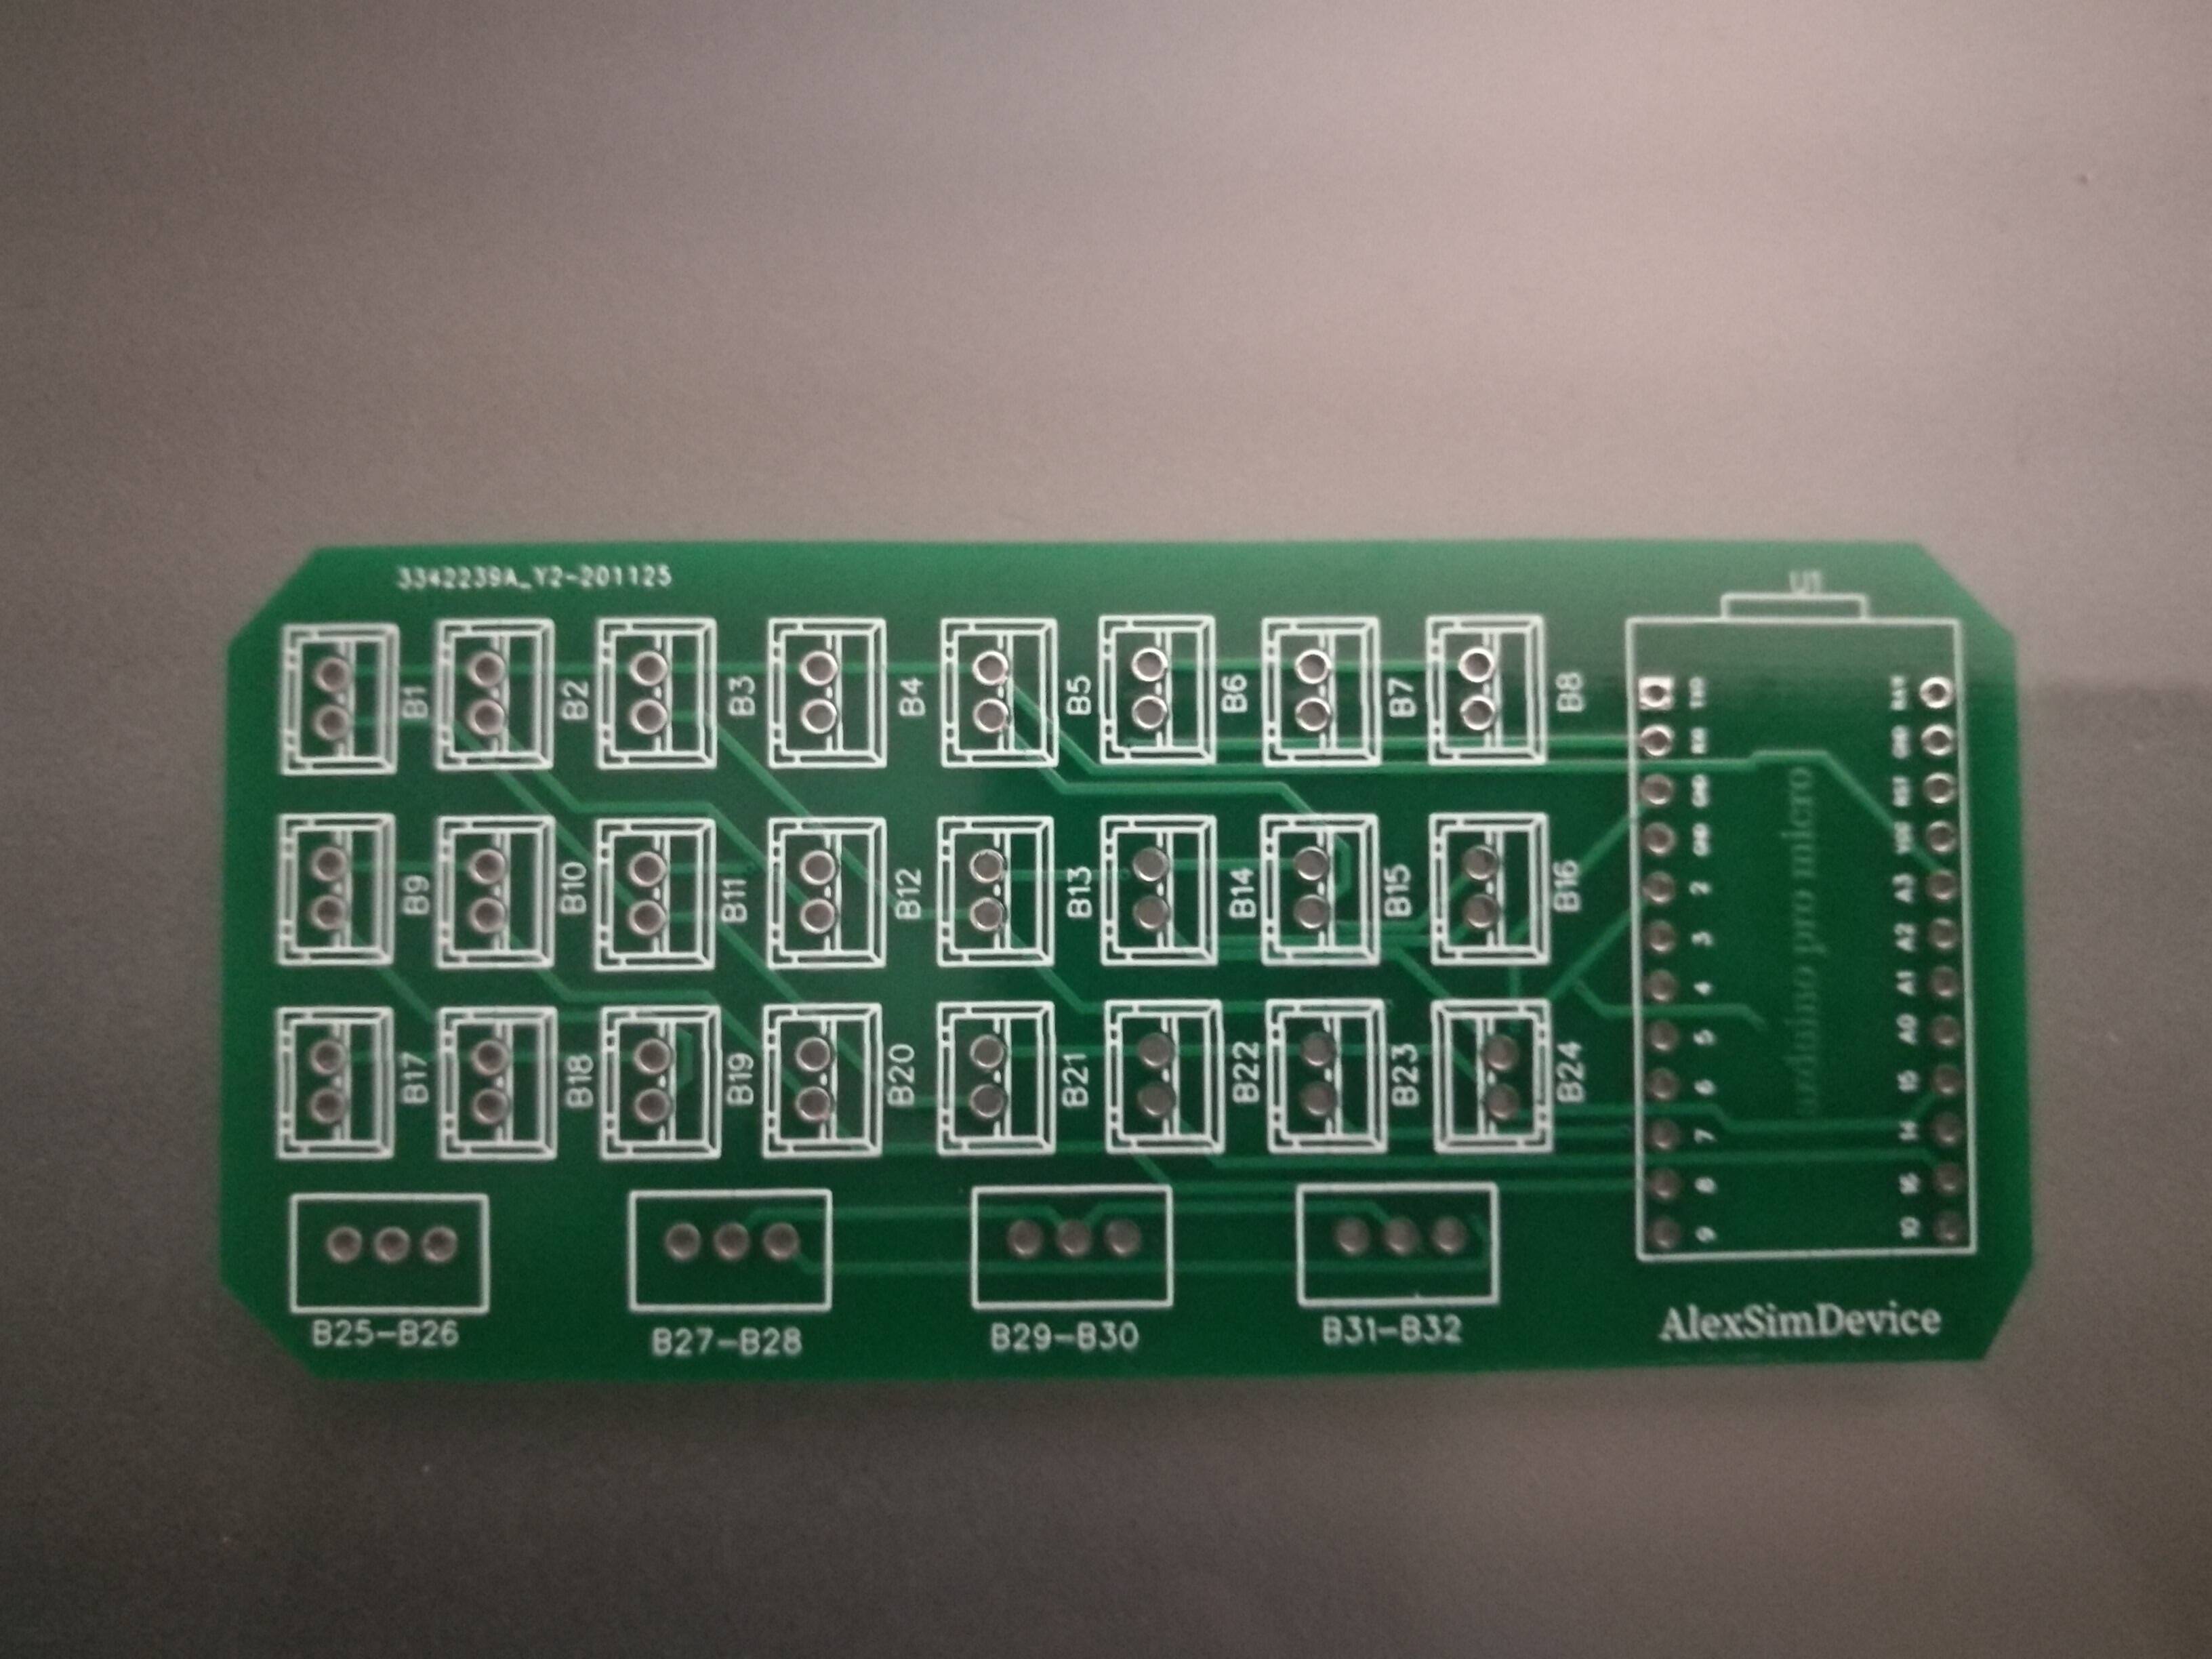
Oh one important item to note with MobiFlight is that you need to use the specified Arduino’s for it to work.
I found working with keyboard.h to be a bit of a problem. When a keyboard.begin() is called it seems to take away control from the real keyboard and there’s all kinds of wacky timing issues to deal with.
What I found that works amazingly well is the Arduino joystick library. The sim detects the Arduino as a new and separate joystick device. You have 32 buttons you can work with in addition to other joystick functions. You can then map those buttons / functions to just about anything in the sim. Just find the function you want to map then tell the sim->options->Arduino Joystick to “start scanning” and then fire off whatever triggers that button / function in your Arduino code and the sim learns it just like a real joystick. You may have to figure out how long to press the joystick buttons - I found that keeping it high for ~20ms works good for the trim wheel. (building a real sized trim wheel in hopes of solving the “I’m riding a porpoise across the ocean” problem with trim when flying by hand).
The Arduino Joystick also shows up in the Windows device manager as well and you can use that to verify your code is working.
Whoever wrote the configuration code really deserves a raise. It works stunningly well.
I second your praise of the joystick library. Up to 4 different joysticks and buttons galore, just excellent. You need a Arduino Leonardo or Micro on the hardware side.
Thanks! I picked up 3 Arduino Micros from Amazon the other day for $17US. They seem to be pretty good quality and are powered off the USB cable. Some of the reviewers said the USB connector was a bit flimsy - I plugged and unplugged one about 50 times over the weekend with no signs of it coming apart.
Keyboard or joystick input is considered to be non-input without the appropriate delay.
Also, input in a short time such as a rotary encoder will not be added or subtracted smoothly due to the delay.
The most reliable way is to process the input via simconnect.
I couldn’t write a windows program, so I use a software called SPAD.neXt to link it with Arduino.
It is much more troublesome than joystick interfaice, but it is also possible to perform advanced processing using a high-speed ARM core.
I agree. The far easiest way is to make the Arduino emulate an USB-joystick. I have not had any delay-issues when using it this way.
Just a warning: Not all Arduino-versions emulate an USB- joystick natively. The Arduino UNO must be flashed to emulate an USB-devide (and then flashed back to “normal state” when you need to re-program anything). So using a leonardo (or a similar clone) is the easiest as it is just “upload and play”.
At first I tried to emulate the real keyboard sending keystrokes from the Arduino to operate the trim wheel. Sending a numeric 7 and 1. That did not immediately work correctly or very well and I could not be sure the sim was looking for, an ASCII value or a keyboard identifier value. It was further complicated because it seemed the Arduino took over the real keyboard at times. I have a Honeycomb Yoke that uses switches to do trim (great hardware - poor software implementation from the sim). Since the project was just starting I decided to give using joystick buttons a go like the Honeycomb does. The buttons worked 1000x better. What I need to do next is work with the timing between presses on the button* to make the trim works more like a real trim-wheel. Basically fudging the numbers to make the sim feel like it has a real trim wheel and not something that is commanding a porpoise in the middle of the ocean.
*im not using a button to trigger the Arduino Im using a KY-040 rotary encoder (360 pulses per revolution). The Arduino detects a movement pulse and direction and sends the properly mapped joystick button to the sim. Right now Im working on the 3D printed housing to hold the wheel. This is all a temporary solution until Honeycomb starts shipping their new throttle quadrant in higher numbers. I have the Honeycomb yoke and that thing is built like a Porsche.
I have a similar, but slightly different problem. I setup a switch panel with a bunch of rocker switches and tied them into a Teensy 3.5. Using the Joystick Library I tied one of the rockers to the parking brake, I think it was Toggle Parking Brake. The Teensy just sets Joystick.button(1, true) or Joystick.button(1, false) and it only sends that command on a change event (which you can see if you watch the serial debug screen in the video).
So in the below video you can see that in the cockpit the brake lever is jumping in and out, while on the right-hand side of the screen you can see that the state of the button as reported by the Teensy is steady.
photos.app.goo.gl/u9ChG59hqLnUcT2x8
I’ve tried using keyboard commands, but I was never able to really get the ctrl-keypad del key to send properly.
I assume this isn’t a bug in flight sim, but it seems like the state of a button is a pretty simple thing, so it’s not likely a problem with the joystick library.
There are 2 types of keybinds. You have either Toggles. Or you have on/off states. I’ve created a box just like you (except for the parking brakes (see video below if allowed):
Lets break your issue down. You have a constant button state → You flip the switch → Joystick keeps on sending button X is pressed → Game keeps receiving the input command → Brake keeps going on or off.
With many keybinds there are 2 modes like I mentioned earlier on/off or toggle. The parking brake is an exception it has a different keybind called Set parking brake. The brake will be set as long as the button is pressed. So in your case you’ve just found 2 solutions.
A: Your teensy/Arduino checks if previous state == current state of switch (so if it recently changed). press joystick → release joystick. This will avoid the constant press.
B: Use set parking brake and bind it to the on state of your switch.
I found that B is the most responsive method overall.
No it only uses a Set call. BUT It only is set when a button is pushed. So as long as your joystick says YO Mfs I press button X the game will set the brake. The moment you release the button the set state stops.
ich habe noch 6 Stck PCB Platinen für die Box, ich kann auch den Arduino programmieren und auflöten.
Wer Interesse hat, einfach schreiben. Es sind 4 Encoder und der Rest Tasten
. Part 2/2")