Having bought the TCA Sidestick with MSFS release, I still had my old Saitek Cyborg Evo Joystick which I thought to throw away since it’s material got sticky beyond repair.
This is some documentation and thoughts on a small project, hope you like it.
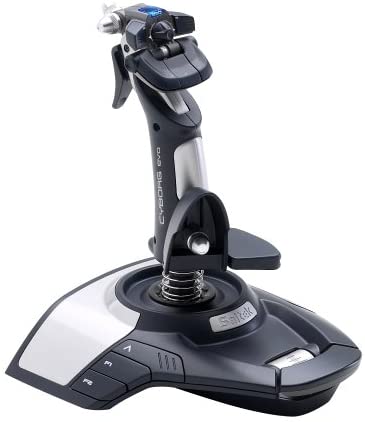
Here’s what we start with, the Cyborg Evo (there’s also other versions like wireless and with ForceFeedback available):
When talking to someone about the stick, I looked for an image and noticed one showing the internals, basically consisting of a main controller board and neatly connected wires to the buttons on the base, to the potentiometers, and a bigger bunch of cables going to the top of the stick for coolie hat and buttons/trigger.
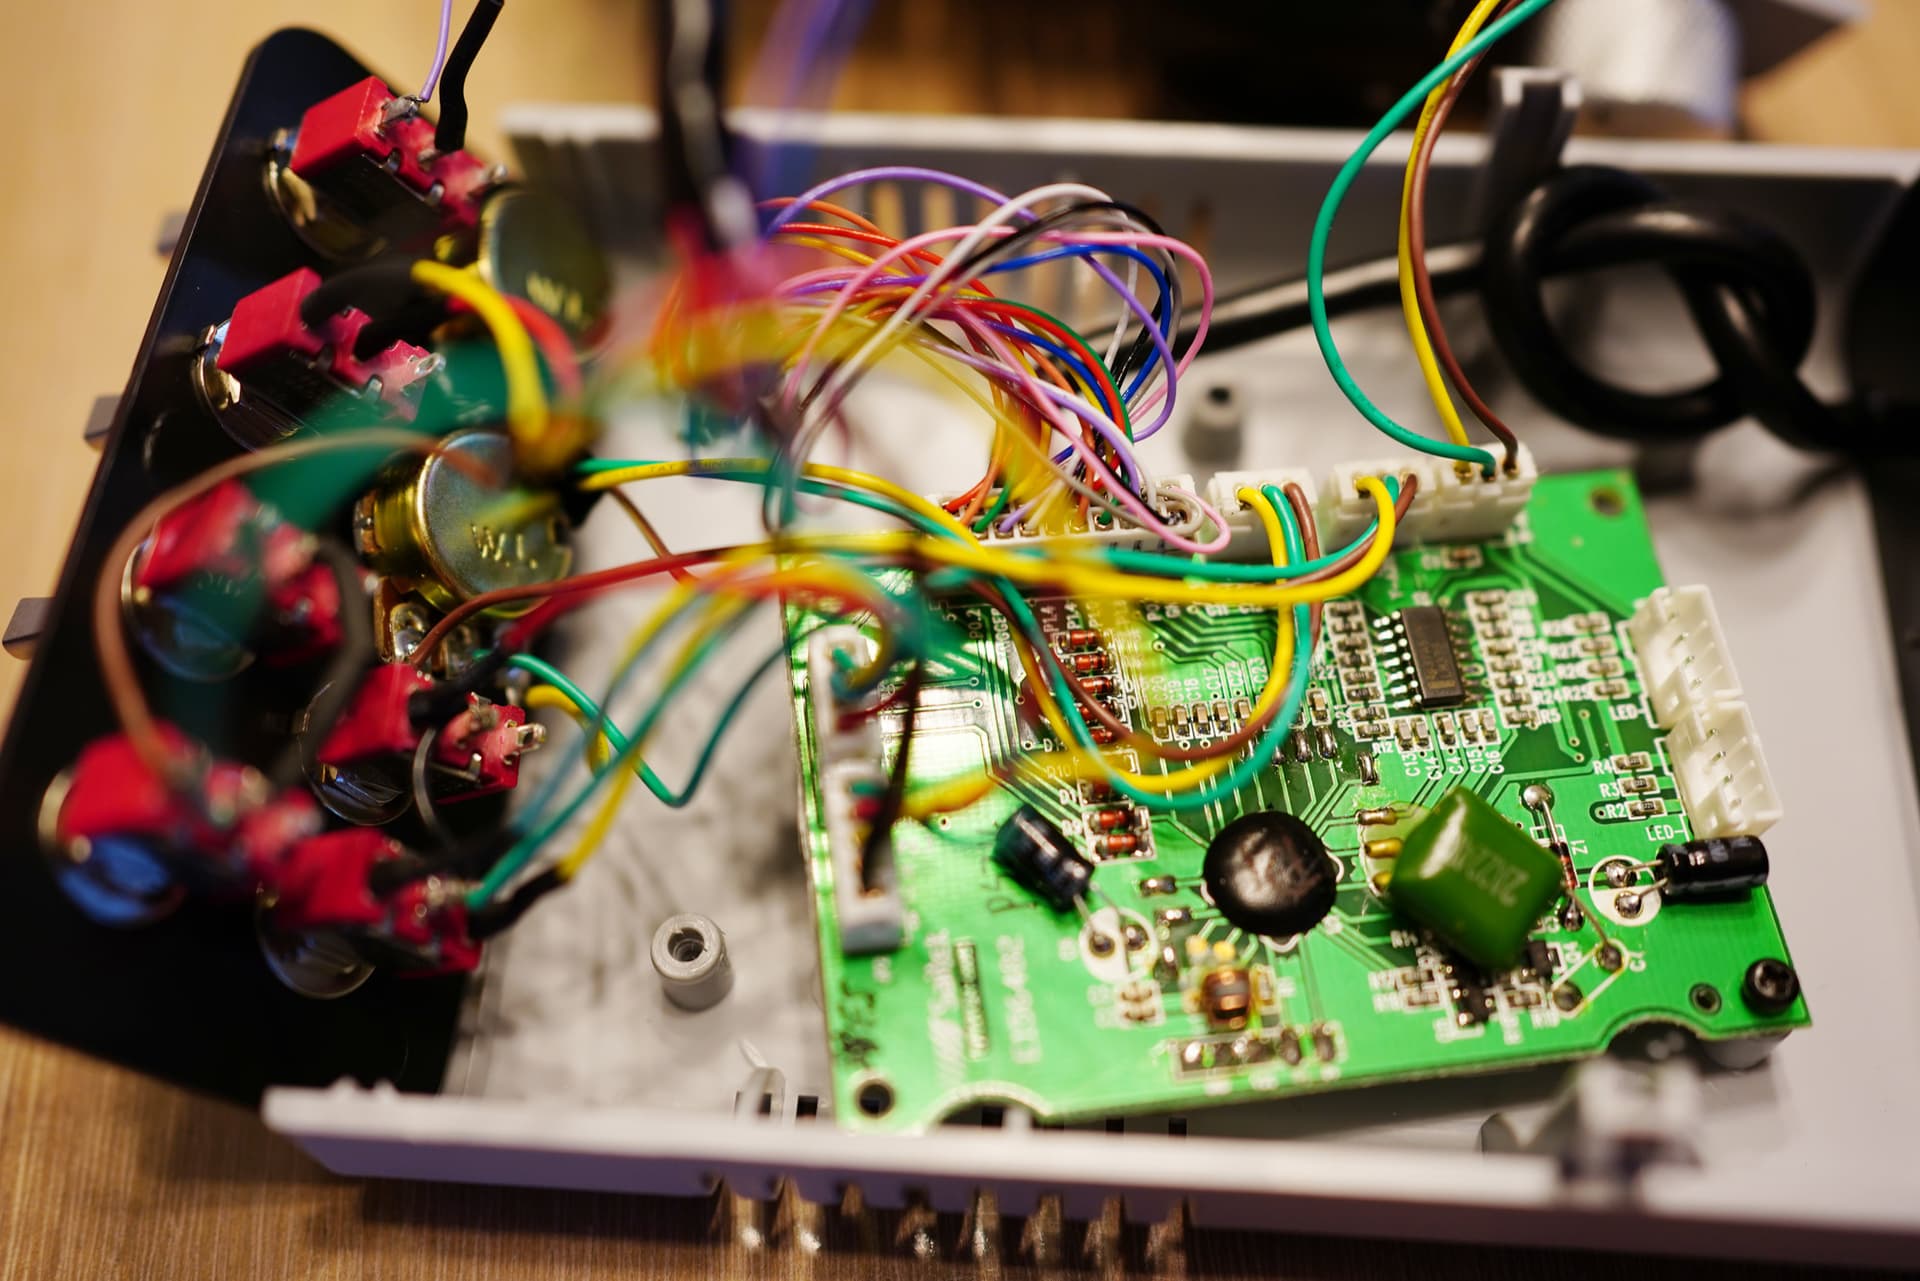
So I thought I’d dismantle mine and see what’s in there, this is how the main parts looked like after getting rid of all the plastic ![]()

Basically the controller has, apart from the molded top part, individually connected 7 buttons and 4 axes.
My goal was to repurpose the axes for controls like trim, throttle, prop and mixture initially.
The buttons should be exchanged to switches that would allow a permanent flip-state (on/off) instead of the momentary buttons.
The potentiometers were runningy VERY smooth and had a very narrow angle of effect, so I had to buy new pots that had a linear full range and were more stiff (which most of them are anyway).
Also I bought a bunch of switches, most off/on but also two (on)/off/(on), so those had a permanent middle position but would allow to press it up and down (for stepwise flaps control).
To enclose this, I also bought a small electronics project box and started working.
I just had to solder all the wires attached to the connectors to the new components and drill some matching holes to stick the pots and switches through.
Since having additional buttons doesn’t harm, I also attached the top part of the joystick to the case, providing me with 5 buttons and another coolie hat.
The first model was the proof of concept, if I could fit the things I wanted into it as well as if I could handle it ergonomically:
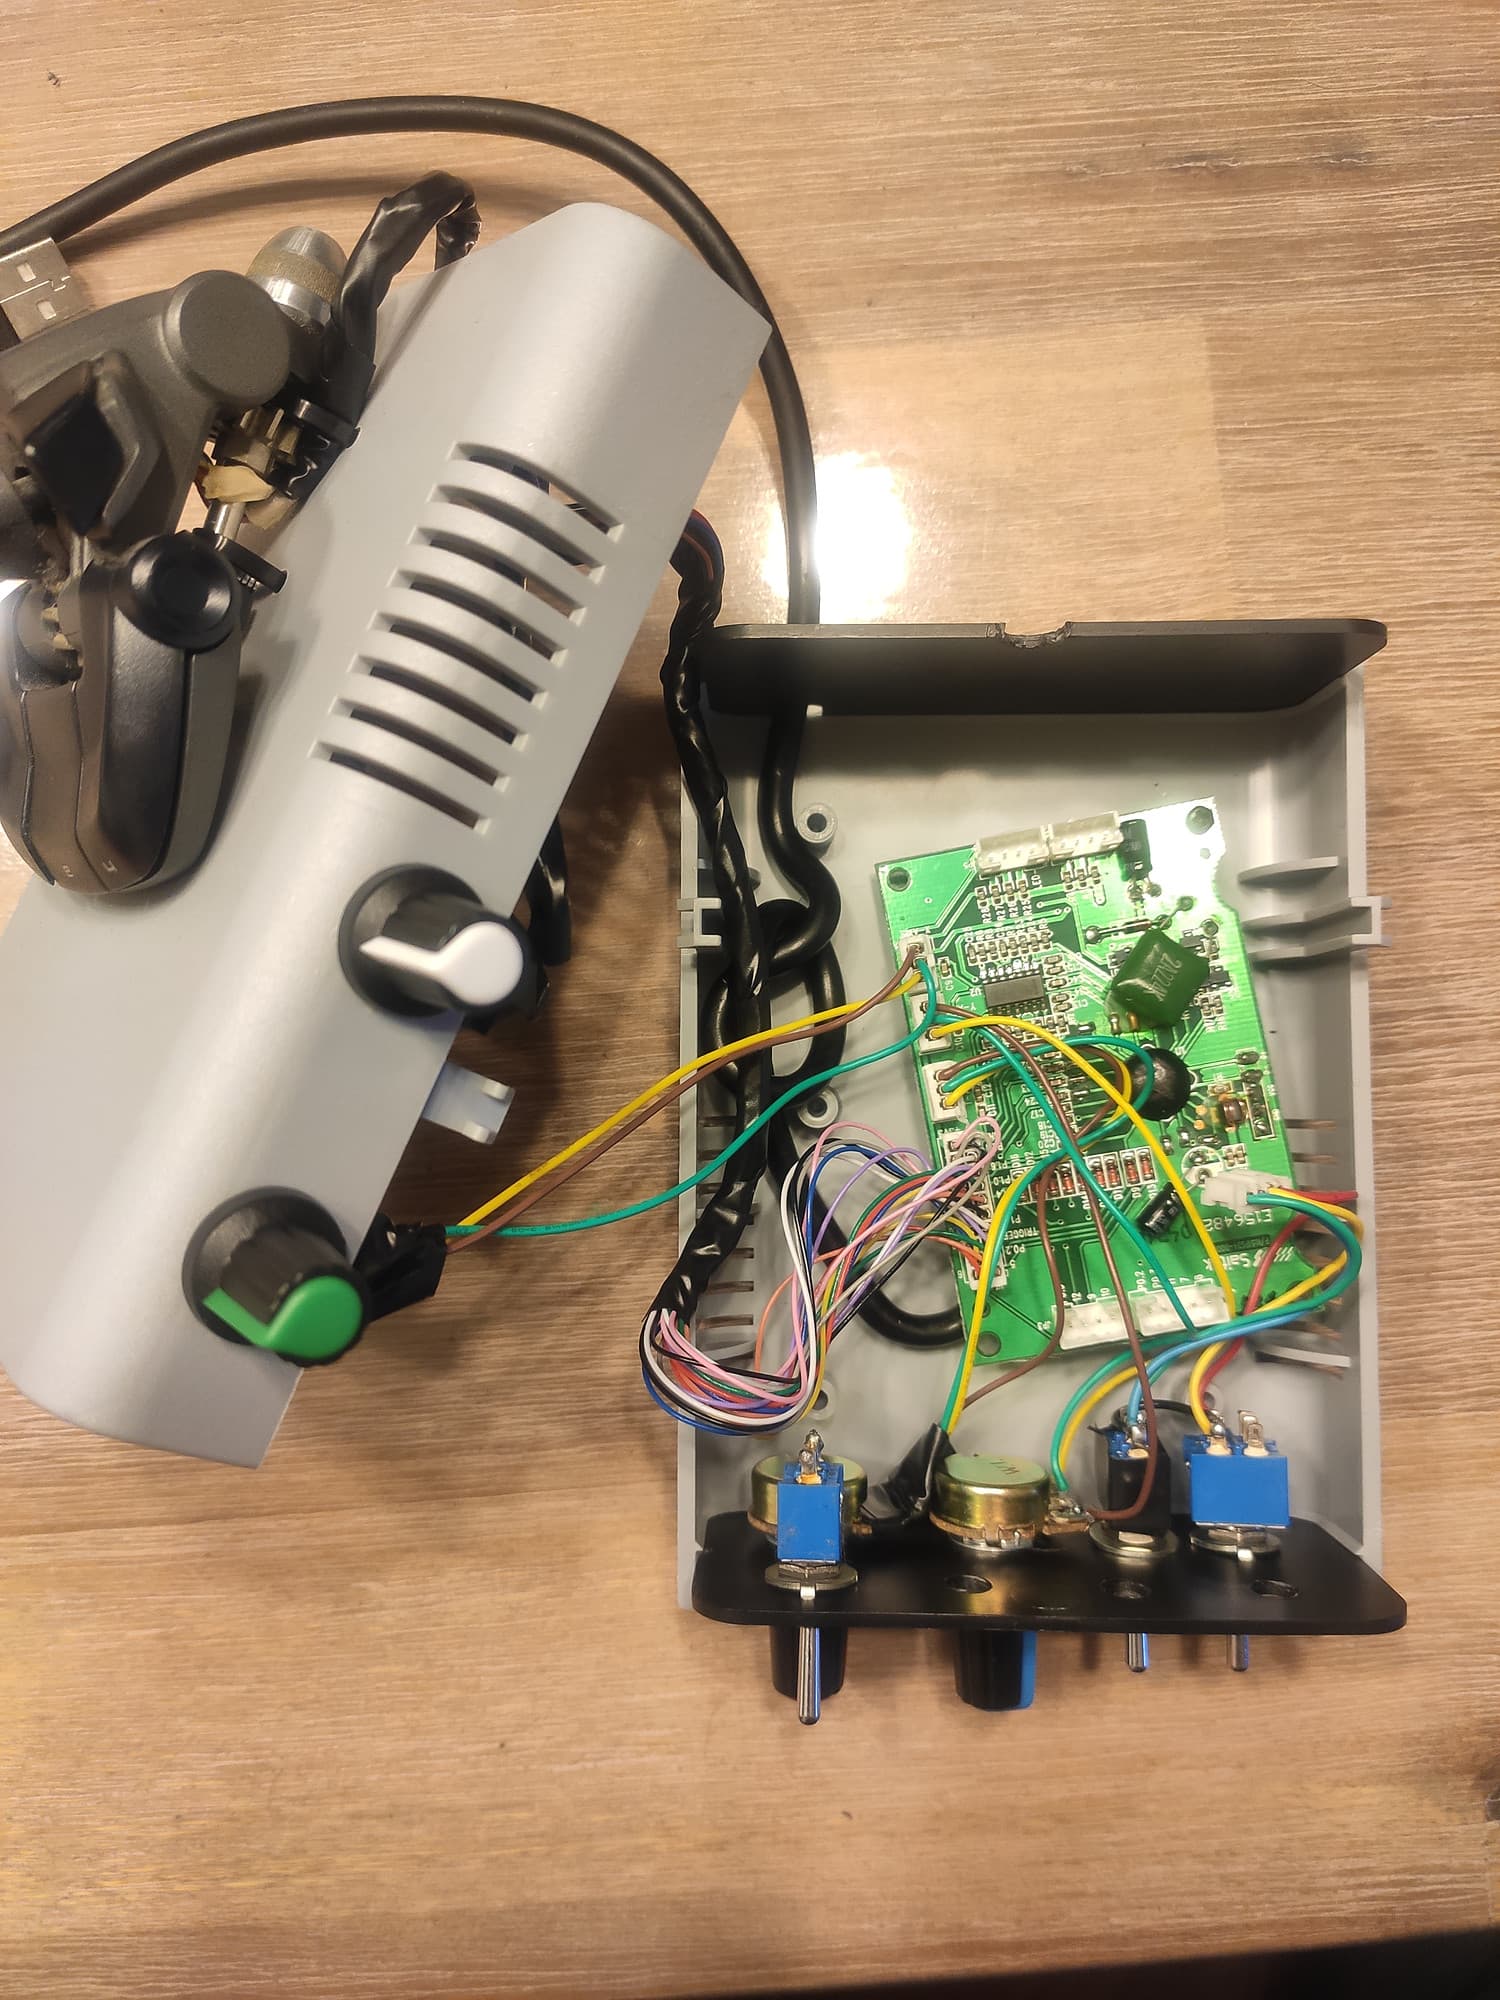
Since I immediately liked the additional control, especially with the trim axis, I decided to continue, bought additional switches and better knobs for the next step, which basically now used all the available connections of the controller:


You never can have enough switches and axes, so I bought an old used second Cyborg Evo for 5€ which also otherwise would have gone to the bin and started extracting the controller and connectors as well.
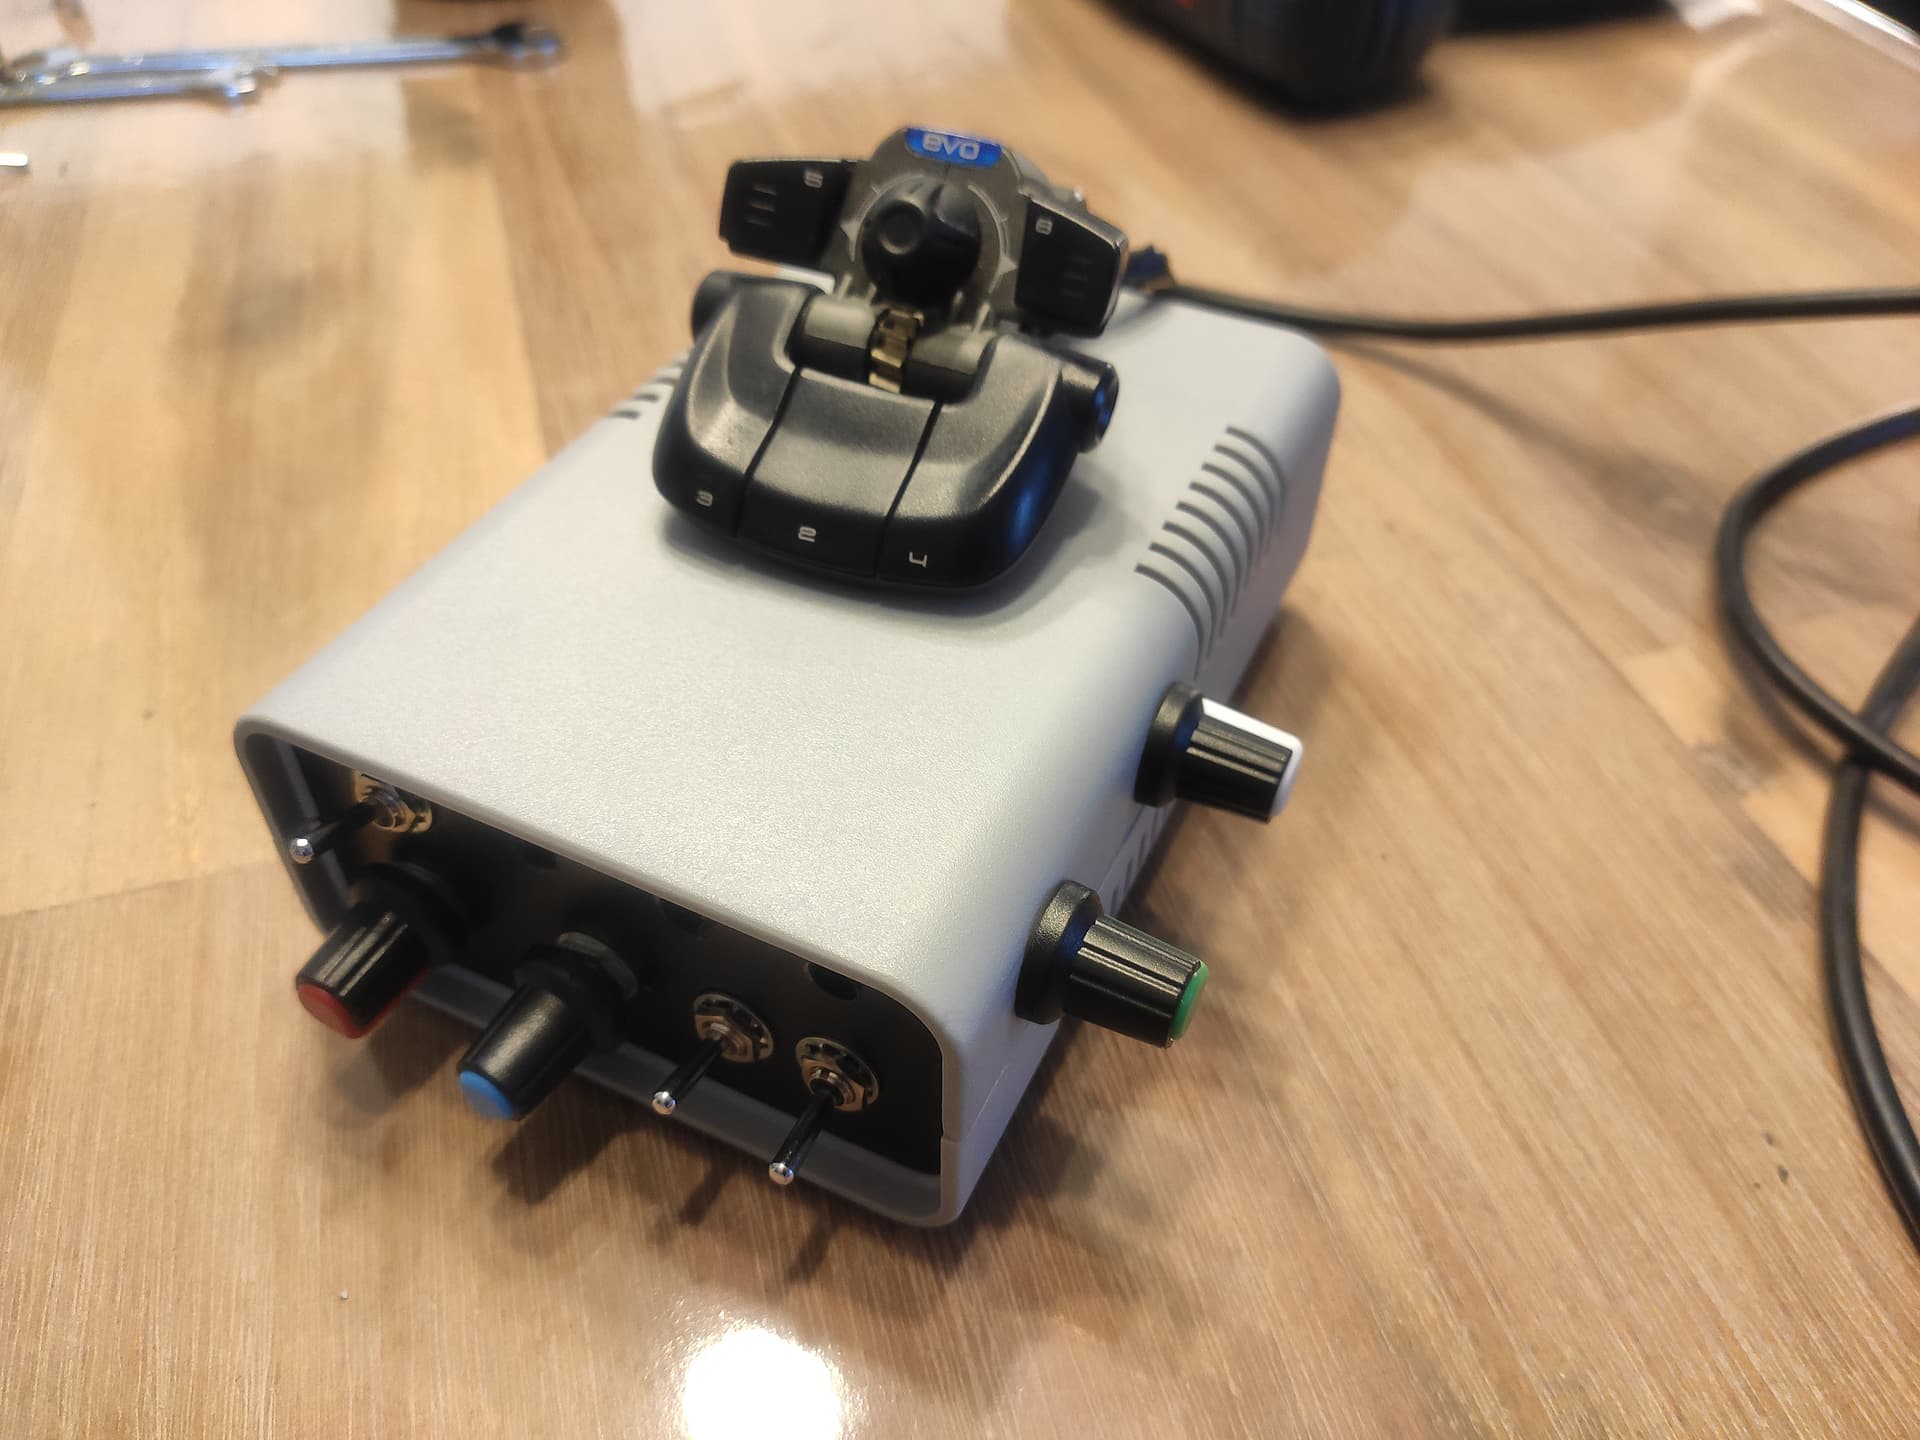
With additional potentiometers and switches, I now ended up having the following result:

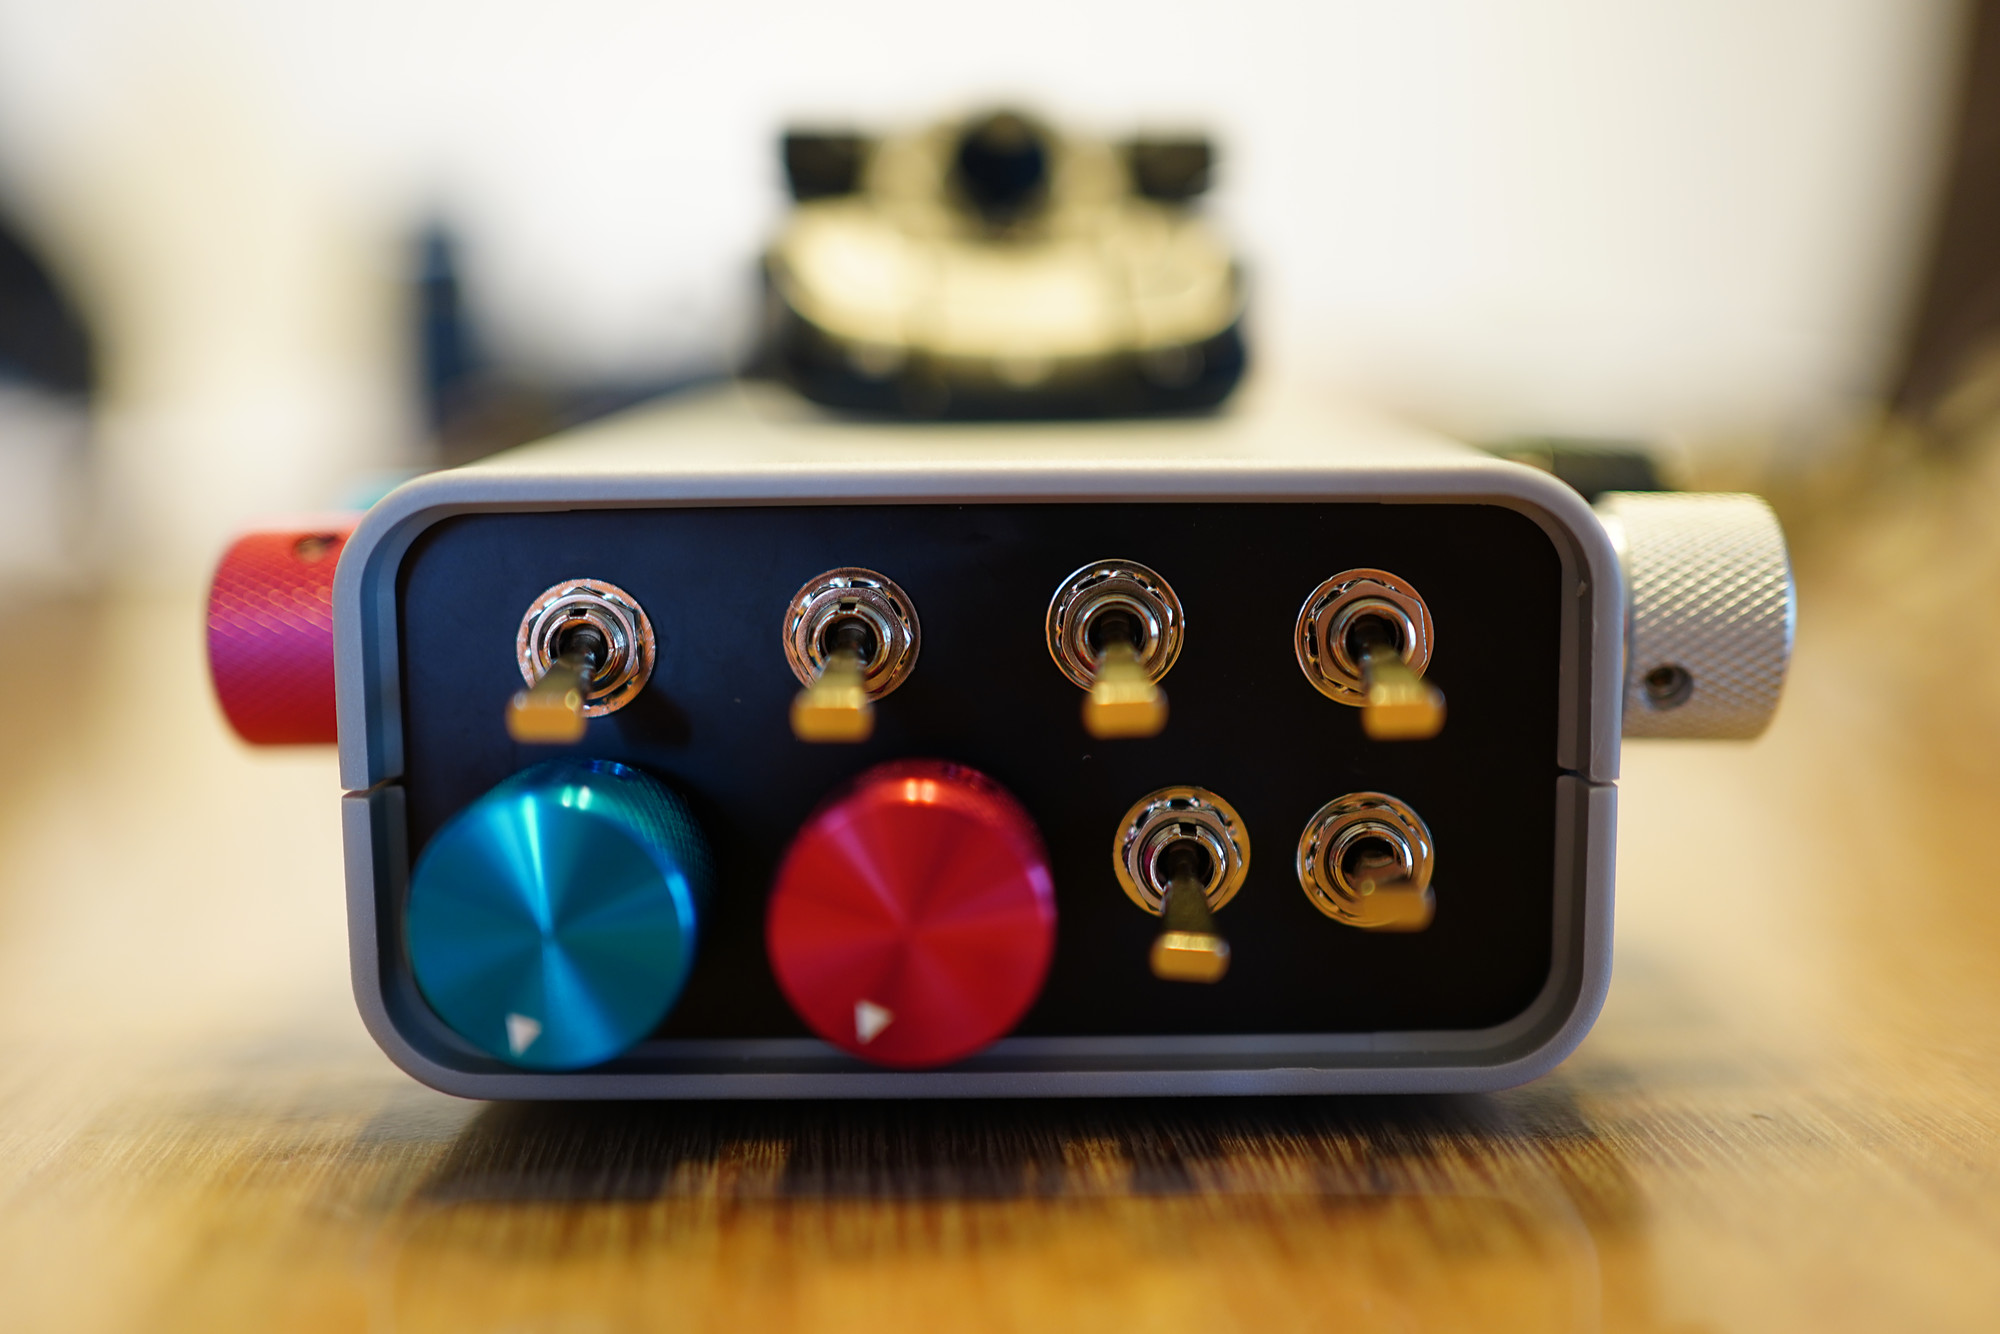


As you can see, I have to connect two USB cables, they are both recognized as separate Cyborg Evo sticks but can be assigned to different functions etc.
To be able to assign all of the switches and axes properly, I use Lorby’s Axis And Ohs, making the management of different layouts/profiles as well as accessing the LVars of third party addons pretty easy.
Some learnings:
- The quality of these switches is VERY varying, I should have ordered the same style for all the switches.
- The controllers do not filter noisy potentiometers and even in Axis And Ohs, it’s not that easy to avoid “jittering” trim wheel without losing precision. I might need to try grounding the case of them, not sure if it helps.
- The regular potentiometers have a great balance of resistance and travel (~270°).
- Despite having 50K potentiometers originally installed, the controller works fine with 100K as well.
- Old Joysticks need the move of all controls to full deflection to know where min/max is - this requires me to move all the knobs to min+max once on each windows boot.
- Such a small box with so many components isn’t something for people with two left hands, it’s quite finicky and the box is pretty full.
- I’d have loved to include a rotary encoder (for setting heading bug etc.), but didn’t find an easy way without additional cables.
- Measure first, drill second
 Best to make a full layout of what you plan first and remember to take into account the full size of potentiometers as well as some inner braces that some cases have to strengthem them.
 - It’s FUN!
Long story short:
It won’t win a beauty contest, but with an investmend of ~30€ for all the parts (including the second stick), it was a worthwile project. It doesn’t take much space on the desk and I can rest my hand quite comfortably on it, operating most of the axes and switches blindly.
I hope to maybe inspire you to upcycle old peripherals before throwing them away ![]()
It’s pretty easy since the controller provides you all you need to have the things show up as a regular Stick with Plug&Play - no driver hassle, no coding involved.