Home cockpit builders…your going to love this!
My cockpit build is 99% where I like it…and like most of us…there’s always room for jello, AKA: improvements.
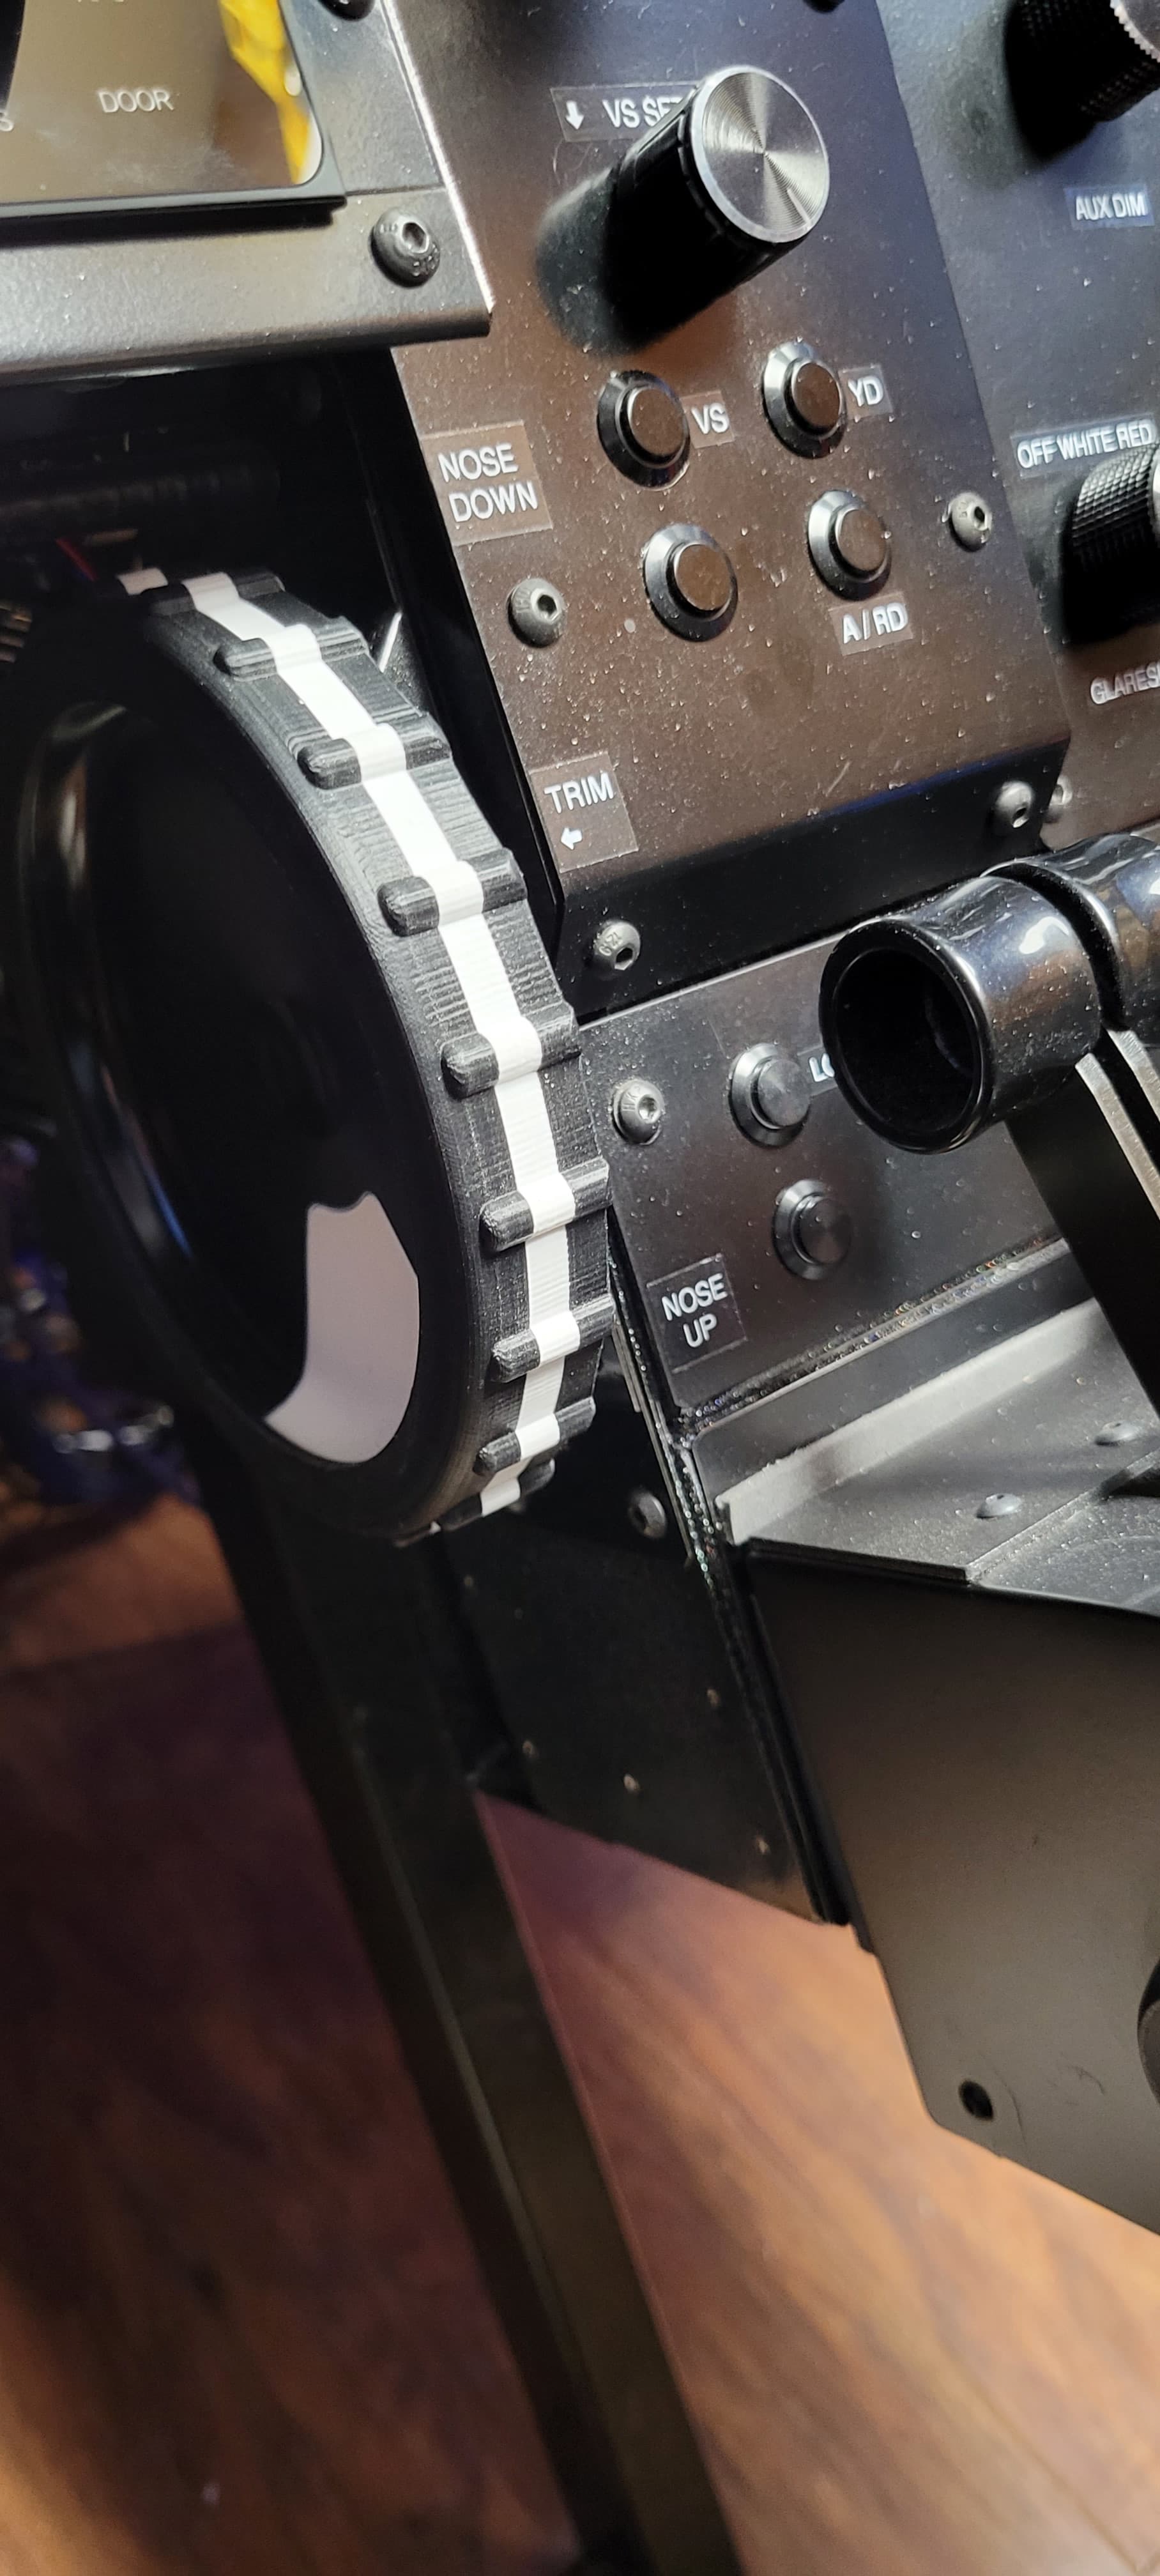
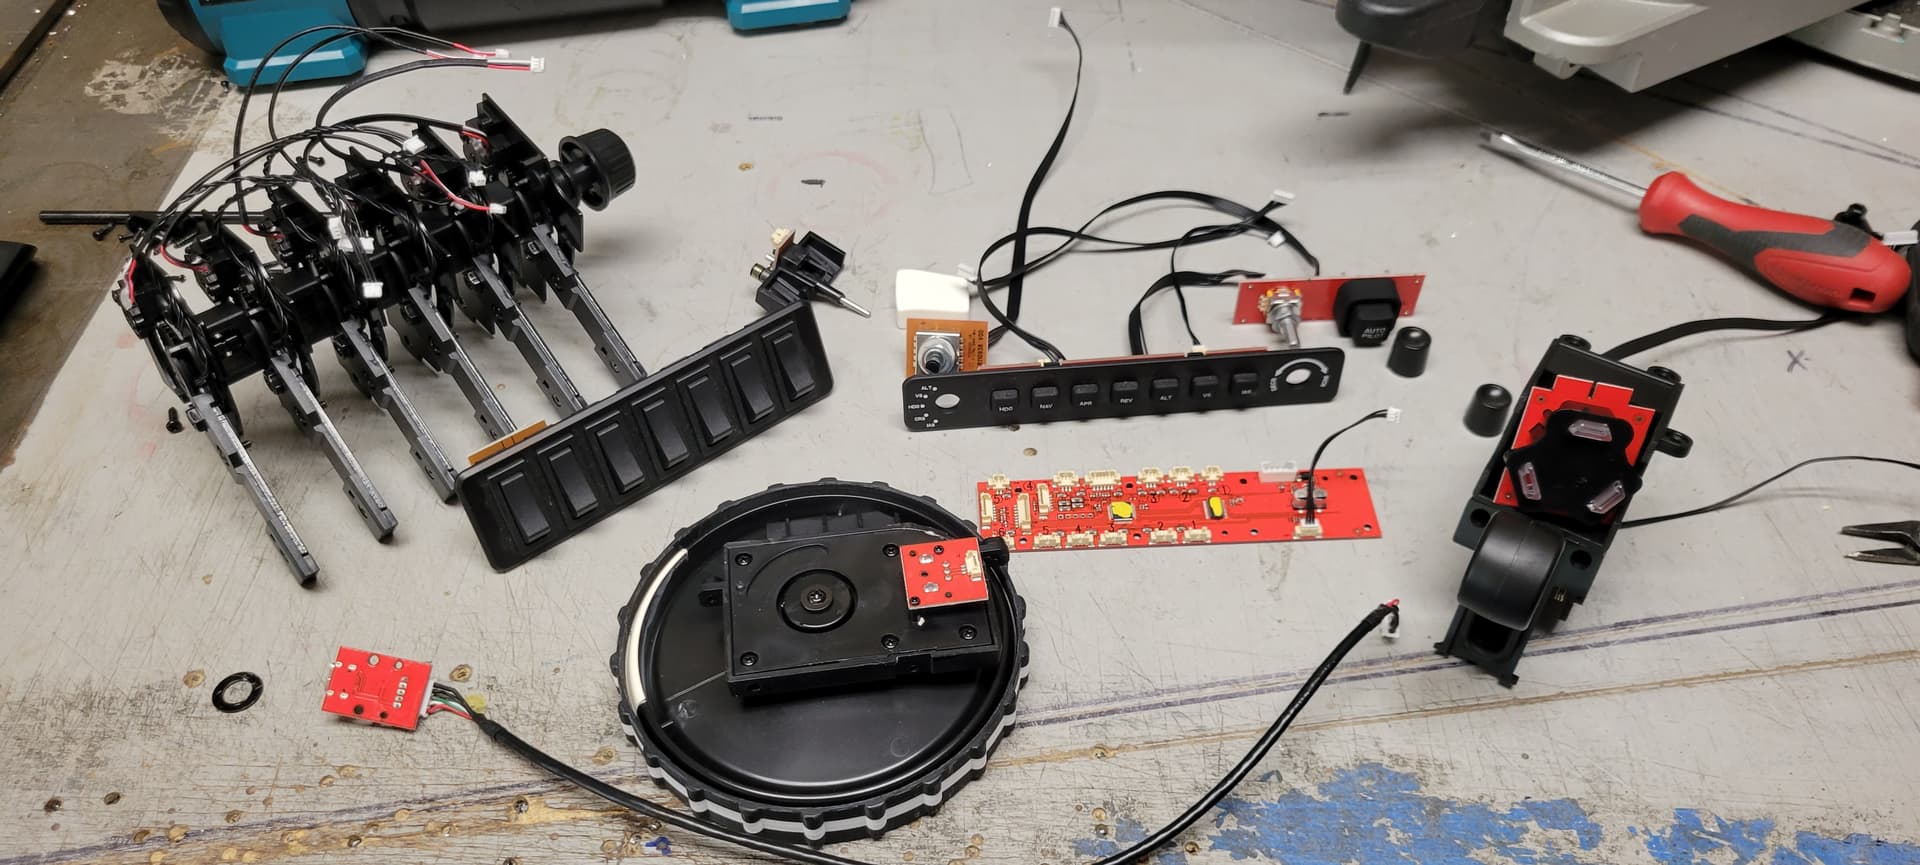
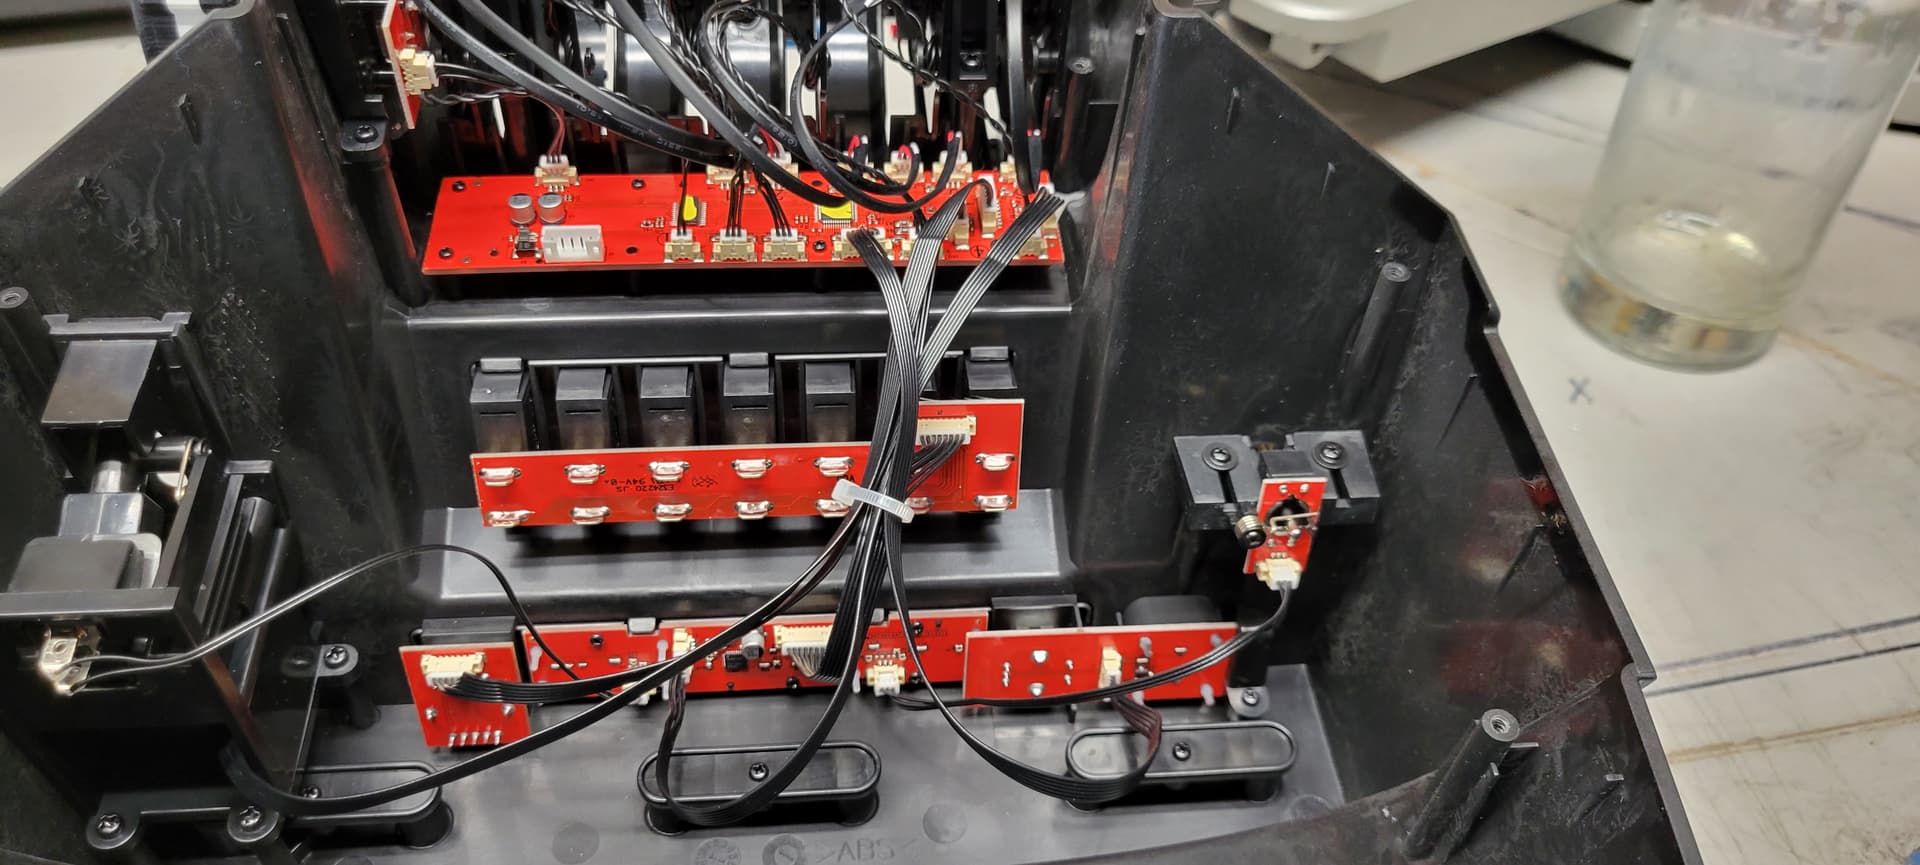
I purchased a bravo when they first came out, but only used it once…being a real pilot, I didn’t like the small throttles, and ended up with the 2 best that Virtual Fly make. So it went on the shelf for maybe a Ebay sell. My cockpit is fabulous, especially with the 55" 4k multiple rendering screens (beta10)…but my trim wheel is horrible. It’s the satek Cessna version almost 20 years old, and no one out there makes a really life like trim wheel like I have in my 07 Cessna Skylane (G1000). Was about to 3d print one and I remembered that the bravo had a decent trim wheel. What if I could use it? So I said goodbye to selling it on ebay and opened it expecting to see everything on 1 big pc board. NOPE! EVERYTHING IS MODULAR!!! UNBELIEVABLE!
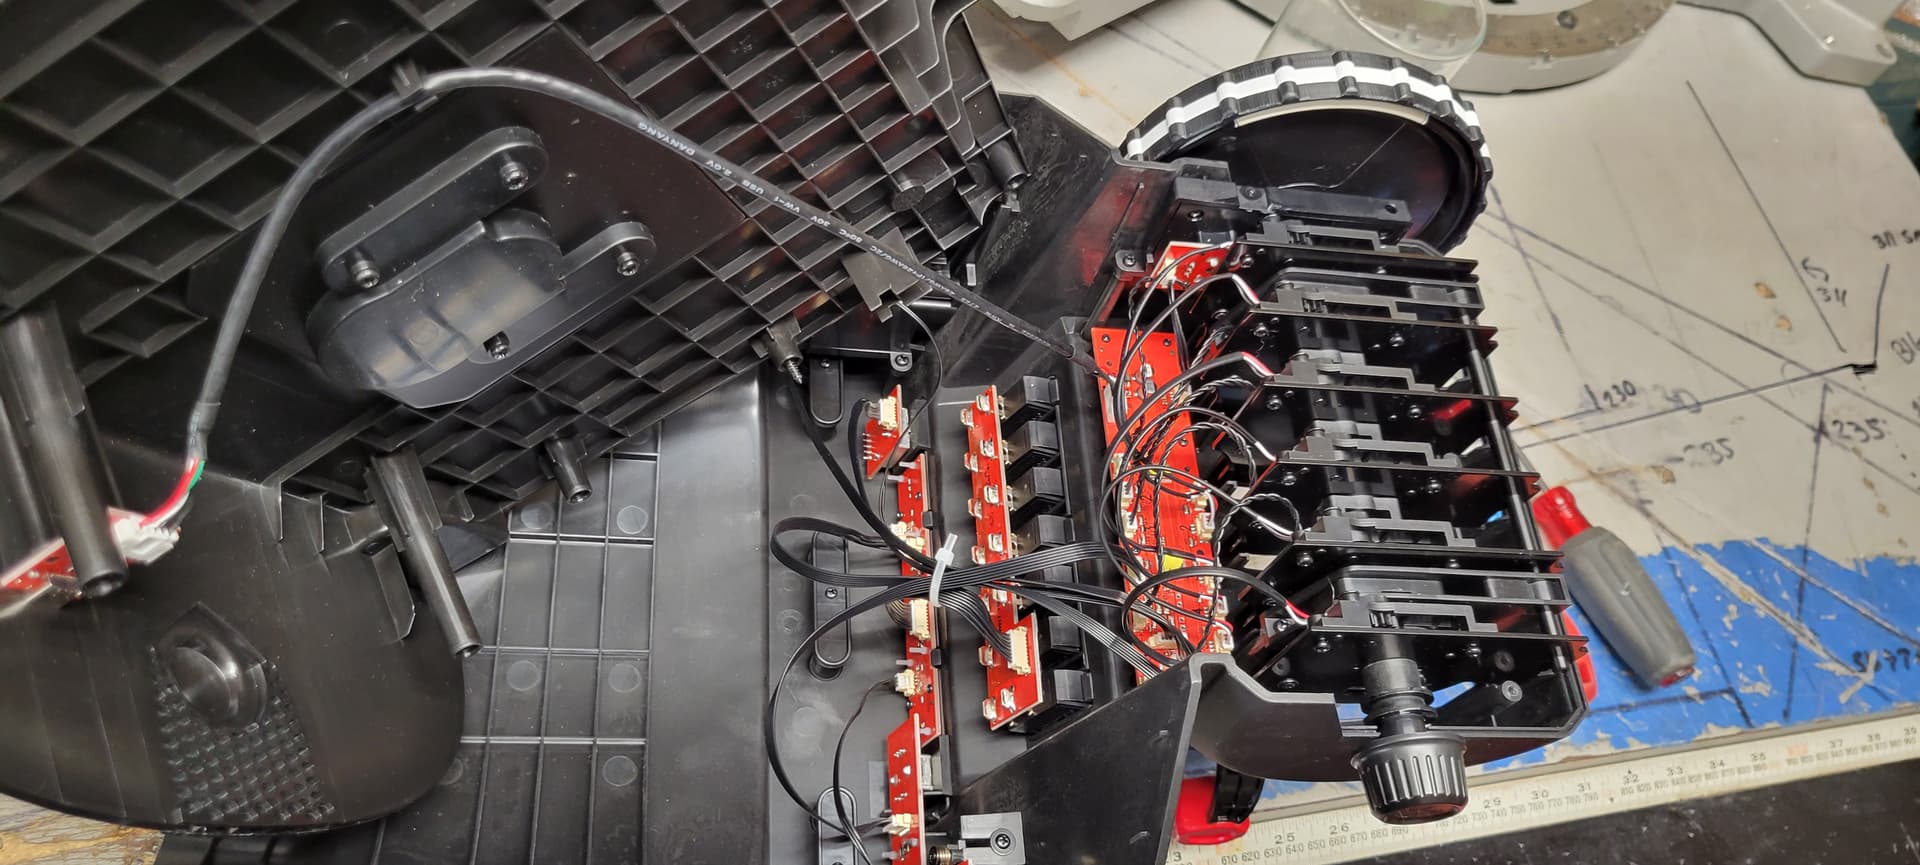
check out the pictures .. every component can be reused easily an they are all are separate!!!
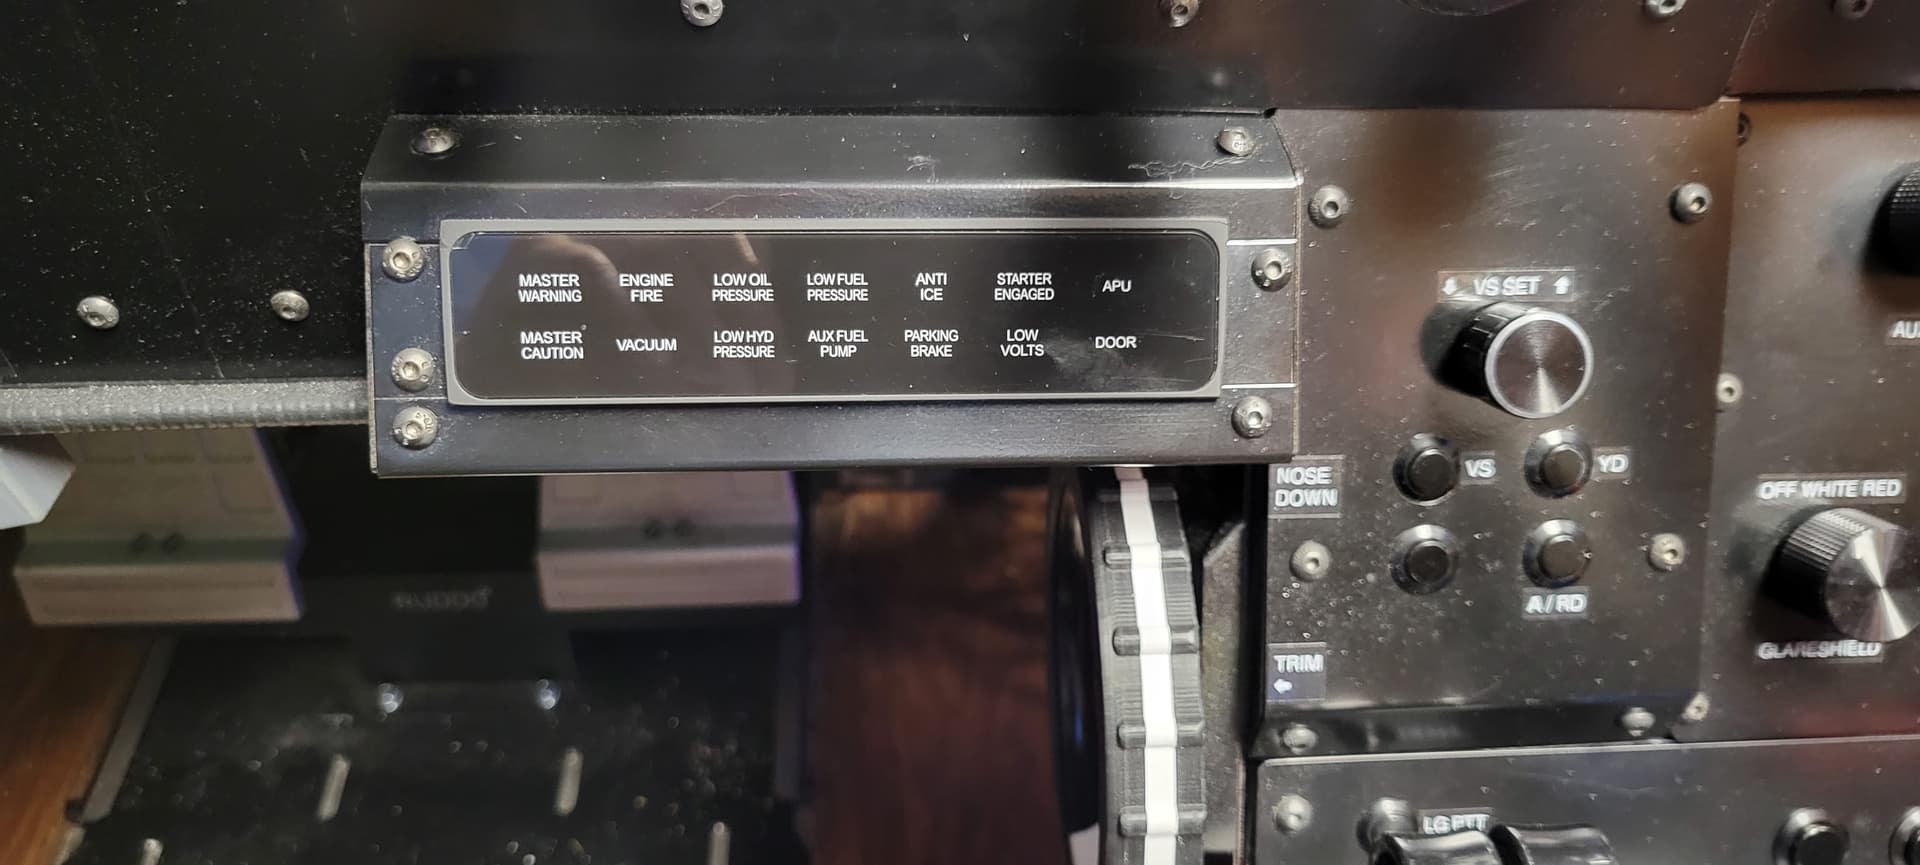
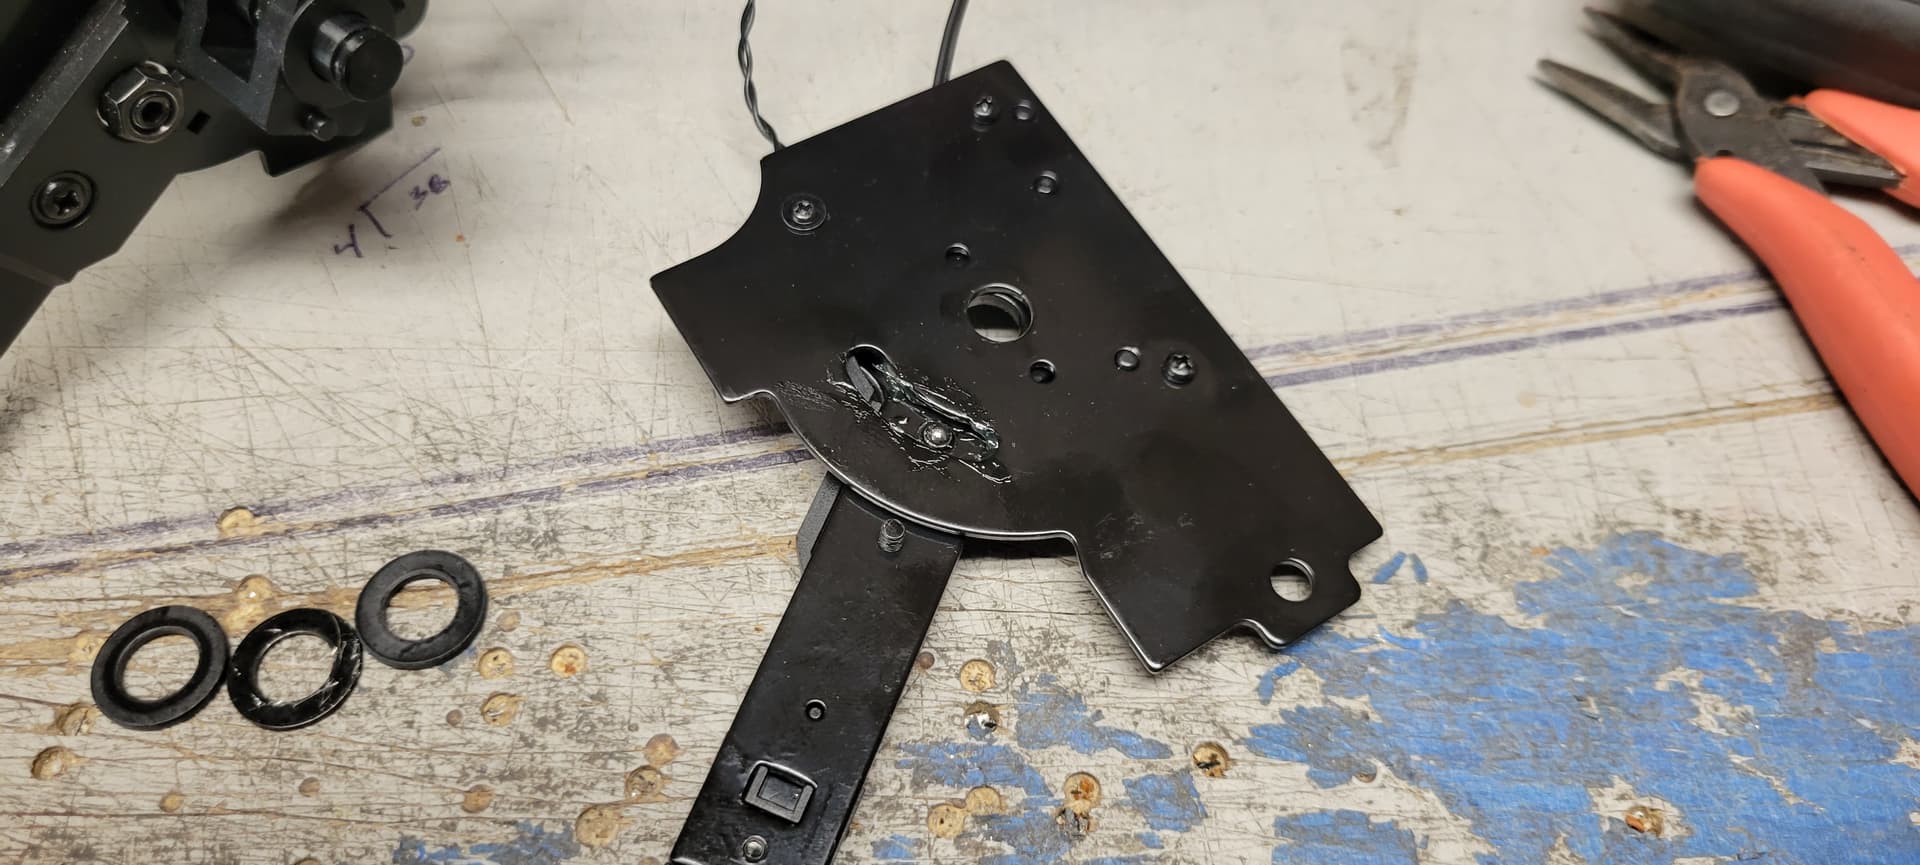
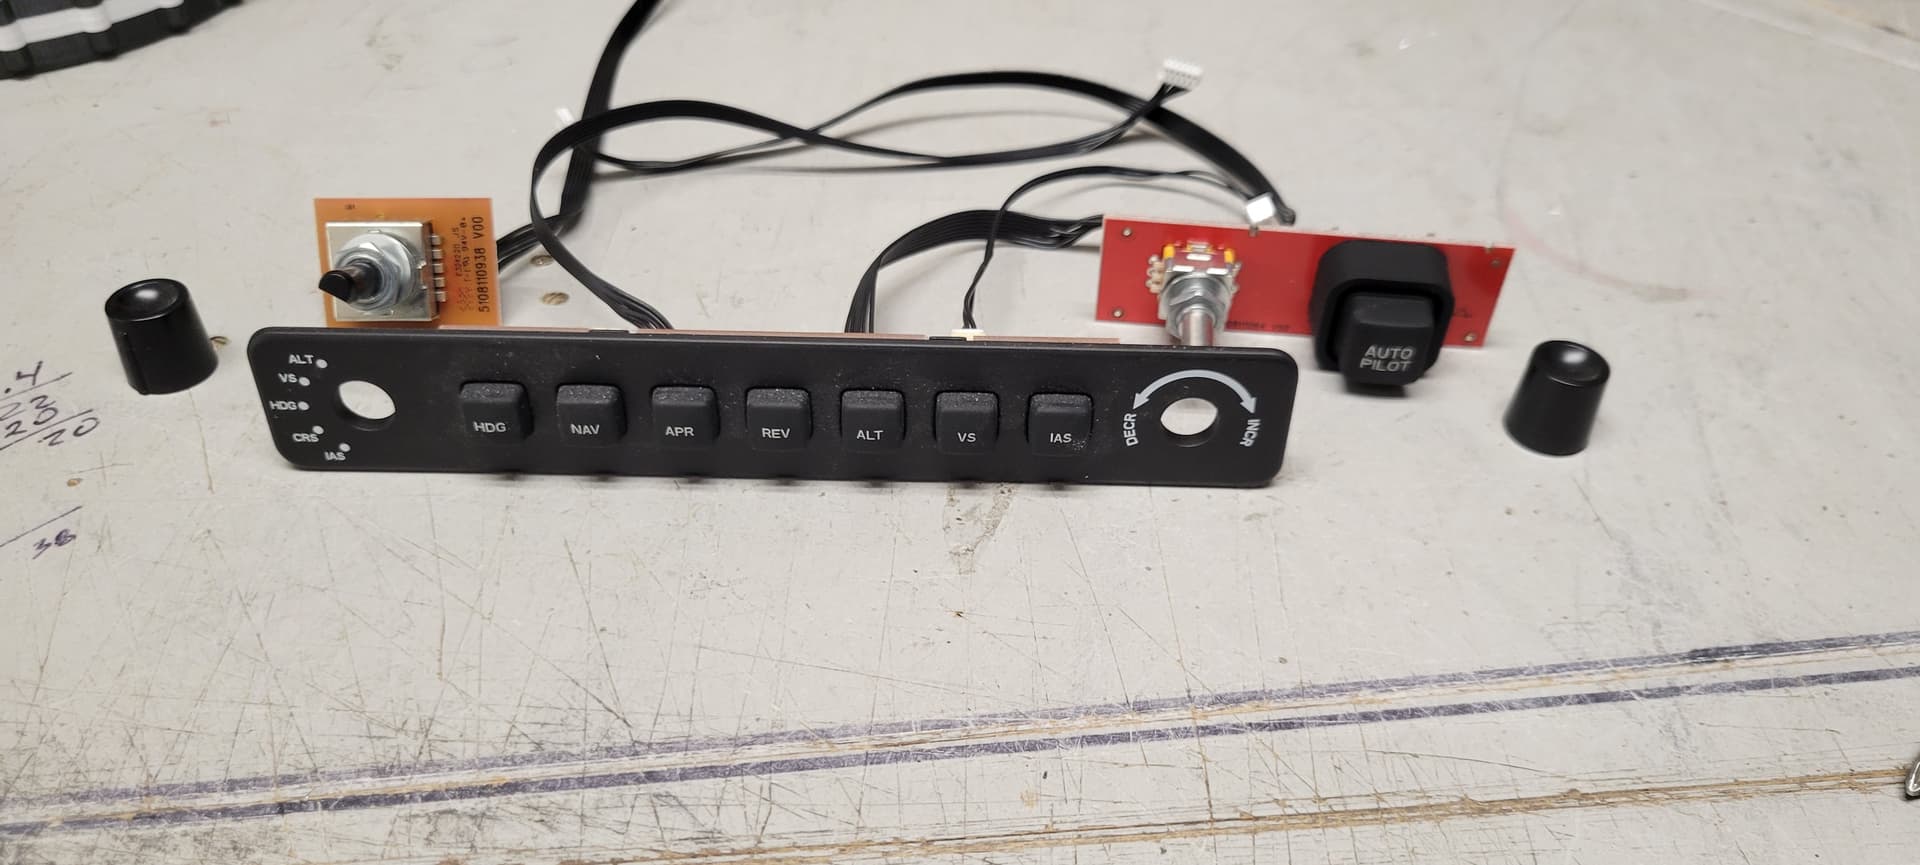
The main pc board is small…and everything has modular cables. Throttles are metal and plastic and can be separated. The autopilot is fantastic with the pop out trim board, rockers are a separate module, as is the landing gear switch complete with the led panel. The only thing that’s going to take a little work is the lighting warning panel…I intend to cut this section from the case. The LED’s are on the back of the main board.
I have decided to mount the trim wheel module next to my VF TQ6.
Check this out! Pictures follow
4 Likes
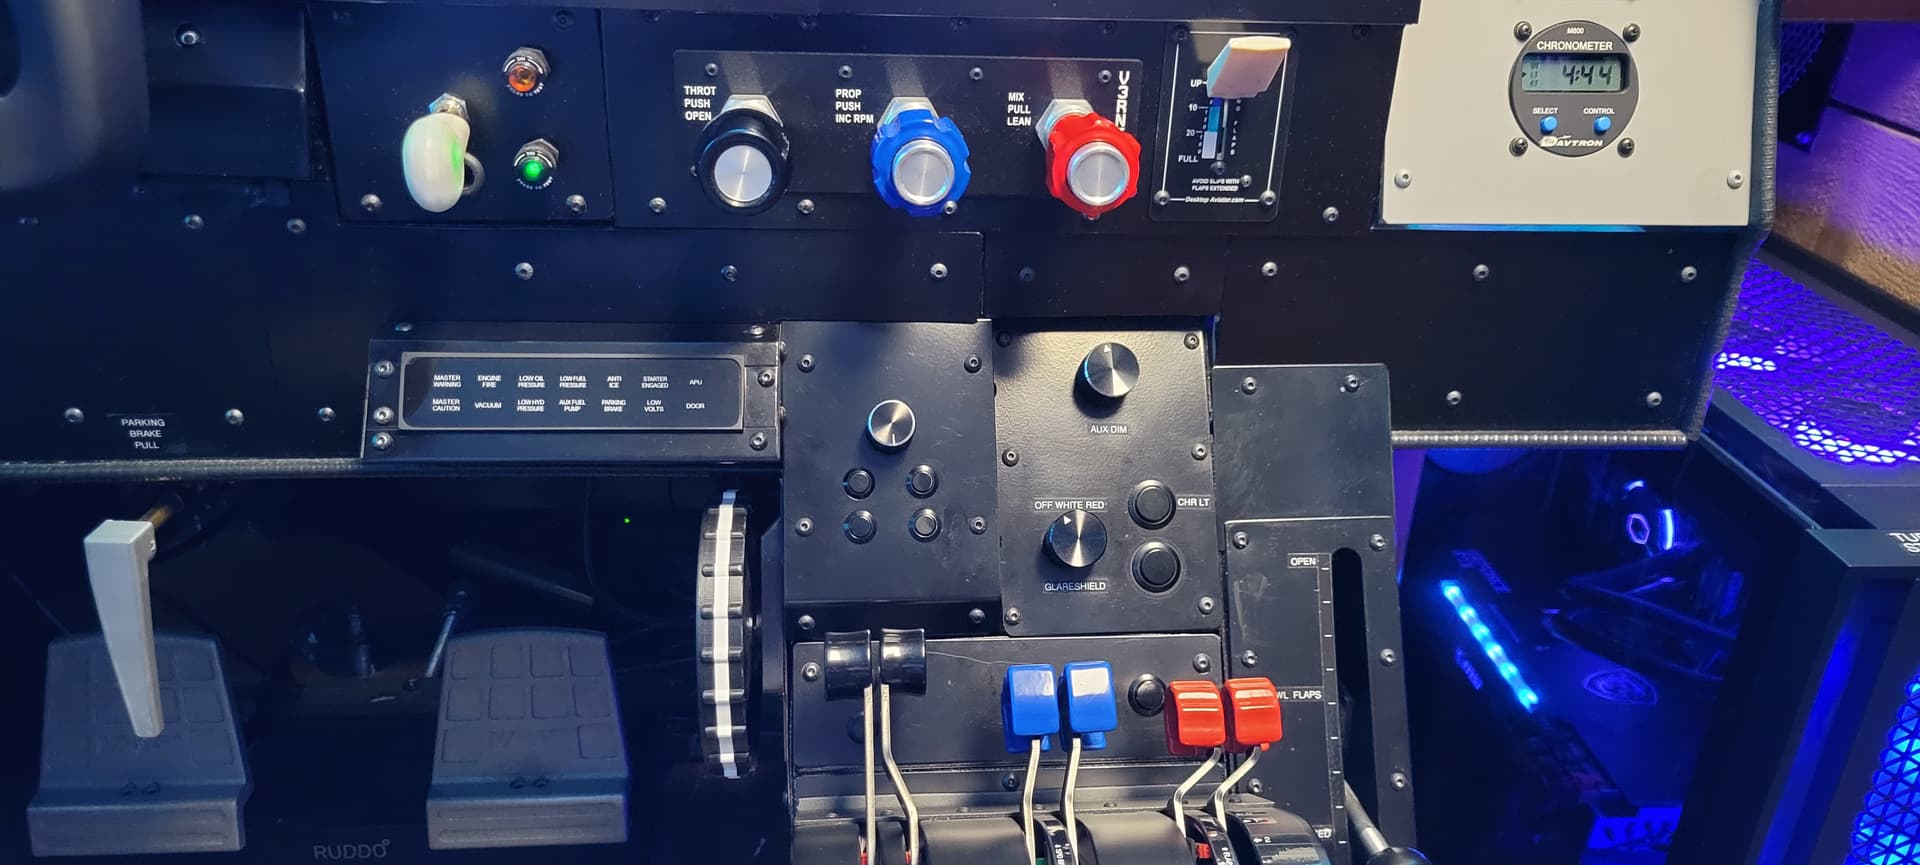
Trim wheel is 100 times better than the Saitek! And the warnings panel works perfectly!

That is really good to know - quick question, how do you interface these though - don’t they all go to one USB C connector output?