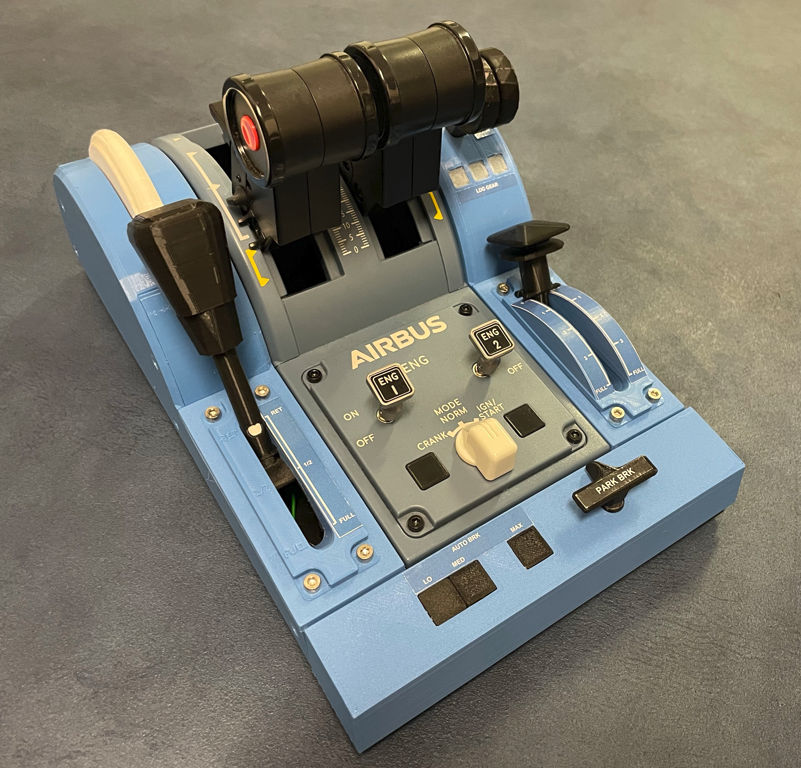
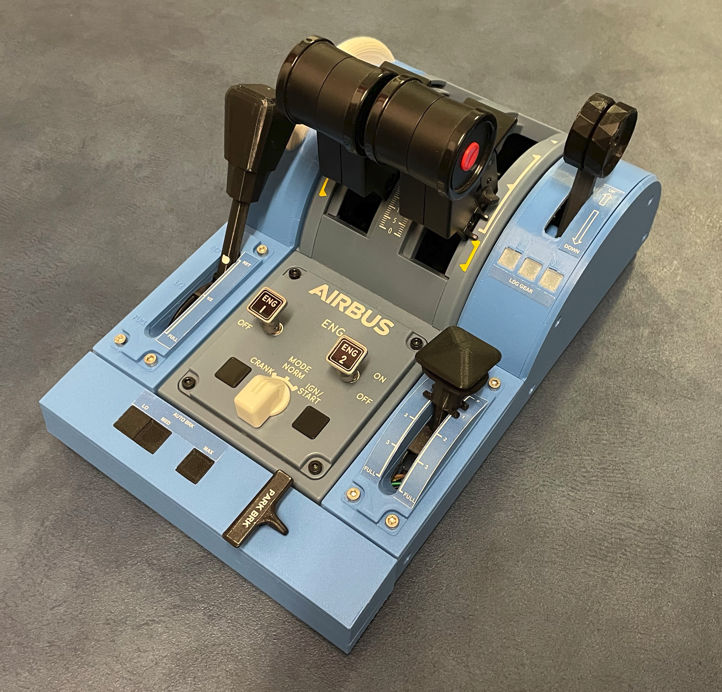
I came up with the idea to build my own TCA Throttle Quadrant extension and address some of the point I did not like with the commercial addons. My goal was to make it to integrate nicely into the system and fit my own setup. When I purchased the Throttle Quadrant, I made my own mounting clamp, which happened to be 18cm wide, so the entire system had to stay within that dimension.
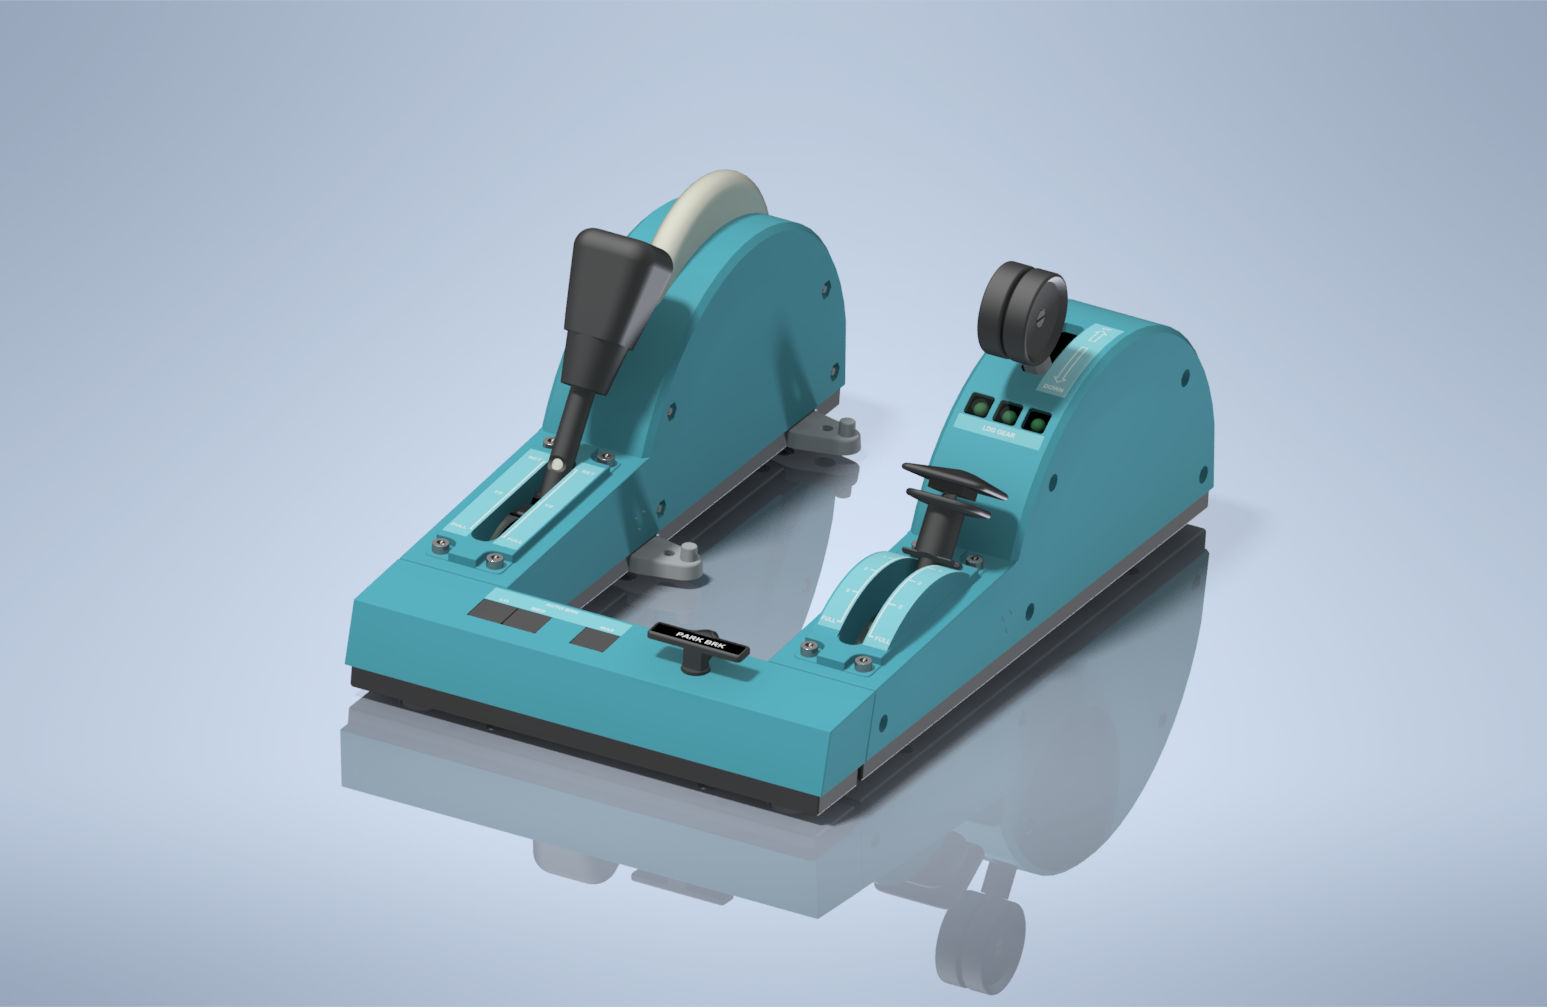
Furthermore, I wanted to have a more realistic setup, so here are the functions:
- Speed brake lever with dented for ½ and full and an arm speed brake function
- Visual indication that speed brake is armed
- Trim wheel
- Flaps lever with latching detents and spring loaded release
- Gear lever which need to be pulled to switch
- LED landing gear indicators
- Parking brake with lift to switch function
- Buttons for Lo, Med, Max Auto Brake (added because there was some extra space)
You can download all the required files from GrabCAD here: https://grabcad.com/library/tca-throttle-extension-with-flaps-speed-brake-and-more-1
9 Likes
This project is beautiful. I’ve never 3dprinted anything before, so I don’t have any idea about the process. But projects like your are very tempted. Could you give us an approximation about how much does it cost you entirely (with all the electronics)?
Regards
It´s based on the Arduino Micro which you can get as a clone quite cheap, so all the hardware runs around 40-50euro. If you need to add the screws it´s a few euros more. You will need about 500g of PLA filament. As I had most colors expect blue, I only needed to buy a spool for another 20euro which I can use now for other projects as well. The exact list of all parts is in the description PDF on GrabCAD.
1 Like
Thank you for answering. I really love your design. I’m thinking seriously step into the arduino world for projects like this one. Very inspiring. The only thing that is beyond my knowledge it’s the 3dprint. I’m going to keep your images and your link and consider it as a “maybe” summer project 
Regards
I have just finished my build of your extension and must first of all say thank you, for providing everything necessary!
I had lots of fun building it and gladly got everything to work without any major issues.
What I would suggest is to reinforce / reconstruct some parts that are very brittle and tend to easily break off (i.e spoiler arm, gear lever guidance, potentiometer clips, etc…) if those were all designed a bit thicker, you wouldn´t have to worry about looking at them the wrong way 
Another thing I would suggest is the use of threaded inserts that are melted into the holes with a soldering iron. They aren´t really expensive to pick up but make things a lot easier than fiddeling around with nuts, and slots for them that sometimes are too tight, sometimes too loose and the nuts end up flying around the case when you try to screw down the other part. This goes especially for the auto brake and parking brake panel, where you can hardly access the backside of the nut slots.
And I will also change up the ports on the Arduino, to be able to use three PWM ports for the LED´s, as those are just to bright at full power, even with the resistor!
Hi CaptainModde
Glad you enjoyed the build and that it worked out for you. And thanks for the suggestions.
Will put them on my todo list for improvements. Especially the threaded inserts are a good idea, I will look into those also for future builds. For me all the nuts could be pressed in and were all holding in place.
I also like the idea of the PWM ports, will look into that as well.
Greetings, VDrummer