@paulwain2020 @WESTINDIAN01
OK here goes…
Please read the whole thing through before attempting to set it up. I have tried to get everything in order, but it will be good to have an overview of what you will need to do before embarking upon the process (which really is easy). * You may find it easier to grant yourself access to the folder I mention first as then you can do the install process in one fell swoop.
I have touched on the very basics of how to actually use reshade here, I’m sure this will not be needed for lots of you, but some people may be completely new to it so I thought I would add a bit.
Any problems please feel free to DM me.
-
(Recommended not Essential) Load into the sim and find two key bindings not used by the sim, these will be for the reshade menu and effect toggle. Reshade menu is set to the Home key by default, so If you have this bound in the sim, unbind it, you can change the key for reshade menu and put your MSFS home key binding back in necessary at a later stage, but you will need to use the Home key to get started with reshade. Then find a spare key that you can use to toggle the effects on and off.
-
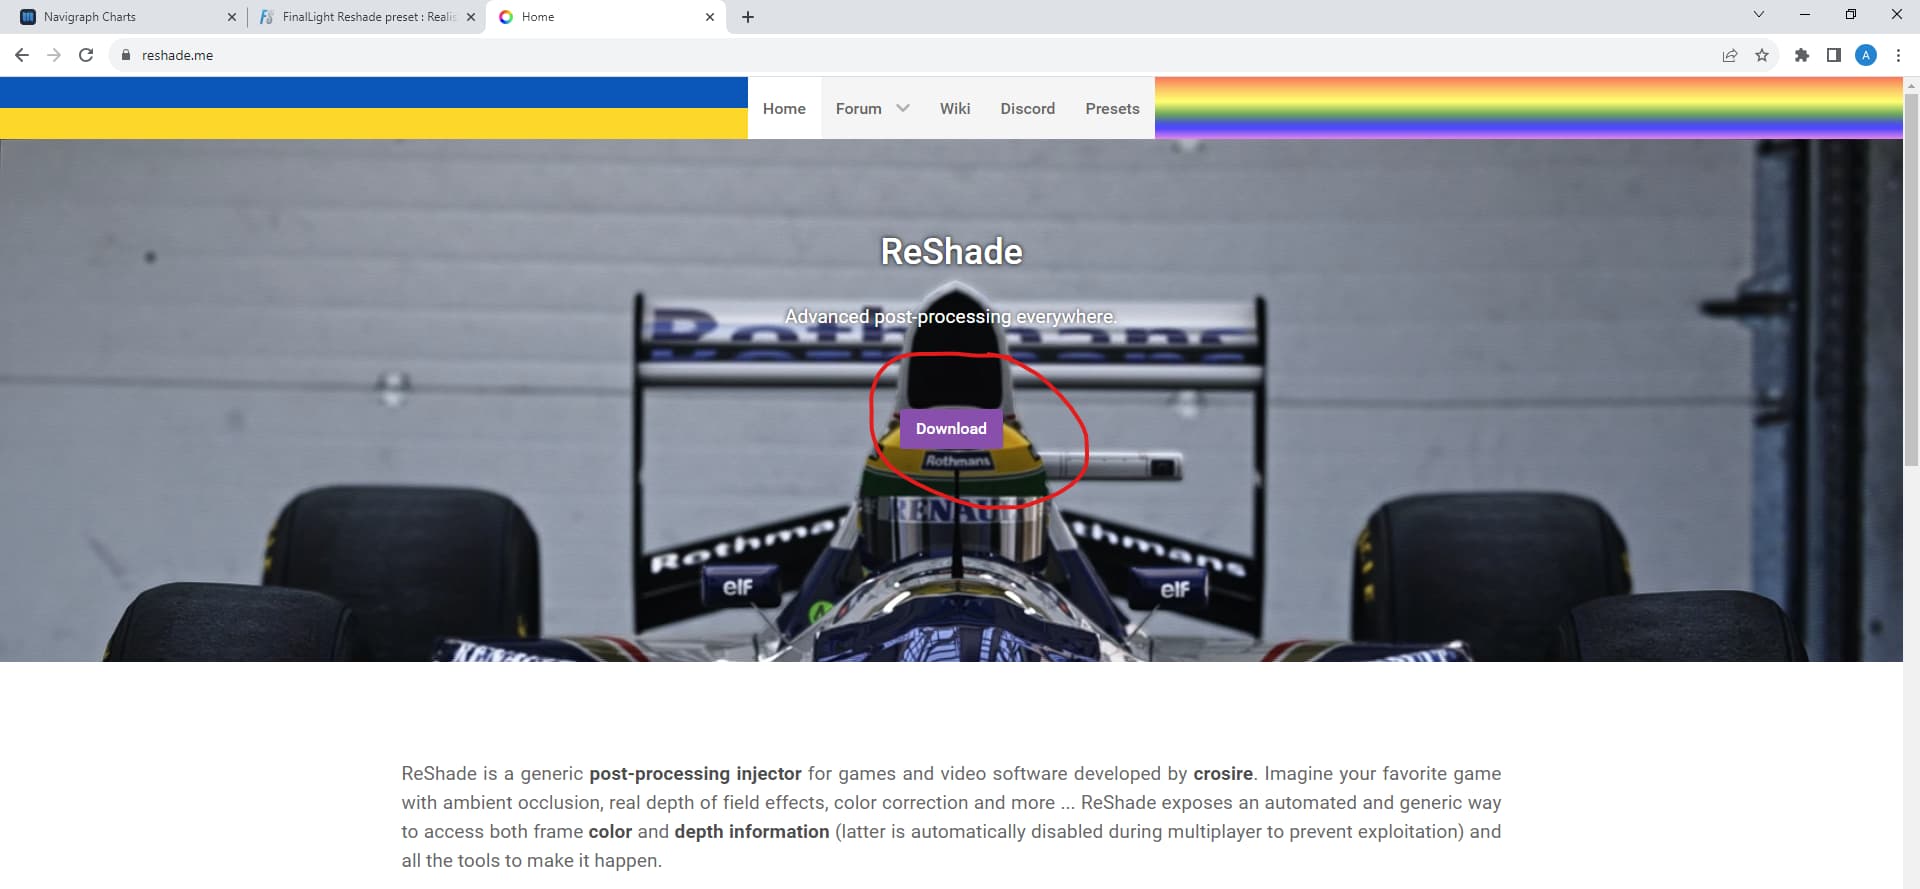
Download reshade from https://reshade.me/
I think the latest version is 5.9.1. You just need the basic version not the one with full addon support. I am still on 5.8.0 and so can’t vouch for stability with the latest version, but if you have problems, you can find 5.8.0 in a repository.

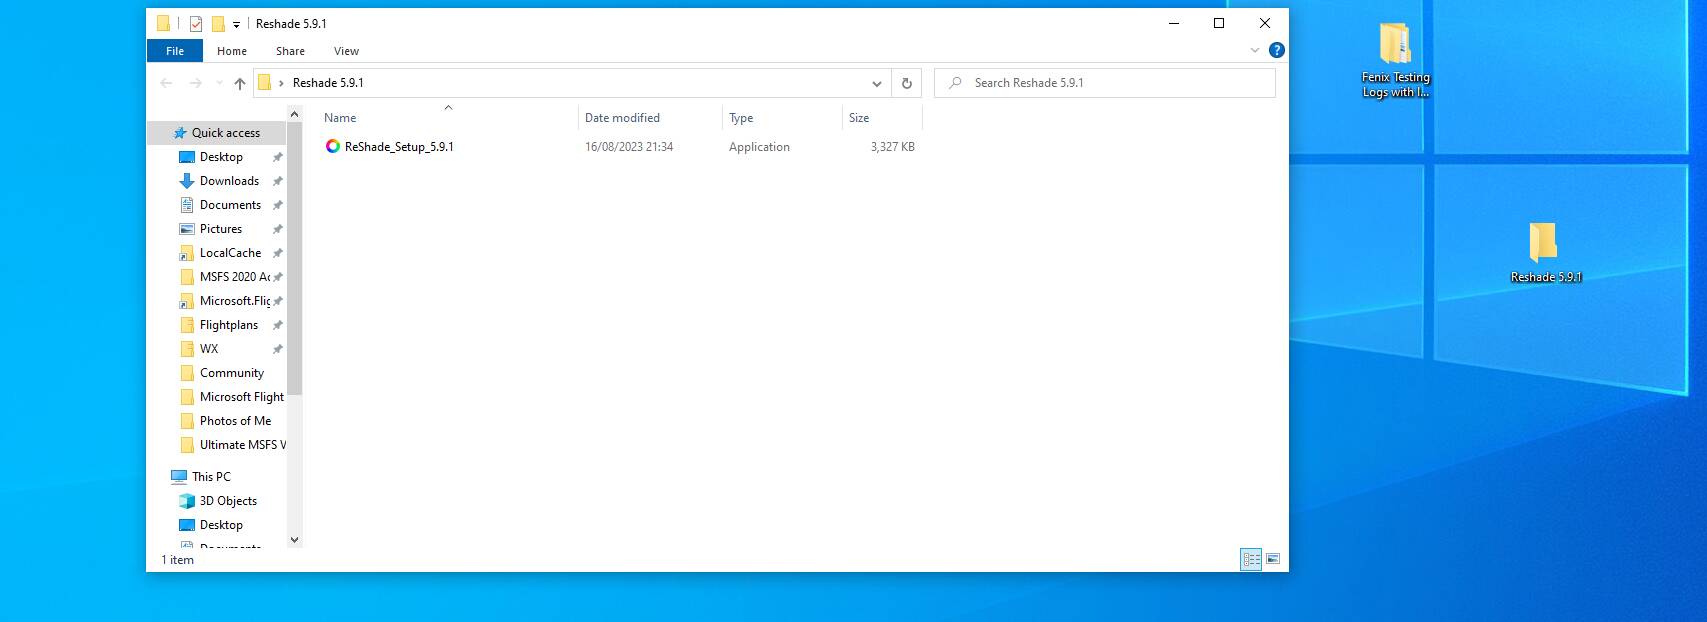
- I would then recommend creating a new folder on desktop and place the reshade_setup_xxx.exe in there.
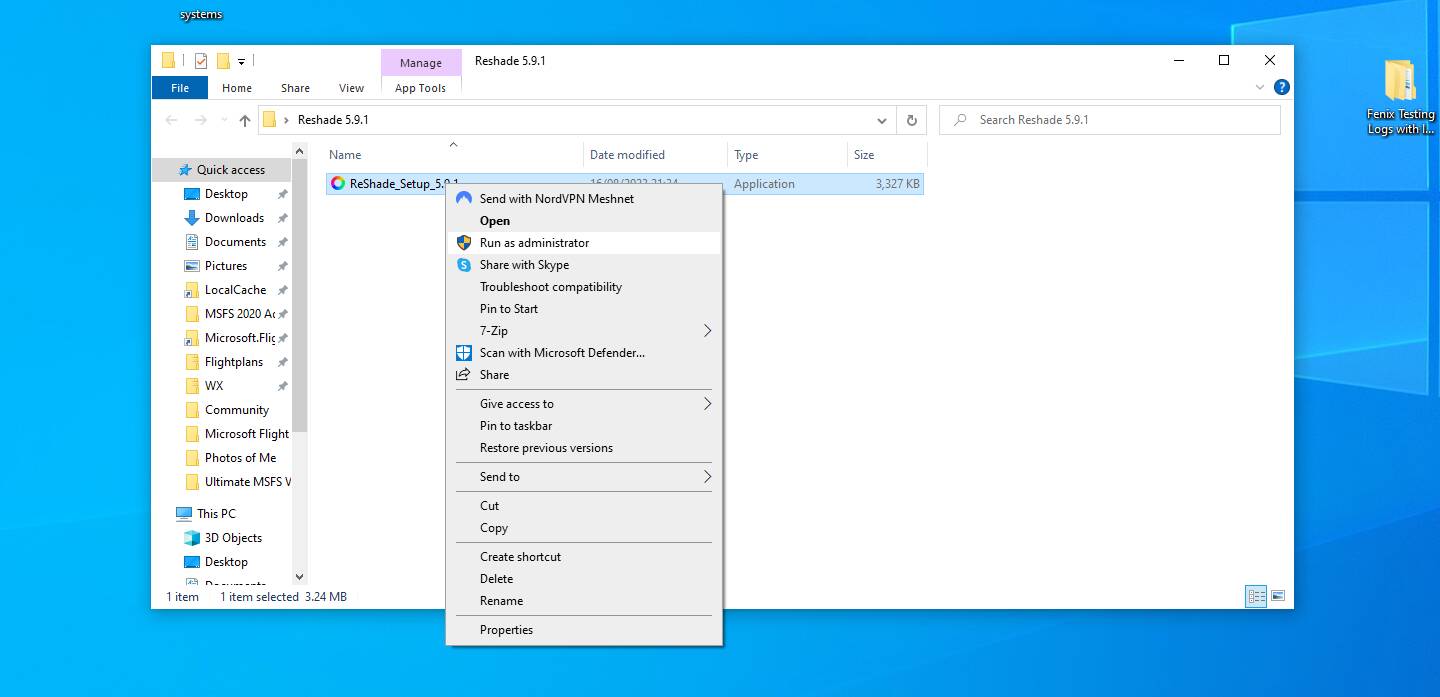
- Run the reshade setup as administrator.
- If you are on steam version, MSFS should appear as a game to select, but if you have the store version you will need to point reshade to it, click browse towards the bottom of the window, and navigate to this folder, and select ‘gamelaunchelper’ and click next.
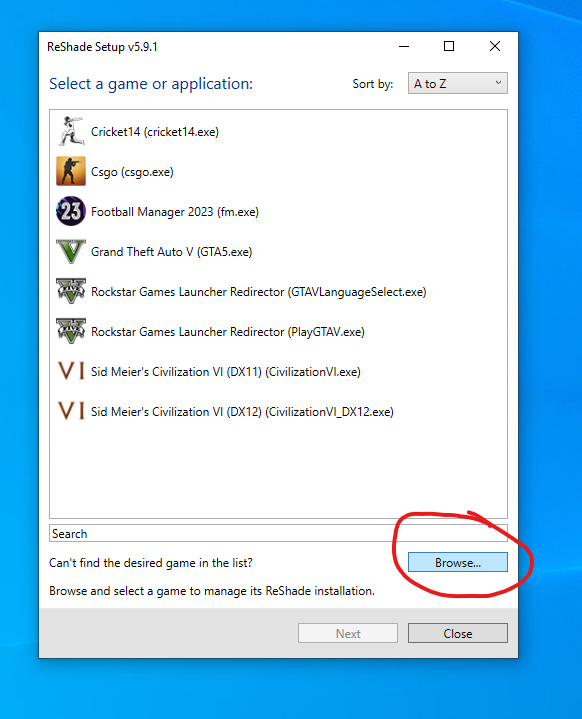
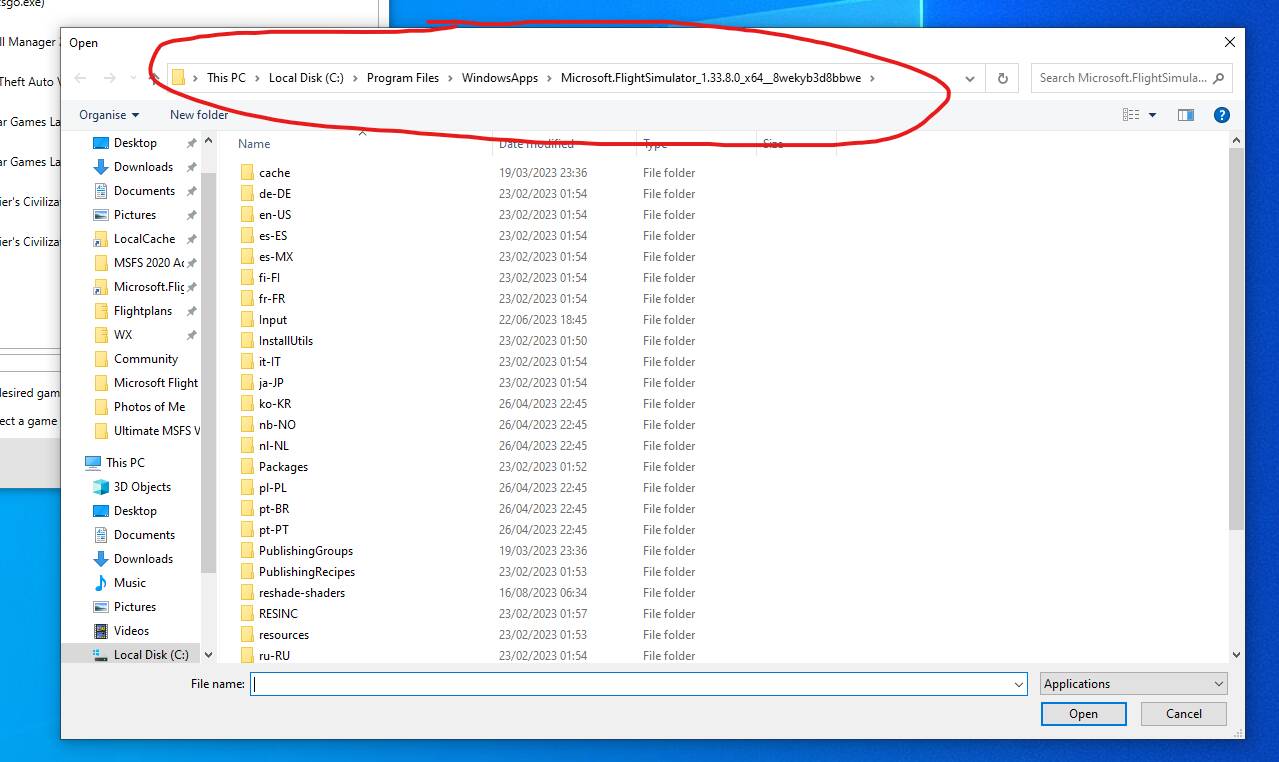

C:\Program Files\WindowsApps\Microsoft.FlightSimulator_1.33.8.0_x64__8wekyb3d8bbwe
even if you installed MSFS in a custom location, this folder should still be in this location.
The only slightly tricky part is that you may not have access to the Windows Apps folder, you can use this guide to gain access, I would recommend using method 1, rather than method 2 using Powershell.
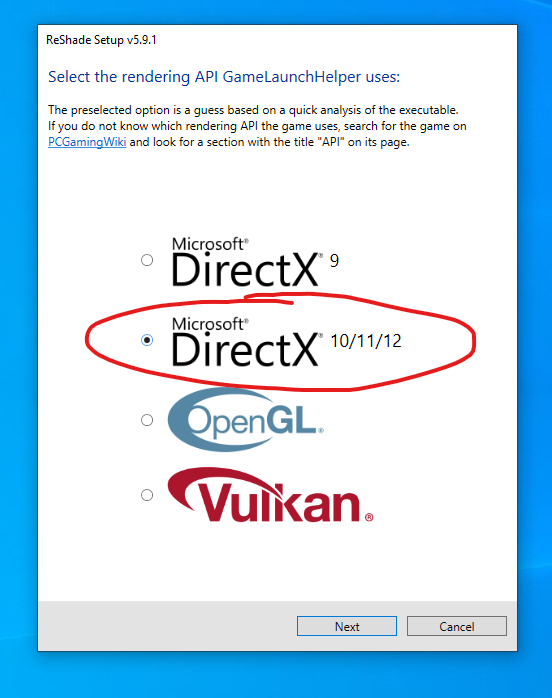
- Select Microsoft DirectX 10/11/12, click next.
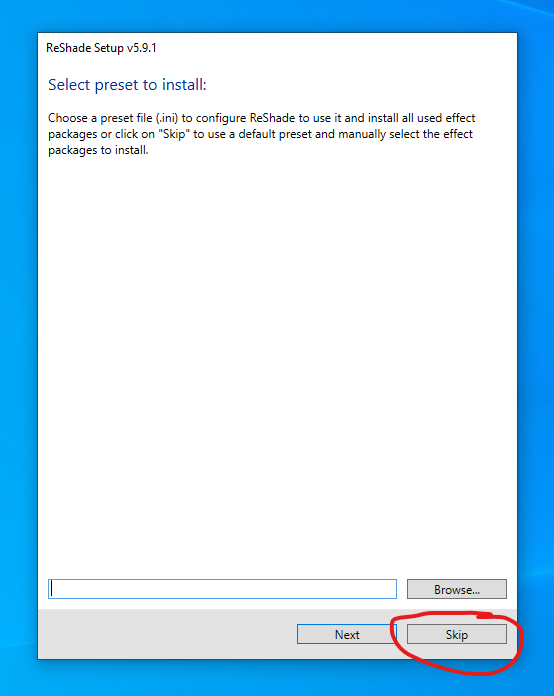
- Here you can choose to install a preset right away, I would click skip and do this at a later stage from within reshade once in the sim, just get it all running first.
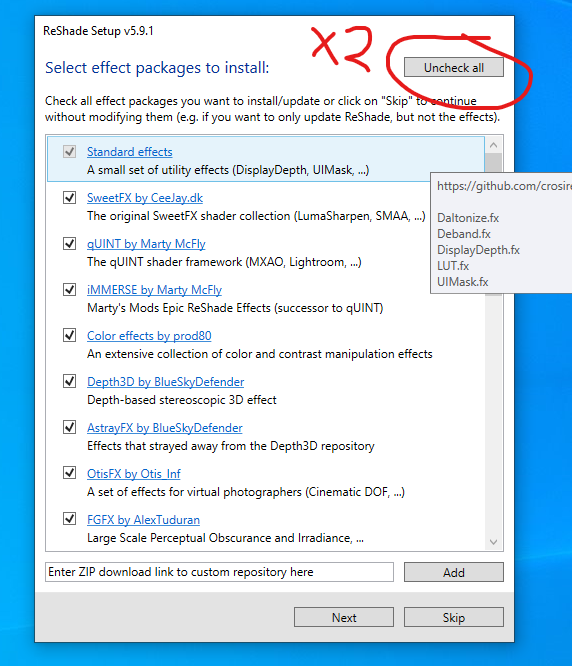
- Now select which shaders (effects) you want to install, my recommendation is to uncheck all, and then recheck all, to install all the shaders. So make sure all are checked and then click next.
- This should be the installation complete.
Reshade should then load automatically when you start the sim. The shaders will load, try not to click anything or press any keys or peripherals, just to be safe, you know what MSFS is like. just wait till the sim is fully loaded and why not load in at your favourite airport.
You can do the tutorial or skip it and then access the menu by pressing the Home key (which should be free from any MSFS bindings if you followed the guide).
The first thing I would do would be to navigate to the settings menu in reshade at the top and select a key for effects toggle. This is where it also handy to have previously found a completely free key that won’t affect anything in MSFS. This guy will in essence turn reshade off an on.
You can close the sim, now you know it is all running, or leave it running, up to you. It is easy to leave running if you have a second monitor or run in windowed mode, but might be more problematic if all you can see is the sim.
Now to choose a (or some) preset(s). There are many sources for these, I would really recommend the Noptic Reshade discord server for trying some, there are some really nice ones there under the releases channel, or get them from wherever you like, I am happy to share the one I have made and currently use, it is very subtle, and of course you can make your own. However, if you are a beginner I would start by tweaking presets you have downloaded to get used to how it works. You can always delete the preset and redownload if you mess it up, so go experiment.
To install a preset, simply download an ini file, you can place this wherever you like, but I find it simpler to place it in the same folder as the gamelauncherhelper to keep things in one place.
Then once reshade is open in the sim, at the very top, where mine says Andrew, you can click and select the preset you downloaded, if you placed the preset in the location I suggested you can scroll straight to it. Click and it will be loaded. Now when you press your effect toggle key you should see reshade doing its thing! And you are all set.

Note that the top half of the window shows all the available shaders and whether they are active, and the lower half allows you to tweak the actives ones.
