Not saying it’s wrong. Each to their own. I used strange because 2 applications are being used when one will complete the task. Not sure what you find complicated using hardware with AM because it’s real easy IMHO. I guess it’s what you are used to. I happen to find MF’s user interface clunky and it doesn’t give me as much flexibility as AM. I have similar issues with the former Simvim. Then again I’m not your average AM user.
Thanks Kevster72.
I just took a look at your website, I wish I had learned about it before starting from scratch.
Your board seems to be a great way to avoid a wiring nightmare…
1 Like
What’s the idea of leaning the screen back at that angle? Or is that just temporary placement? ![]()
My current setup is similar - I used to have a 180 degree wraparound projector screen but I’ve demolished that ready to build something new, and in the meantime I have a single big TV, but it’s up too high so that the horizon line (which MSFS puts in the middle of the screen vertically) is too far above my eyeline. So I tilted the screen a bit to help, and the rest is done by tilting the camera back - it’s not ideal as it introduces some distortion, but not much, and it’s comfortable to fly now.
(As an aside, this is why MSFS needs asymmetric view frustums!)
Thank you for the feedback fetfet2020, It certainly does make wiring a lot easier. However, your cockpit looks great! so it is a pleasure to fly after all your hard work I am sure.
Maybe I’m missing something? Am I right in thinking you have to do some coding or write Lua scripts, something like that. Is there an easier way? When it comes to trying to write code I’m afraid I’m lost!
You can write code or use the built-in hardware functions. The code isn’t hard to learn. If you can understand how an Arduino talks to a MAX7219 then you can learn the AM API along with the basics of Lua. There are a full set of video tutorials to help beginners along. Using the hardware functions is as simple as adding them to a panel like you would an instrument. All you do after that is select your hardware board and pins from drop downs and you are set. The best bit is you can choose to delve into the code behind the function if you need some customisation.
I understood practically none of what you said, but I made a steam gauge Cessna 172 button box using Mobiflight. It has (practically) every button, dial, and switch that can be used in the aircraft. Took me about 10 minutes to figure out how to program it after watching a 5-minute video. No coding (or understanding of coding) required. Way simple.
1 - It wasn’t intended for you
2 - if you’ve never used AIr Manager it’s no wonder you wouldn’t understand someone writing about it
3 - Each to their own. There is no right or wrong.
- This is an open forum.
- The coding you describe is not exclusive to Air Manager.
- I wasn’t judging. Just sharing in the open forum discussion.
I get it’s an open forum. I was replying to Kev and so the reply was tailored for him is what I meant so you may of not understood that.
I actually didn’t describe any code but while on the subject, the Air Manager code is not the same as other solutions because it uses many extra API functions to make things easier for new users. Yes it helps to have had some prior programming exposure but it’s not hard for someone with no prior knowledge to pick up and there is plenty of help. There is also a drag and drop method so no programming required.
Like I said each to their own but had to dispel this myth that you have to be a programming ace to use hardware with Air Manager. It’s simply not the case.
Thanks for the positive feedback!
1 Like

This is my current Cockpit.
It consists of:
One Saitek Pro Flight Yoke
One TPR: Thrustmaster Pendular Rudder
Two Saitek Throttle Quadrant
One Switch Panel
One Saitek Multi Panel
Two Saitek Radio Panel
One Saitek Backlit Information Panel
Six Saitek Instrument Panel
TrackIr5 Head Tracking
One Pioneer Car Radio ![]()
![]()
System: I9 9900K, RTX 2080ti (all Water), 3x LG 38GL950G-B
8 Likes
Like it! Great idea that may inspire many other VR-pilots here. How do you like the audio panel? Which transponder are you going to add? And which autopilot if I may ask?

I love it! Though it doesn’t exactly match the in-game radio, you really only ever interact with three or four buttons, and I can find them by feel.
I actually like it more so in VR as the led lighting behind the buttons IRL bleeds to the extent that it’s a little difficult to know which one is active. If you’re handy with a 3d printer and Mobiflight, you could probably make one with the limited number of buttons you actually use on a radio panel.
Paired with the GNS 530 & 430, it is REALY immersive.
I’m in the process of making a transponder using this guy’s tutorial. https://cessna172sim.allanglen.com/
When receiving flight following on PilotEdge (a MASSIVELY AWESOME service, if you’re not aware) and receiving the dreaded “582TangoCharlie, squawk 4636” call… I die a little inside, as it’s the only time I have to reach for that WRECHED mouse! ![]()
I don’t know whether (read: “when”) I’ll add an AP, but if/when I do, I’ll probably 3d print & make it.
ALMOST complete!
Edit: Did I realy misspell really?
5 Likes
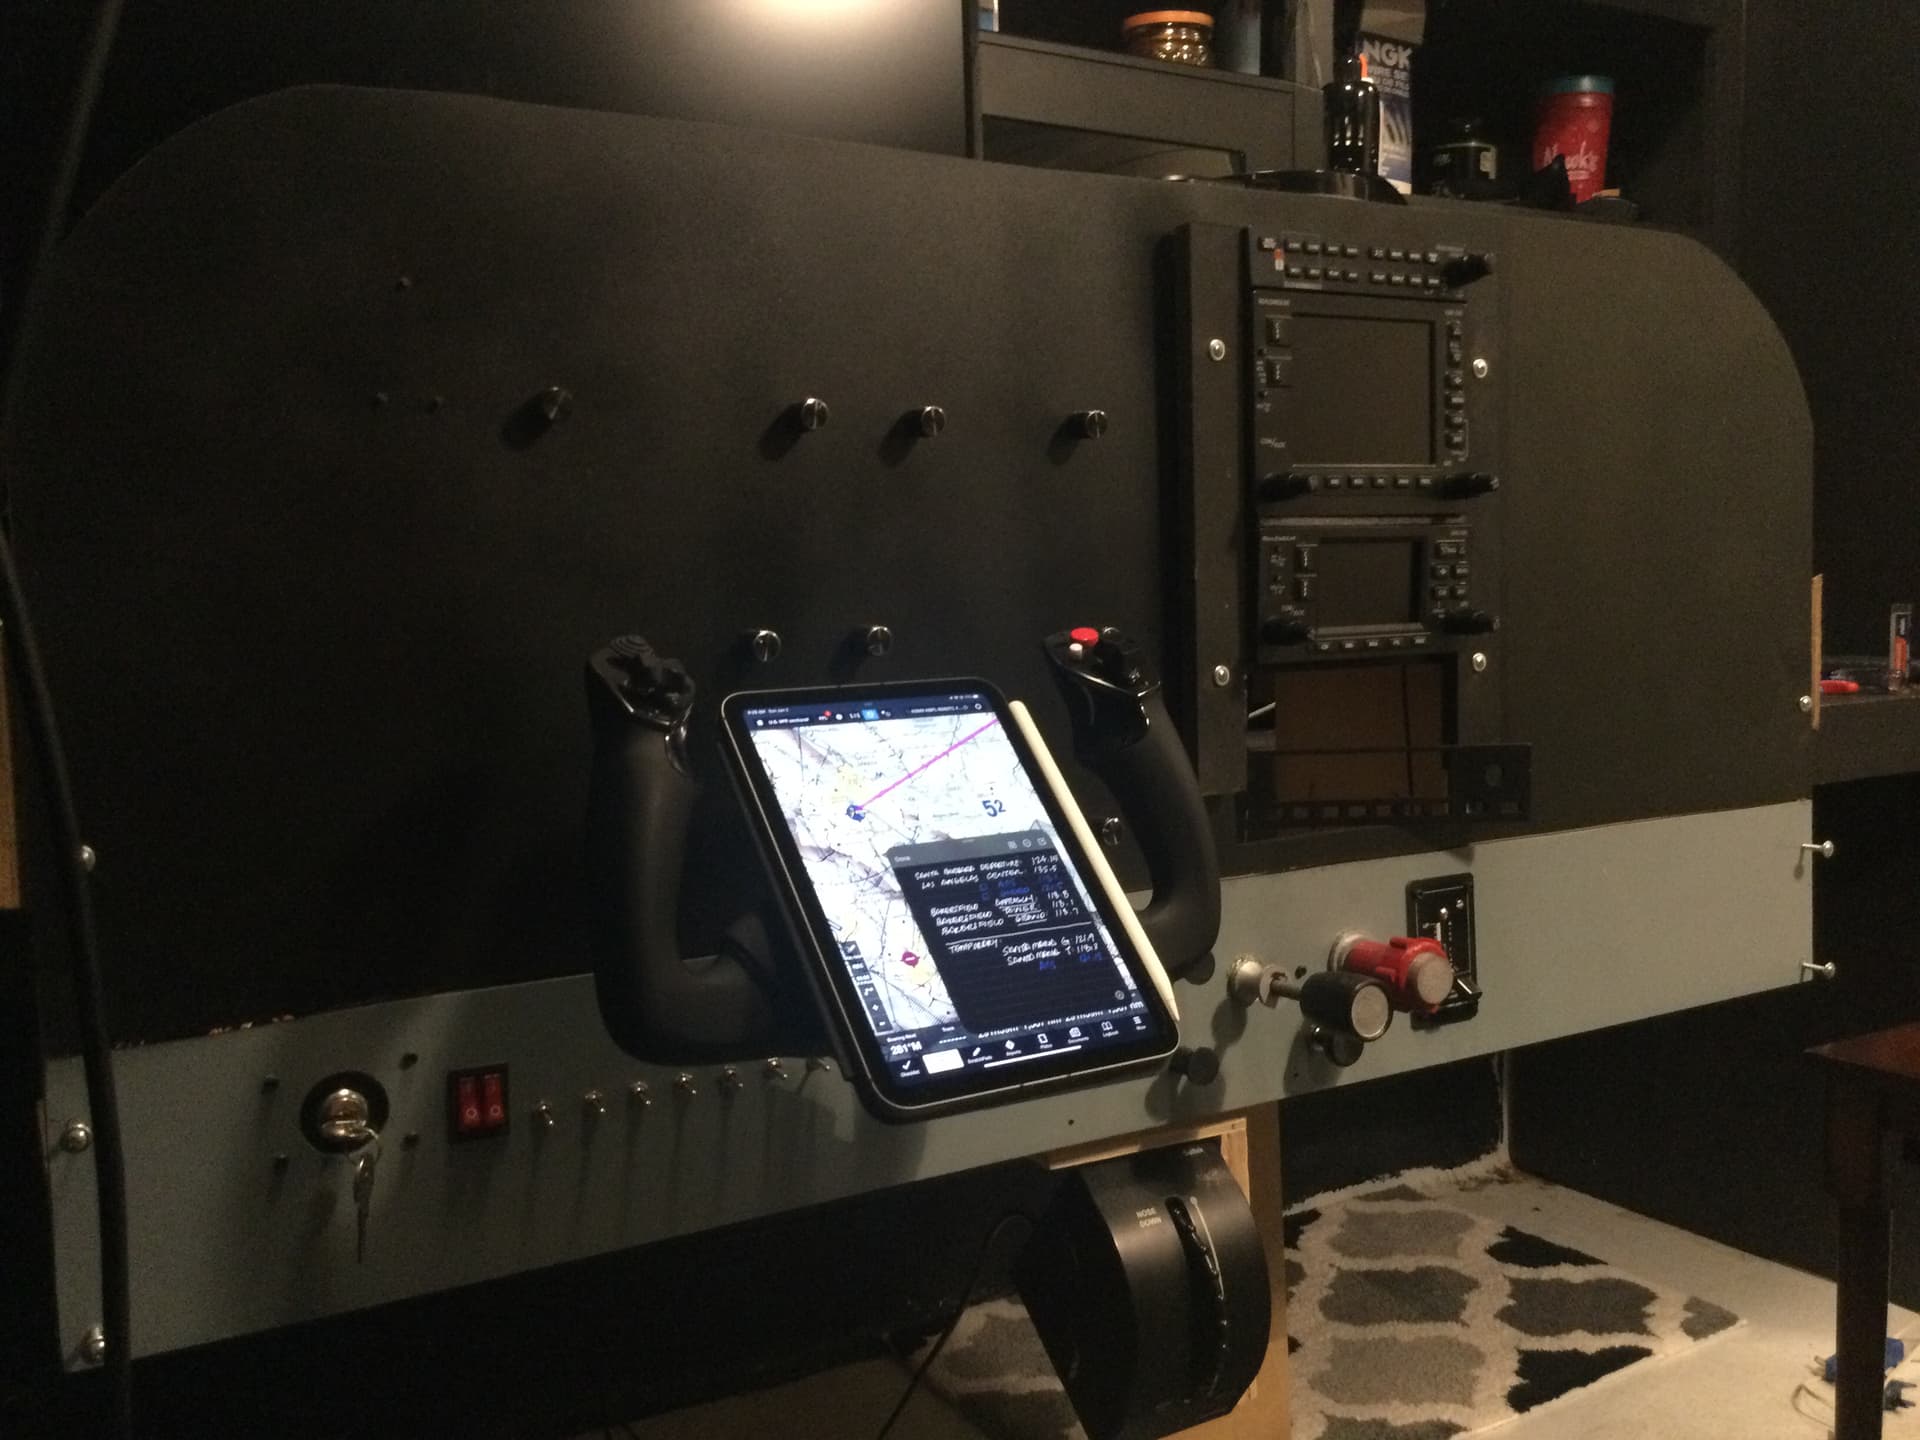
Yes, I still use an iPad (Mini v6 with pencil) in VR. LOVE, LOVE LOVE the mini notes that are accessible with the pencil, and stay on TOP of ForeFlight. (You can move it around and/or hide it with a swipe.)
I’ve cut away a little of the goggle nose shield/padding and can see the iPad at a glance, funny in that it takes nothing away from the immersion, and actually adds to. I mean, I’d see my yoke, lap and hands IRL, right?![]()
Here’s my pre-flight note for the CAT-5 rating on PilotEdge.

2 Likes
Look great!! What materials did you use for your frame?
Its Styrofoam, easy to handle😉
1 Like
Did you use Nvidia Surround for the 3 monitor setup?
Yes, but only for the picture! ![]()
I have two problems …
- there is a big fisheye effect, by which I mean that the zoom to the edges is getting bigger and bigger.
But Asobo is working on it.
2.The resolution of 11520x1600 is way too much for current hardware, with an RTX 4080 maybe!
Unfortunately, Nvidia Surround doesn’t offer a custom resolution like 5760x800, but only 16:9 formats, what ■■■■ is with 3x 21:9 monitors