If you use printer stepper motors (great repurposing!), you will need to gear them way down.
There used to be a place on Long Island (Nassau county) called Edly’s Electronic that had just about any used electronic device imaginable. Going there was dangerous to your wallet because they had so much interesting stuff!
Maybe not, considering they would just tension the bungee cords. But we’ll see when/if I get to that.
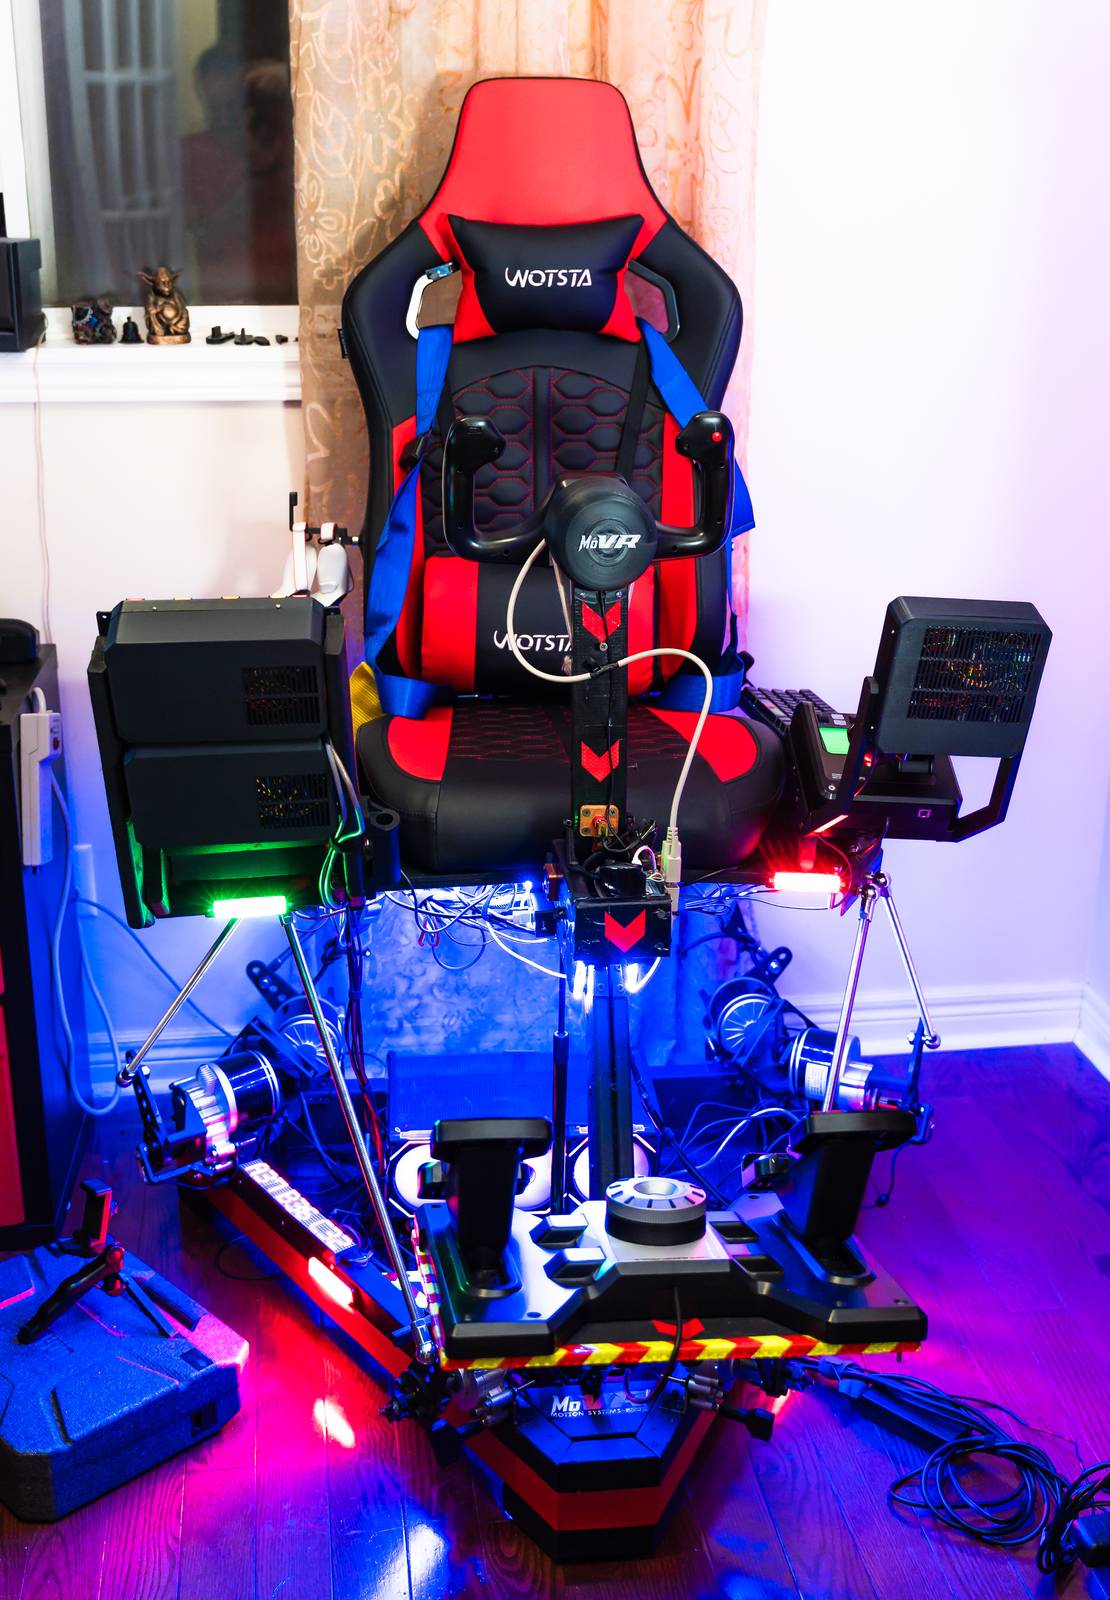
BTW I added 3 120mm PC fans to move the air around the motors, and changed SMC3 settings, and they seem to heat less now, so far with 1-2 hour sessions the temps seem well within a safe range. The temp sensor on the hottest motor is usually showing a max peak of ~40C.
People tell me that I tend to go overboard with fans myself.
My criteria:
If it’s too hot to touch it gets a fan and/or a heatsink. If it already has a fan and a heatsink I either improve the thermal grease or get a bigger one. If it has a heatsink, but no fan, I add one.
If it isn’t too hot to touch, but is uncomfortably hot, I do the same as above.
If it’s comfortably warm, I wait awhile and see if it gets hotter. If not, I leave it alone.
I firmly believe that Cooling is your Friend - and the cooler the better. (Though I haven’t - yet - gotten into the “dip your system into liquid nitrogen” cooling method. )
That’s the stage I’m at. One step I can take is to cut and bend a DIY heat sinks for the motors from a spare galvanized steel duct pipe. I’ll do it if I have to, but so far I think I’m good on temps.
This reminds me of the way they handled the cooling problem at the old RCA transmitter site in Rocky Point Long Island, (where I lived for a while)
This facility used huge transmitting tubes to send messages all around the world in the pre-satellite days. (In the 1920s, it used Alexanderson rotary RF alternators.)
They used water cooled tubes to generate the power needed.
In front of the facility (that looked like a mansion) there was a huge fountain. They’d shoot the hot water from the tubes up into the air which would create beautiful effects while dissipating heat.
have you considered using a clutch type brake on each motor like is installed on wheelchairs? they energize any time the associated motor has to move. That way the motors don’t have to hold the weight when static.
I am sure you had an excellent reason, and I suspect that it has to do with both complexity and expense, but I am curious why you didn’t use screw-actuators with Ajax threads and a follower rather than a bell-crank?
This would allow very precise control and almost zero load on the motor itself, especially if you have load-bearing bearings at each end of the shaft.
My design philosophy is “If it gets warm, it can get warmer” and if it gets warmer than about 40-50° C, I start thinking about adding a few fans. If it gets hotter, I start thinking “thermal glue and relatively large heat-sinks.” (Keller Radial thermal adhesive is a good choice.)
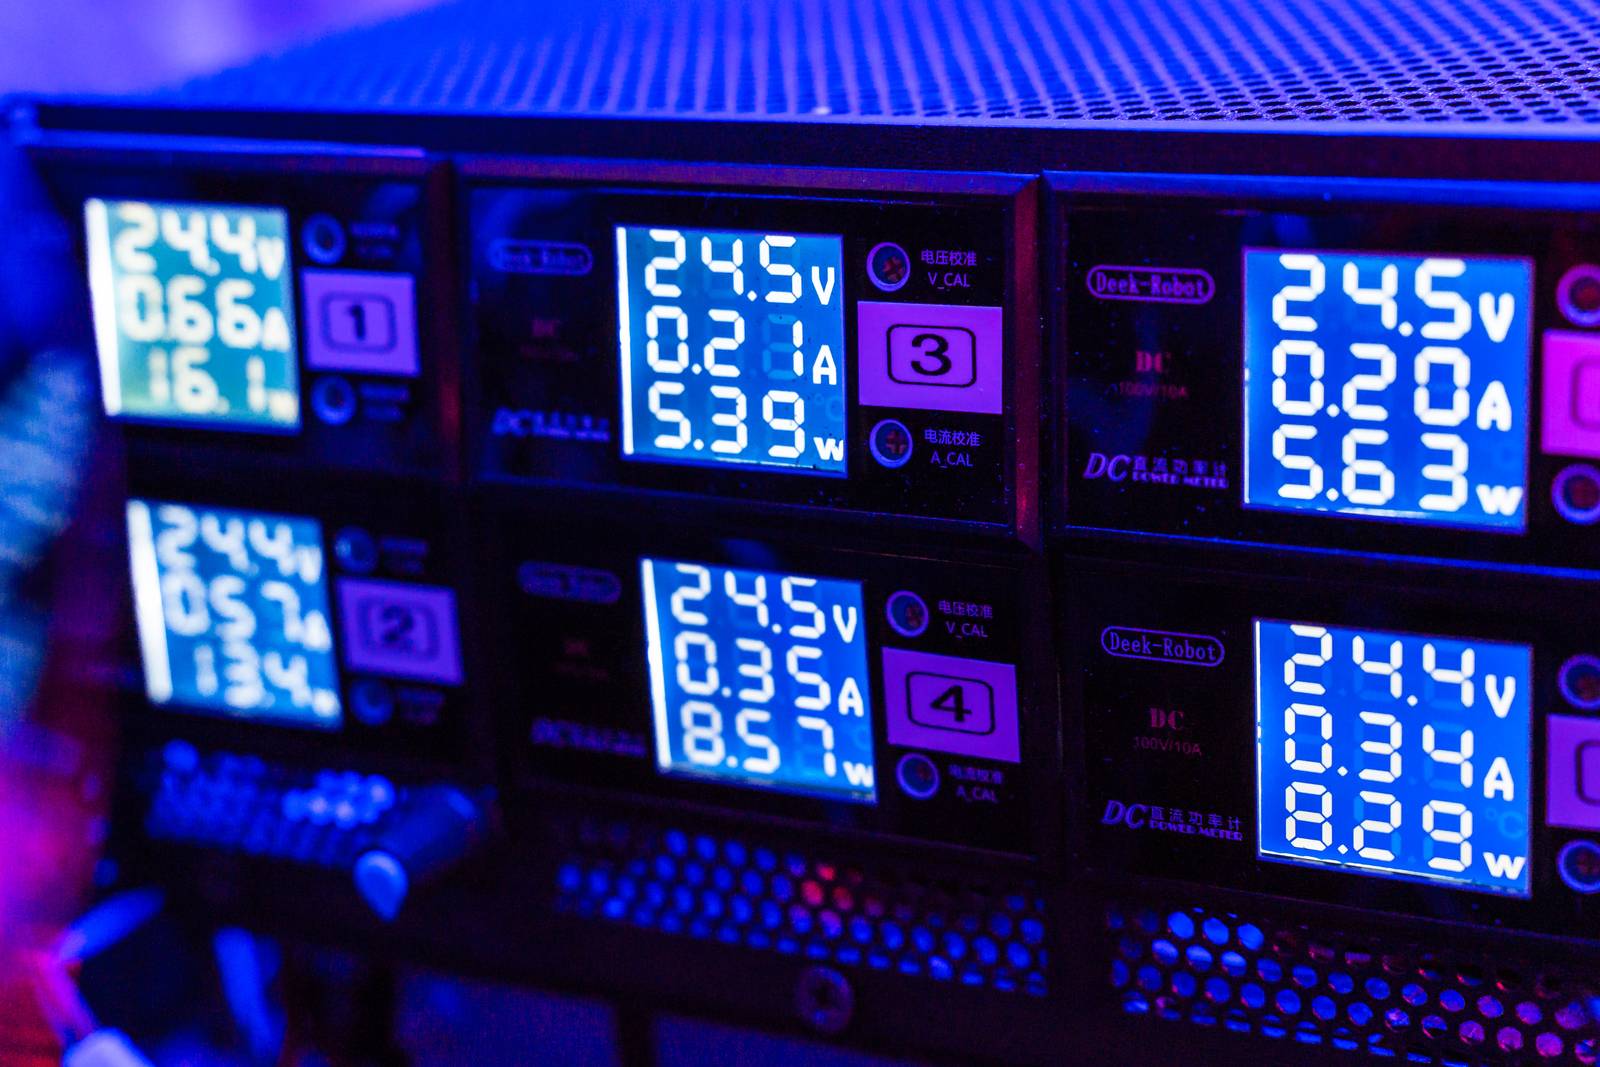
I built a relatively large bench supply by repurposing an unused PC power supply and I needed a dummy-load so it would start properly. (they won’t start open-circuited.) What I did was grab an old heat-sink from inside a dead ATX PSU, glue a couple of high-wattage resistors to it, and I had my dummy load.
I have a couple of routers that get uncomfortably warm when left running for extended periods of time, so I’m planning on cutting a hole in the top of each of the router’s cases and mounting a small fan to suck in air and blow it over the internal heat-sink.
The goal was a low-budget build, and linear actuators of any kind, even DIY ones, get very expensive.
I haven’t been using it a lot, but so far the temps are holding at manageable levels. I built a temp monitor with a beeper located at the seat’s headrest, and 3 temp sensors. So if the temps go too high I get beeped. So far it’s not overheating.
Hi @RomanDesign, very nice bundle that you put together. I optimized your “bill of material” a bit for European mainland and added a bit of equipment, that you didn’t mention in your list, such as the 12V power supply.
For your motor arms, I ordered at Xometry 63,57€ incl. shipping. It’s “only” 6mm thick, but that should be sufficient. The cut it by laser.
Aliexpress was pretty much straight forward. Now I’m waiting for the components to arrive.
Hi @EtHaennesche - good luck with your build! Post pictures/videos here when it’s completed!
Are you going with 12V motors? Or did you mean 12V PSU for other stuff?
6mm thickness for the motor arms should be plenty. Mine are ~7mm steel.
I use Neptune 4 (non-pro version)