I will be sharing the production process, photographs, and videos related to several cockpits I have built previously and my ongoing project. I hope this information will be useful for your DIY cockpit endeavors.
I’ll be posting videos of my flights in the cockpit I built, and also videos related to flight simulators.
Using jet fighters and helicopters in MSFS2020, I enjoy flying around between buildings, imagining under bridges and buildings as pylons, and I do it frequently.
Because my English is not fluent, I’m relying on AI translation for my posts.
 I guess the whole sharing of manufacturing started from here :
And currently at this stage with your brand new yoke project :
I love that quadrant, very nicely done! I’ve been looking for something that has rudder trim, parking brake, and fuel selectors in addition to the typical gear, throttle axes, flaps, and elevator trim.
On the USB connection area, are your electronic boards design fully own made, or mostly picking existing sub boards and only adding missing components ?
Thanks for your answers @k5w2gf7g4f9d, currently watching some of your videos through the links you’ve provided 
Thanks for sharing. I have the tools just not your skill level. Keep up the GREAT work and PLEASE keep on sharing your work here.
Growing nicely !!! 
Very impressive stuff! Wish I had your talents. I suppose the best thing about building it all yourself from scratch is it makes it easier to fix if anything goes wrong 
 as I will never become a manufacturer like this …

Looking very nice indeed! It’s all coming together quite nicely
Do you have the tiller lever building video capture, though I’m sure I will not be able to make near or similar work, interested to see from what is made the upper rounded part of the lever ?
What also puzzled me is your great ability to build smooth parts of your devices using something like plastic or resin, so I made a search on the web and found some which looks like the one you’re showing in your streams.
Could you please share with us recommendations on this type of building and if these are similar to yours, how did you made a selection and what we have to pay attention before trying some initial attempts and practicing ?
Is plastic (or similar) not the best choice and why ?
What about the hand modeling, is there some points to be warned ?
Does resin powder purchase is enough on its own or does it requires separate purchase of liquid hardener ???
During my search I found these showing powder and another liquid resin in dental resin area
Not sure if it would be the best following your advice @k5w2gf7g4f9d


For reference here you’re showing modeling in action for instance :
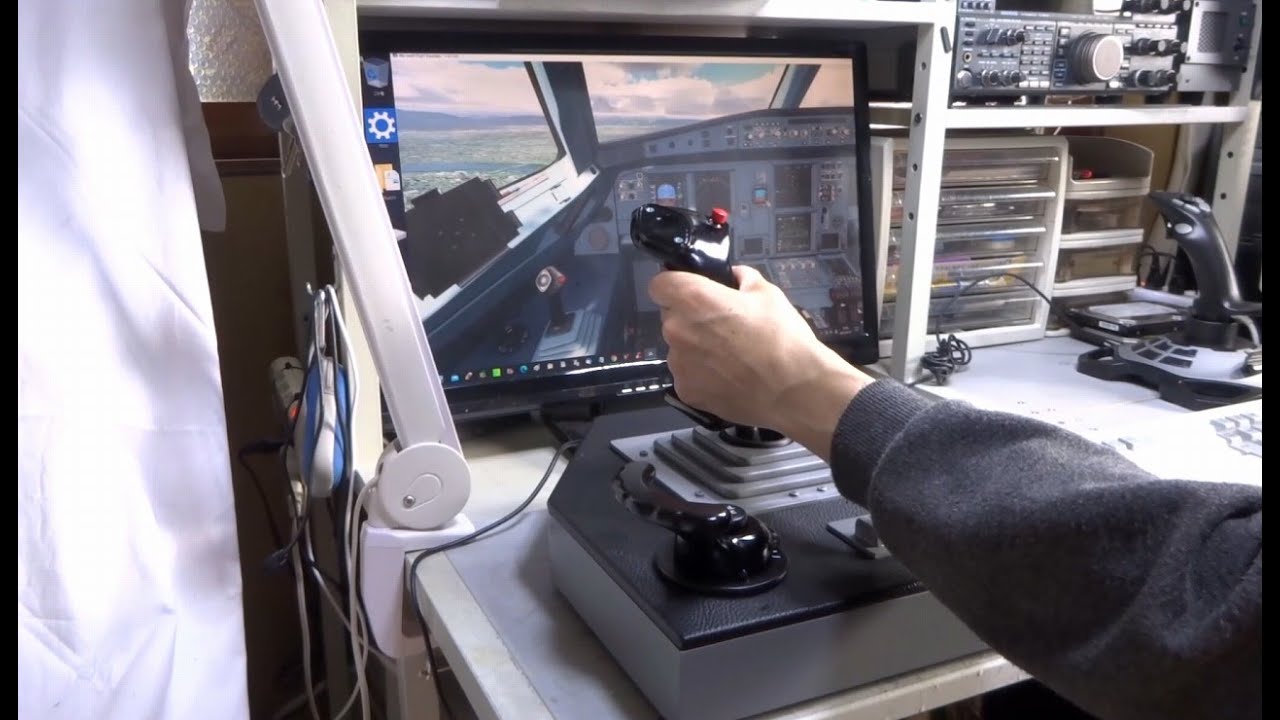
Highly like how there’s still some solution to enhance devices and amazed by this mod 
Thanks for all these nice advice @k5w2gf7g4f9d , which really helps to get an idea of where to start for a first attempt, hope I have a start in the upcoming 1 or 2 months, I will report, if I have the chance, on how it goes, still very intrigued on a what could be the result after modeling 
EDIT: It looks like the OstronII isn’t available in Europe, so we have to search for an equivalent Acrylic Resin. Will mention again my finds
Did you made several testing between products to eventually selected this one ? What would make the difference ? Does the self-curing stay the major point ?
What’s very impressive is in your building processes, there’s not any point you didn’t find a solution … 
EDIT: just a bit on the edge … still on the workbench area … just found this Very interesting !
All about the manufacturing and transformation interest !!!
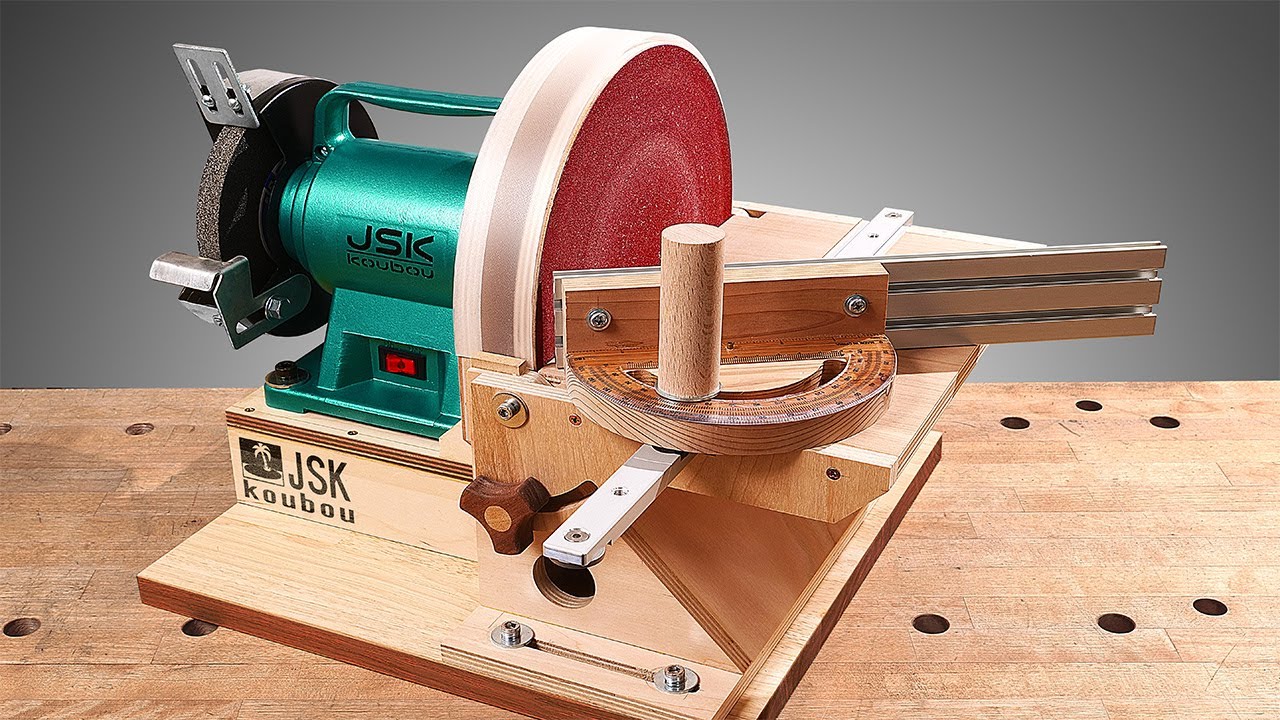
Really Impressive and it would help for better flights immersion I guess !!!
It’s coming along quite nicely. I hope you are going to put a clear Perspex cover on the top as it would be a shame to hide all that wonderful work that has gone into it. If it was mine, I would want to be able to see the inside
That looks amazing! The black cover on the top does give it a very professional look now it’s finished. If I didn’t fly in VR all the time I would definitely want one just like that!
Can’t wait to see what you build next.
Beautifully done. Congratulations…Keep up the GREAT WORK! I cannot wait to see what you tackle next…
Thank you for sharing another brilliant video of your amazing skills in action. You are inspiring me and many others no doubt, that it is possible to do it yourself! I may not have the technical skills that you do, but thank you for giving me ideas that I’m going to use myself in the future.
In my personal opinion there is no better feeling in the world then the satisfaction you get from building something yourself.
Keep up the amazing work!
How did you made the autopilot plate cuts and writing on it ?
Are the writing made with screen printing ?