Hi there,
I create this post in order to share with you my creation of a home cockpit.
The objective of this one is to obtain a flexible simulation environment which would make it possible to pilot any aircraft in the conditions closest to reality without having to create a particular aircraft cockpit such as A320, 737, Cessna or others.
I am currently at the end of the adjustments of the projectors on the new BETA 10 of MSFS.
I’m pretty busy with my work but I’ll try to publish photos and synoptics of the construction from time to time.
I will make sure to answer questions from other simers who are interested.
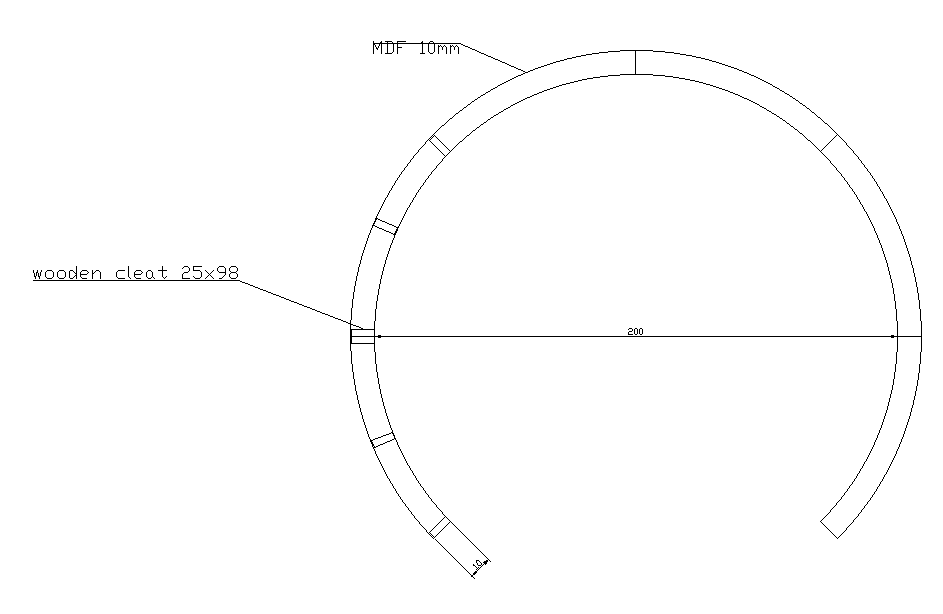
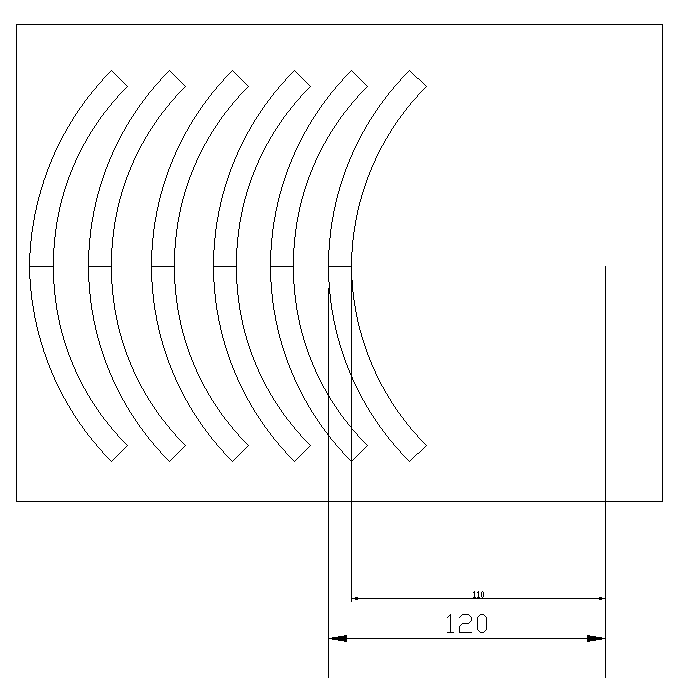
Below are some first photos of the construction plans :
CURVED SRUCTURE :
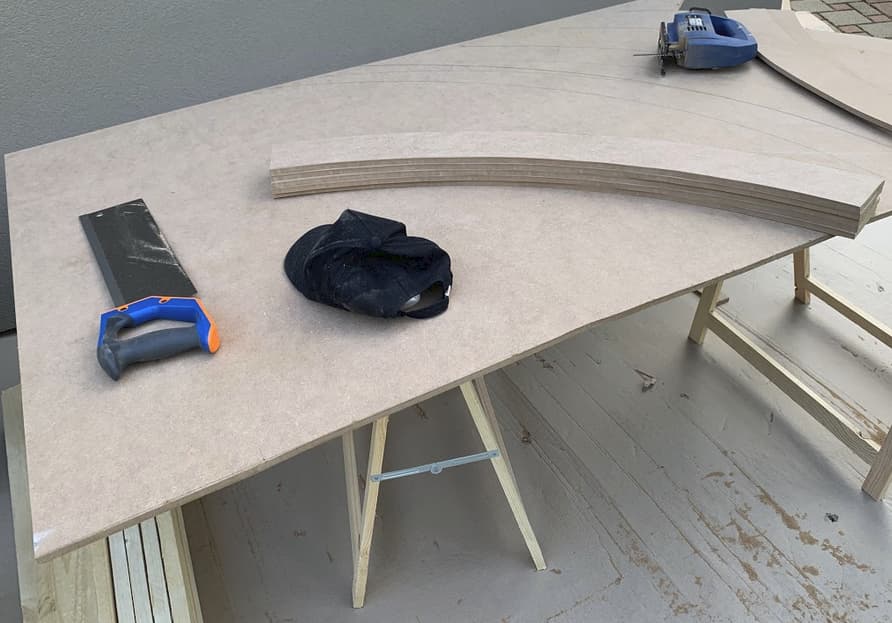
ROUND CUTTING PLAN :
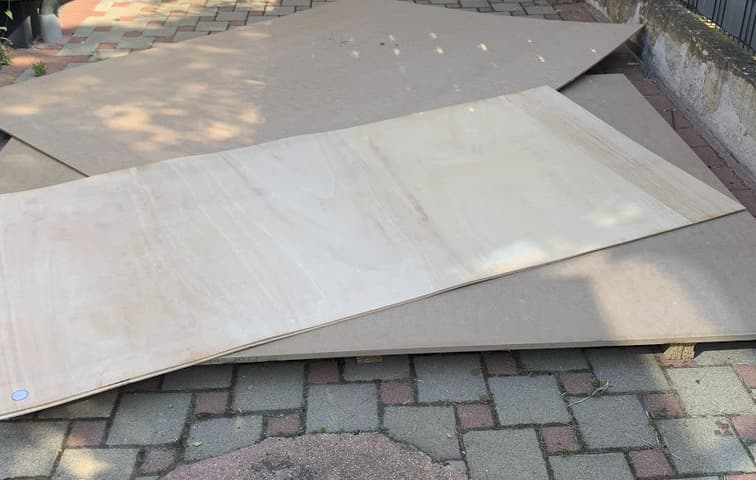
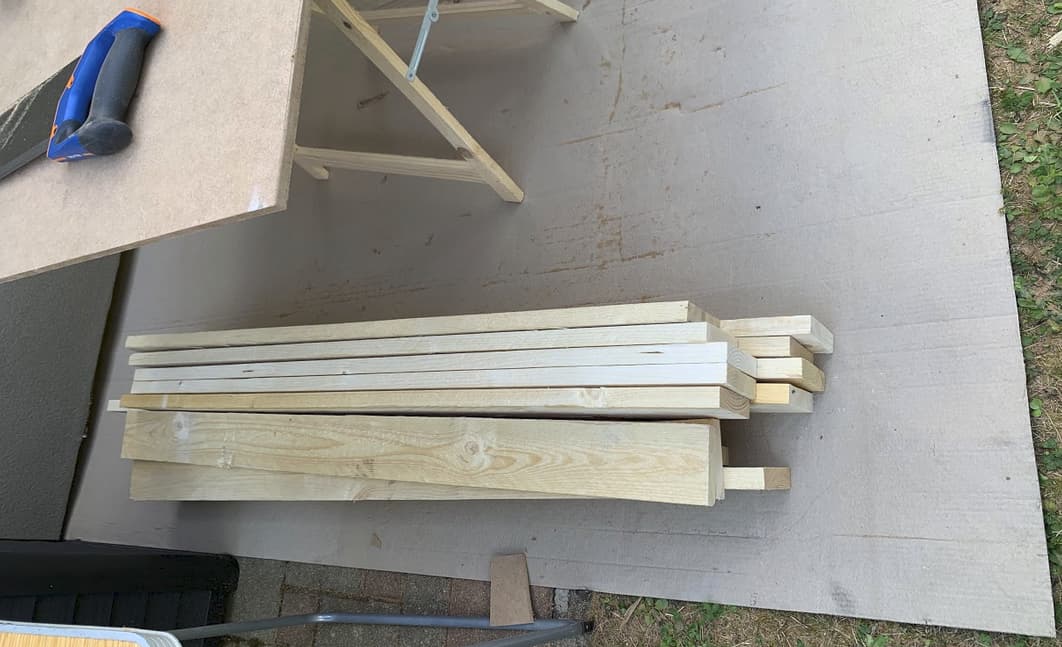
WOOD :
- MDF 10mm (For screen)
- MDF 19mm (For cockpit and chair structure)
- BENDABLE PLYWOOD ep 5mm
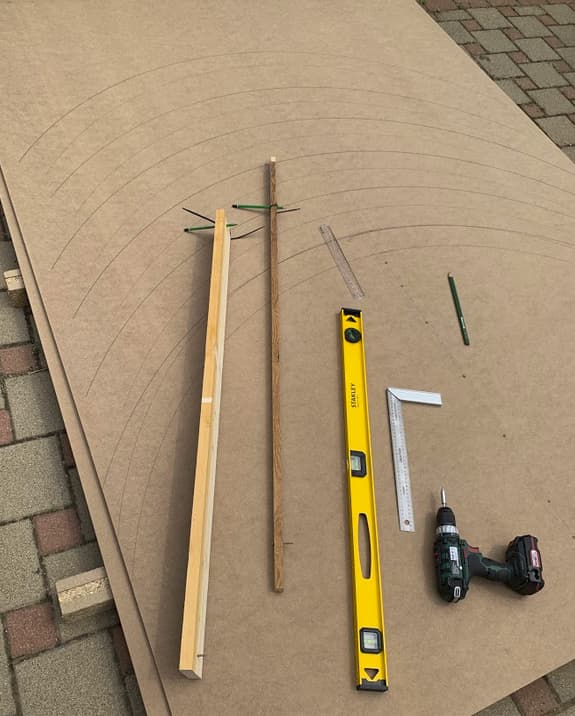
TRACING OF CUTOUTS :
CUTTING CURVES :
Good day and good flight to all.
DBair
5 Likes
Very curious how this will play out. Have fun with your great project.
Does projector really work in that level of curvature at that 1 metre radius? How do you plan to mitigate the warping effect of the projection since the light travels in straight line but bounced off the curved screen at different distances.
I would think that a curved OLED display for the whole thing would be more feasible.
1 Like
Hi there,
I’m back with new pictures of the flight simulator.
As a reminder, the simulator is being finished but I take this opportunity to send you photos drop by drop to make the fun last! 
On the program today:
CUTTING WOODEN BRACES :
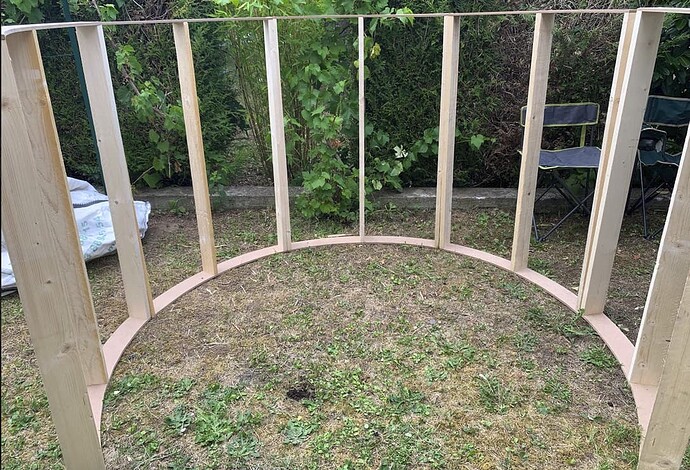
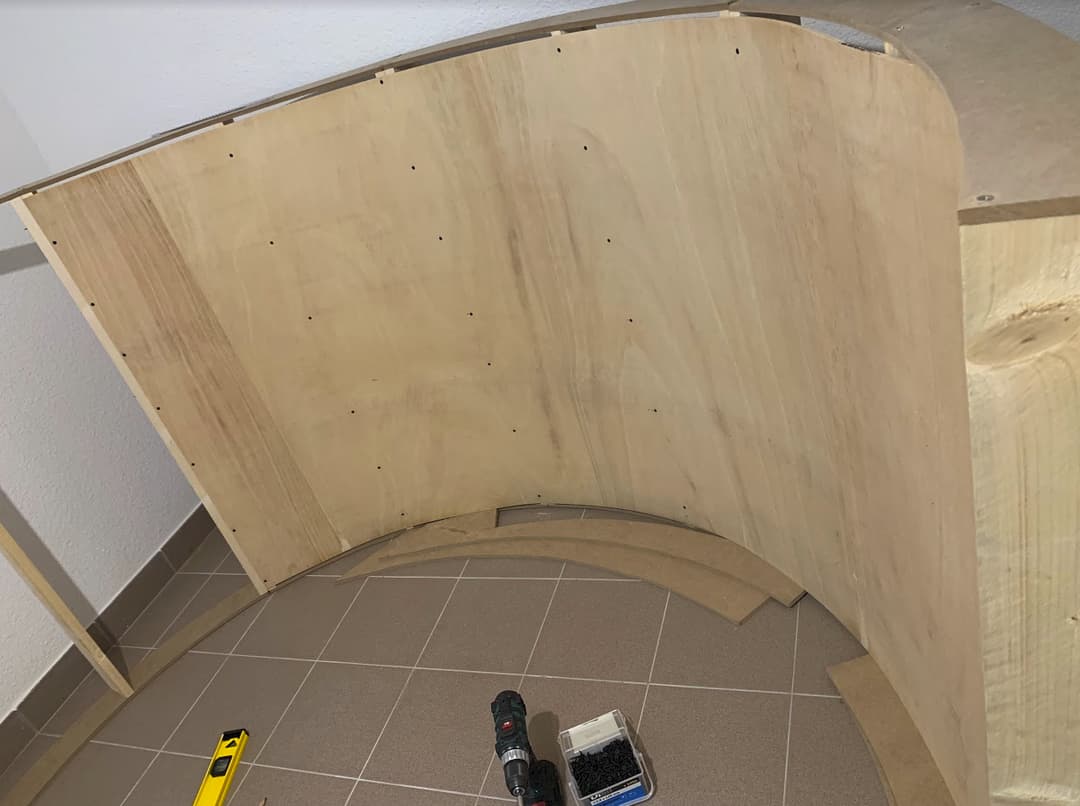
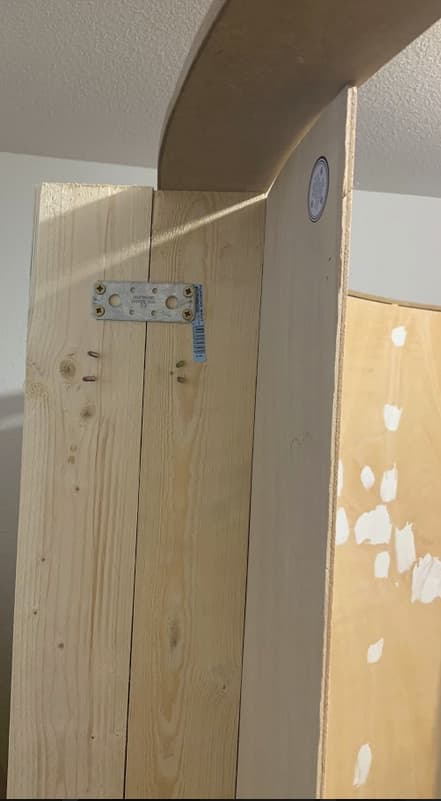
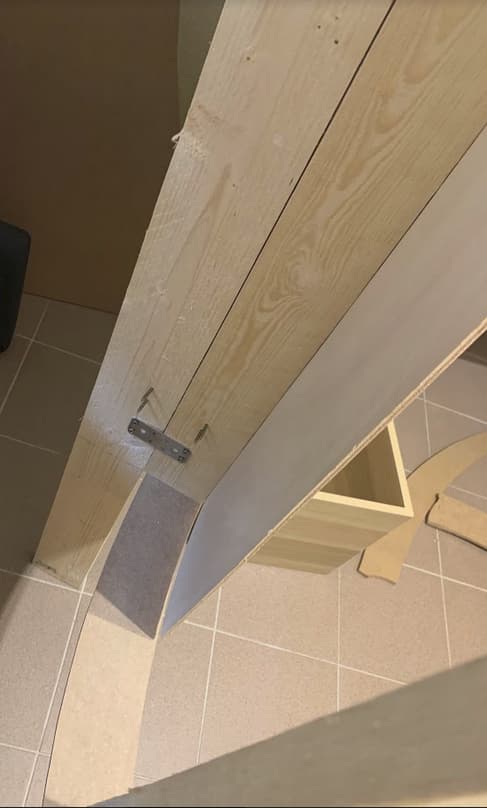
ASSEMBLY OF CURVED WOOD :
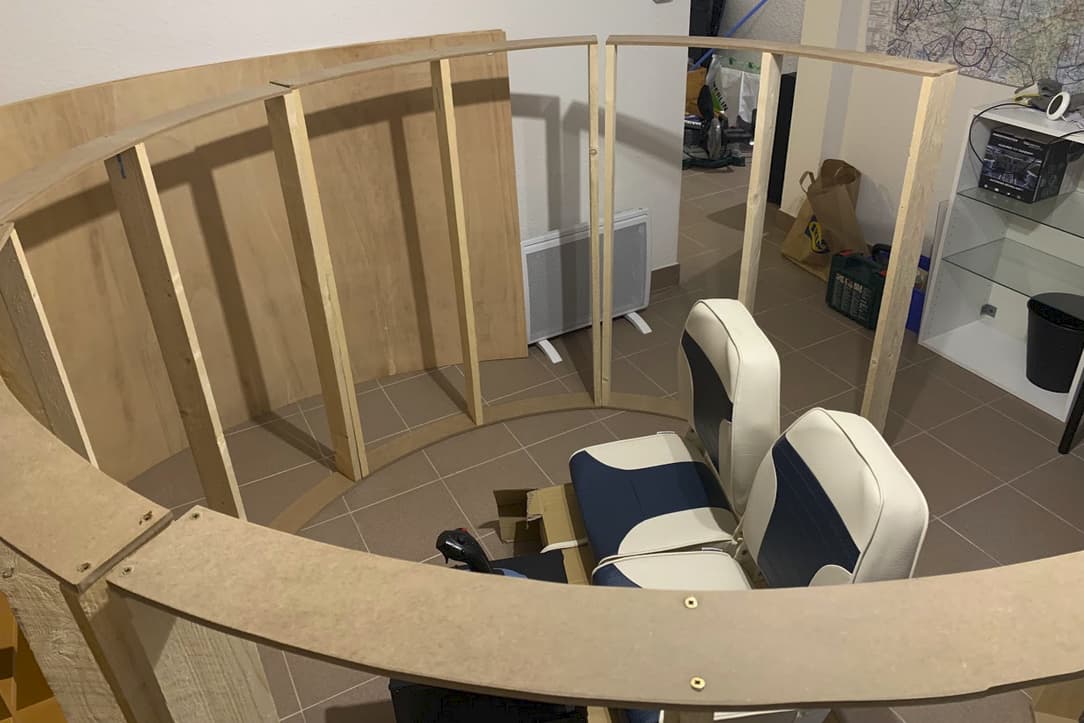
INTEGRATION OF THE STRUCTURE INTO THE ROOM :
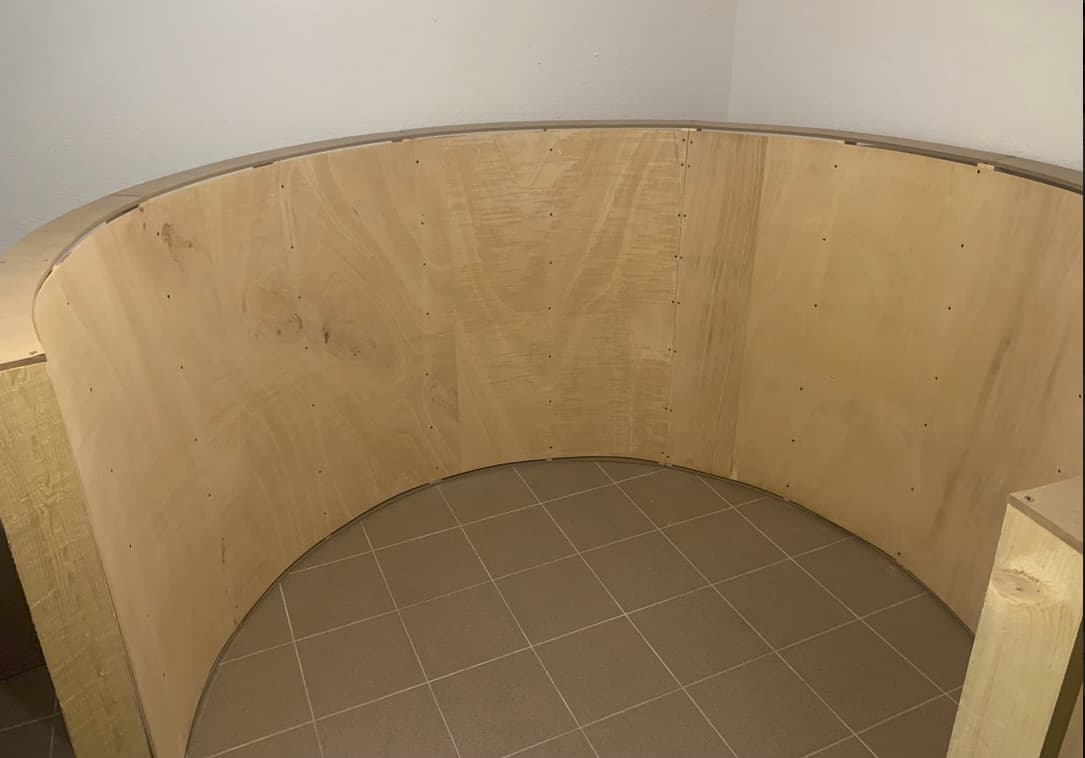
INSTALLATION OF BENDABLE BACKING PLATES :
STRUCTURE LIFTING :
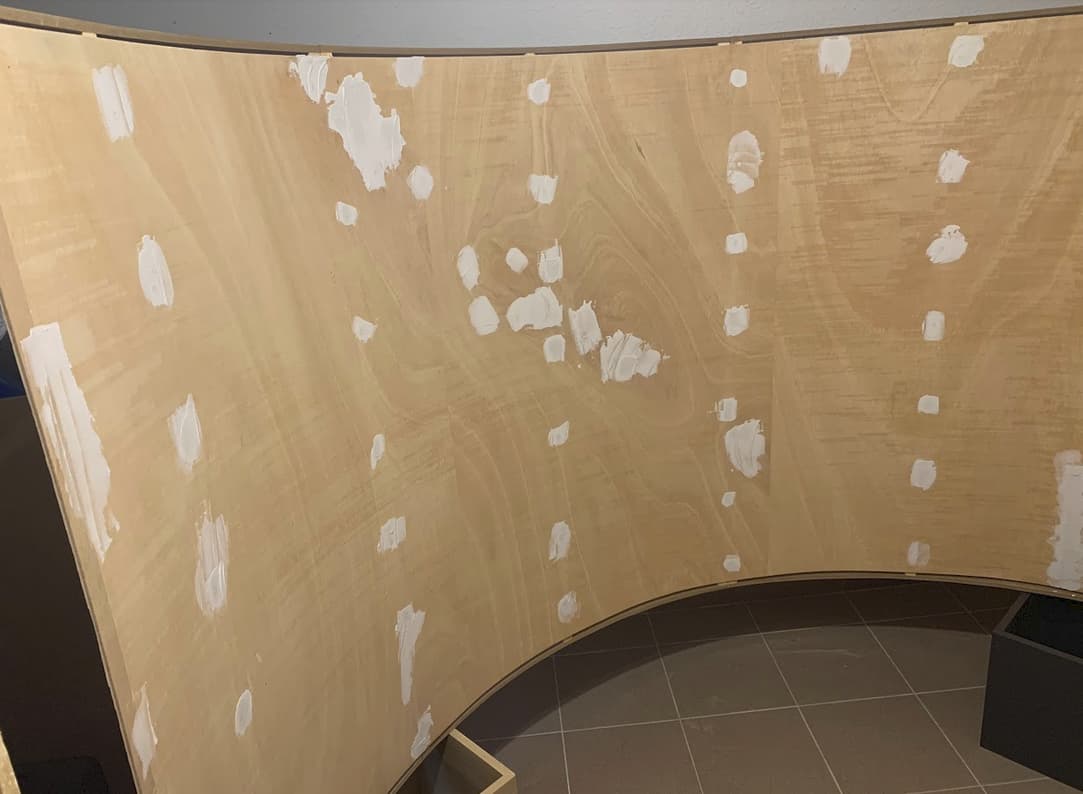
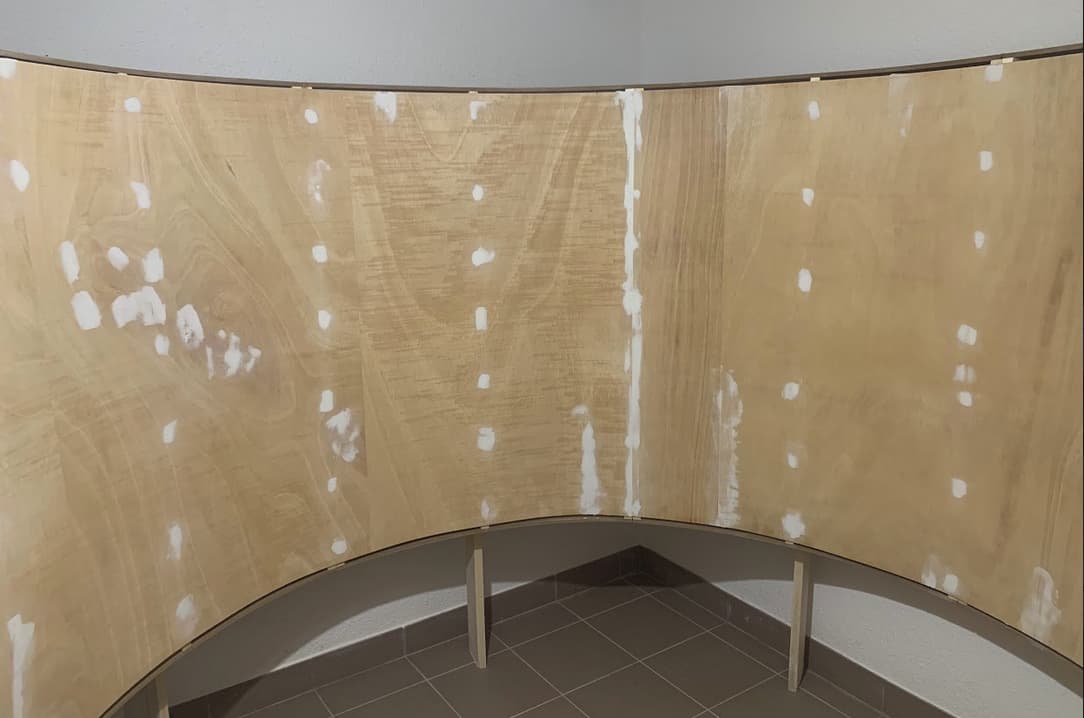
SCREW HIDING AND SANDING :
I hope you like it.
Do not hesitate to ask me questions or go into the precision of the materials or other. I will respond to your requests as soon as possible.
DIY level, we can consider that I manage but I am not a professional. Everyone who has ever played Flight Simulator X is handy enough to get started on this project. 
While waiting for the next photos, I wish you all a good flight and a good end of the day.
DBair
1 Like
Hello @GhostlyFrend ,
I hope you like the final result!
Good Day.
DBair
Hello @NeoKingRthur ,
First of all, thank you for taking the time to respond to this post. Indeed, a radius of curvature of 1m can be frightening. However, with 3 short focal projectors on the same radius, the practice becomes simpler. In fact, the projection surfaces will be curved and misshapen. Everything results in the last step which is the calibration and wrapping.
Using TV screens would have been much easier but it made things less exciting and the perspective less impressive.
I will post pictures of this step soon.
In the meantime, have a great day.
DBair
Which projectors do you use?
The rendering will assume flat screens rather than curved, so I do hope you’re able to work out the warping through projector calibration. Looks pretty cool!
(Now that I’m thinking of it, a projector with a curved surface is probably better than a curved monitor, because the actual – projection! – is doing the literal inverse of the 3d projection, while a curved monitor actually wraps a flat screen onto a curve. So it’s probably gonna work great!)
Have you tried the curved screen software already? I did that its not as great as you think, your desktop buttons cockpit buttons everything is not where it appears to be depending on the amount of curve and sounds like your going to have a lot , you will never find the switches and buttons to click on them ..
I thing he will only use the curved screen for the view out of the cockpit and work with the appropriate hardware equipment (yoke, thrust lever, button box…), so you dont need to click buttons in a virtual cockpit…or not?
Hi @GhostlyFrend,
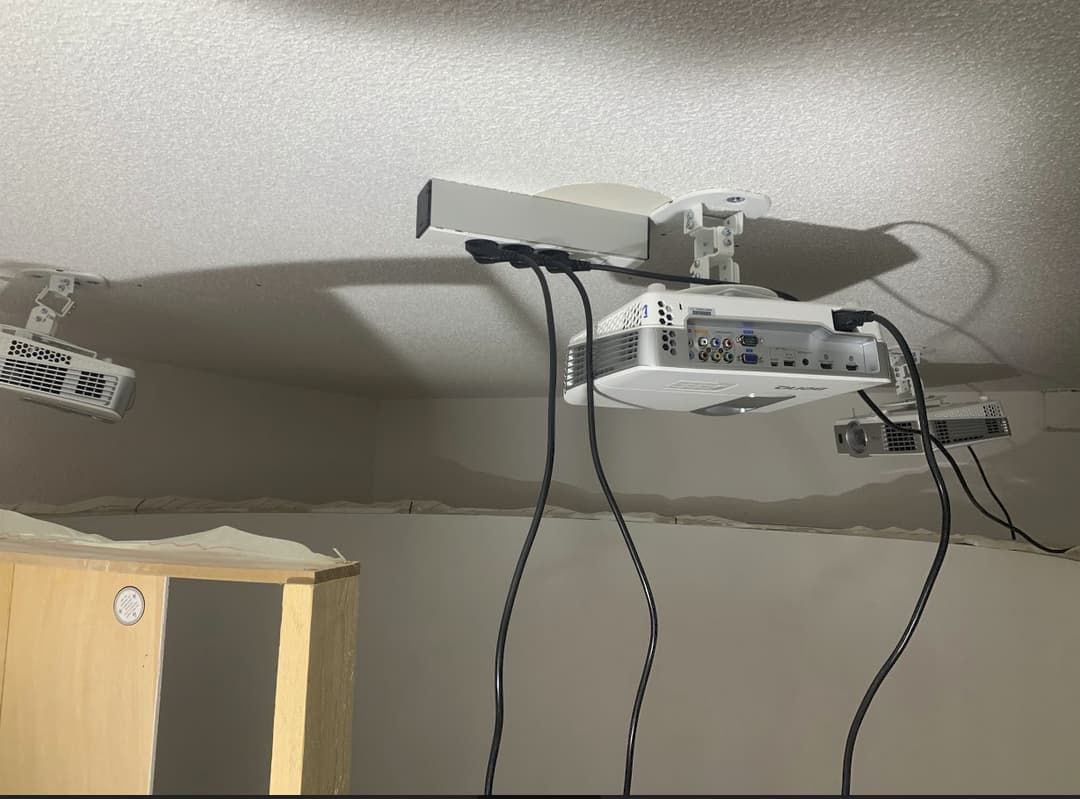
I’m using 3 BenQ W1080ST+ Short Throw Projectors.
Good day.
1 Like
Hello @Vibstronium,
In fact, in this type of setup everything depends on the calibration software (here FlyElise). Of course, it also depends on how it is calibrated (which is not a simple mission next to the manufacture of the structure!)
I found the idea really interesting to use projectors rather than screens simply because it seemed to me more fascinating and more immersive. 
You will soon be able to see the final result. 
Have a good day !
1 Like
Good luck! Looking forward to seeing how it turns out, looks really awesome 
Hi @iamcanadian2756,
Indeed, I have already carried out the calibration.
You have, however, raised a point which I have not yet investigated. The only buttons I tried to touch seemed correctly calibrated.
I think I saw a post you edited with a photo of your projection setup. Didn’t you have one wall set back from another? Some kind of depth? I wonder if that wasn’t the problem.
I will come back to you with this information.
In my opinion, the fact of carrying out a precise wraping comes down to having in front of a kind of curved giant screen.
Good day.
Hi @Kotti0815,
In fact, the simulation of the buttons and screen of the dashboard is quite simple to achieve with modules like SAITEK, touch screens, etc.
On the other hand, the overhead is a real subject!
The questions is:
- Do I have to add on top of that the TRACK IR which would make it possible to raise the sight?
- Do I have to keep the mouse on to do this?
Either way, I think I need to be able to use the mouse to click in the simulator.
Have a good day !
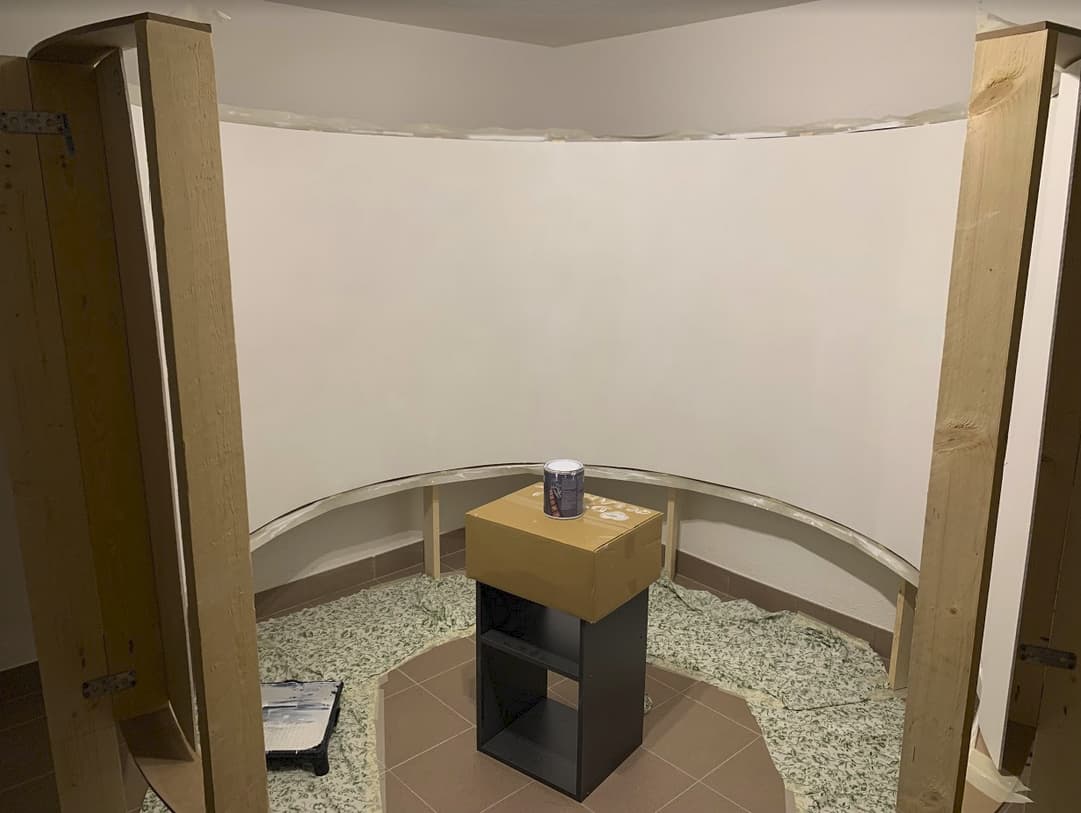
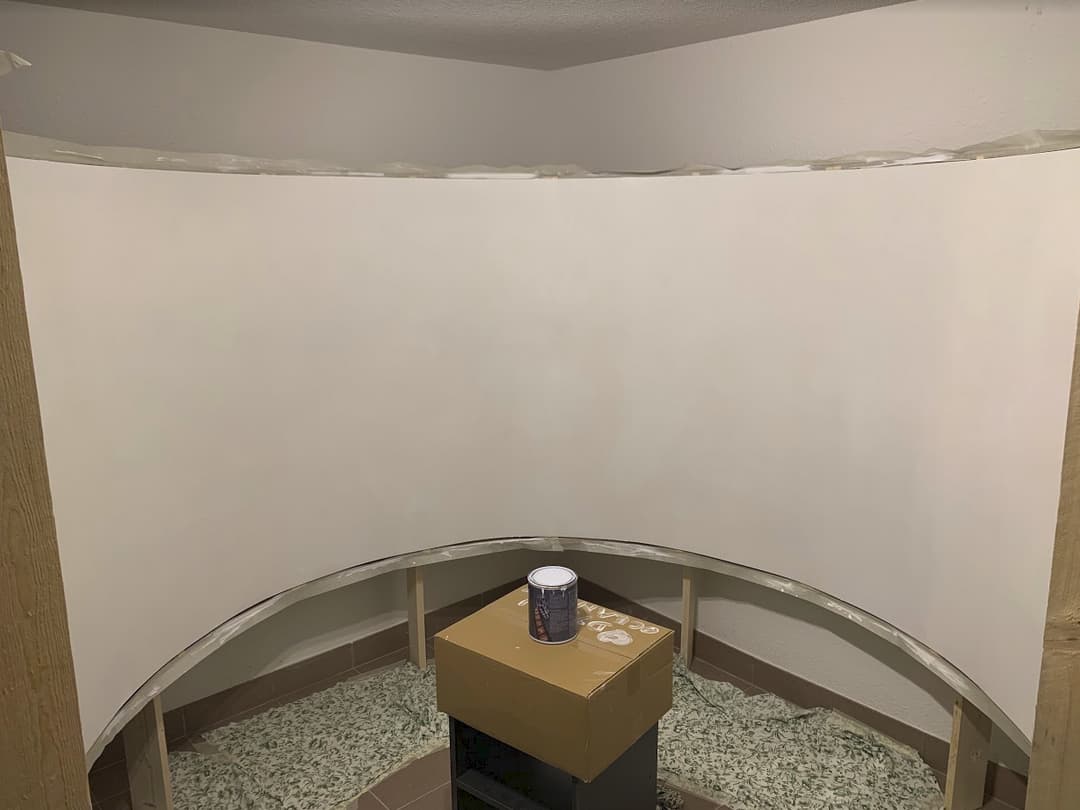
Hi there,
We finished yesterday on the screw masking and sanding part.
So far, the most complex part has been the rounded cutouts.
The next parts weren’t the easiest either. I will show you today pictures of:
- Undercoat paint,
- Final paint layer 1,
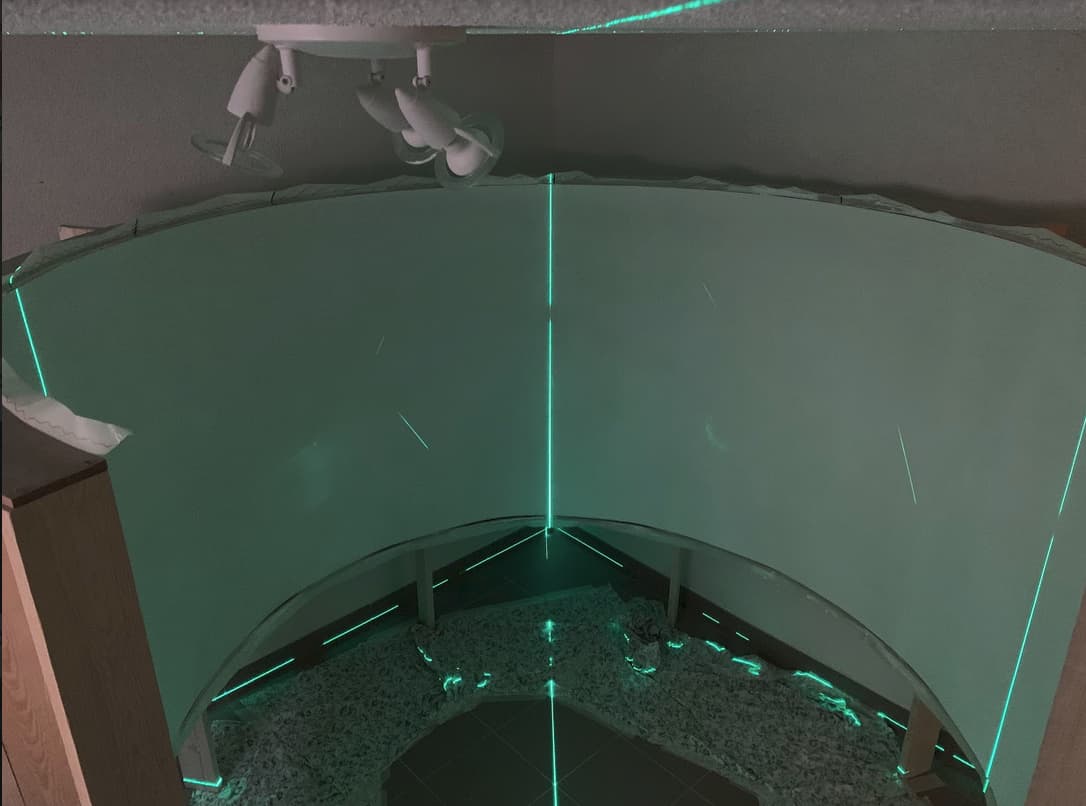
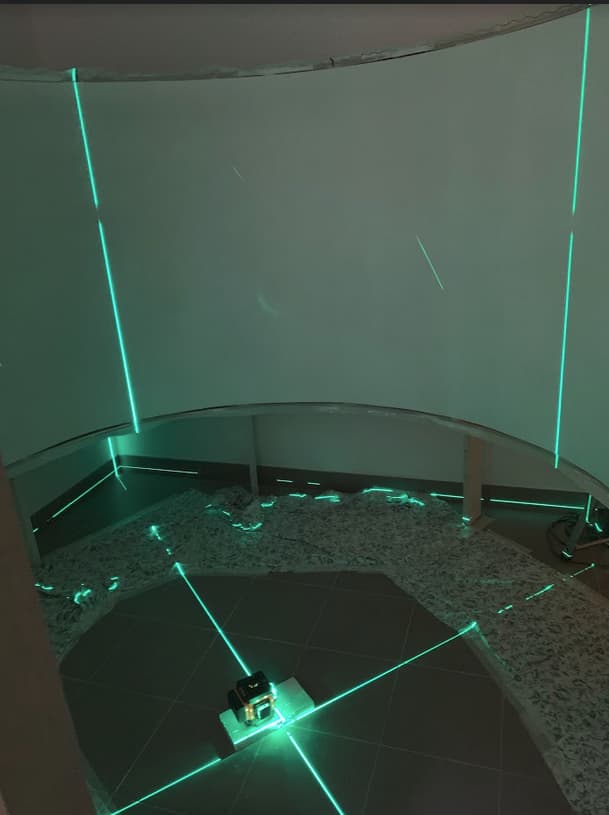
- Creation of projection axes,
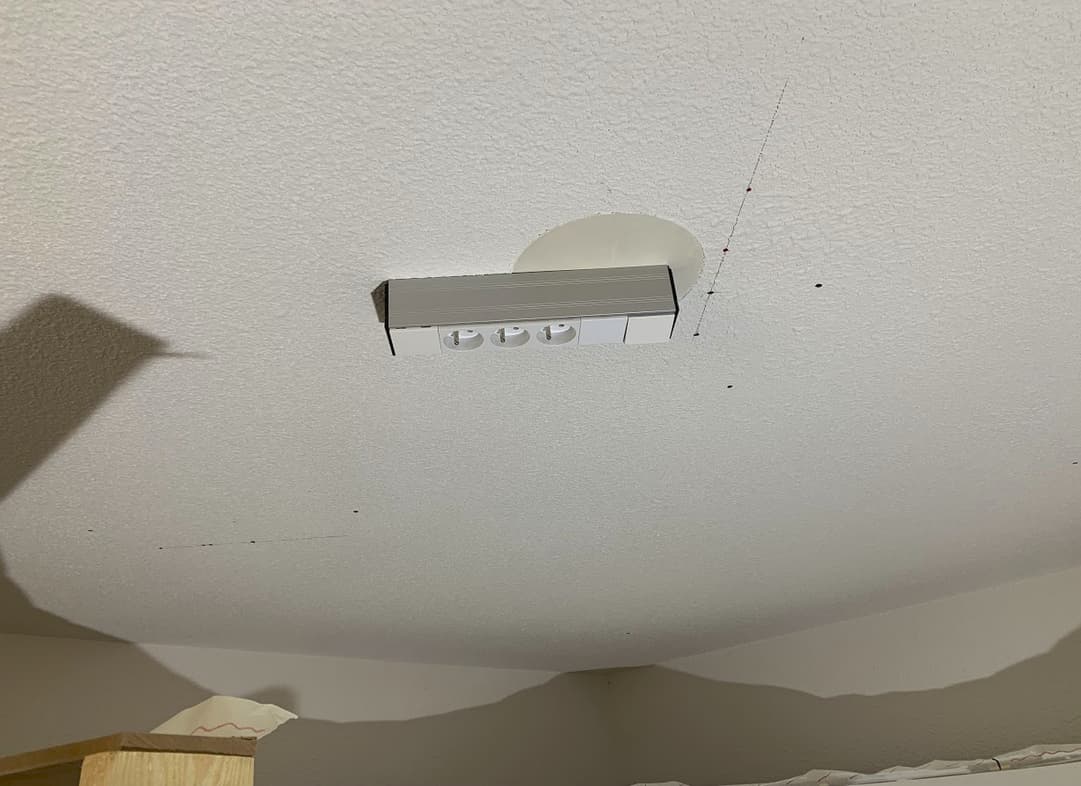
- Creation of a power supply,
- Fixing of the projectors,
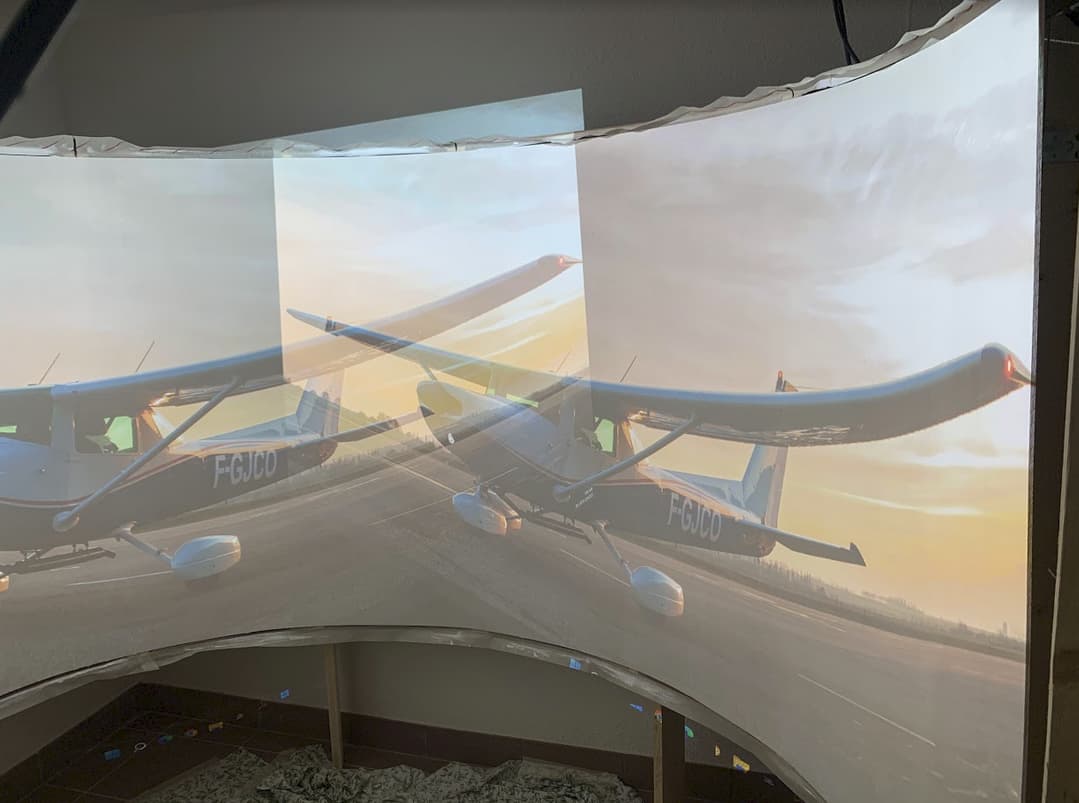
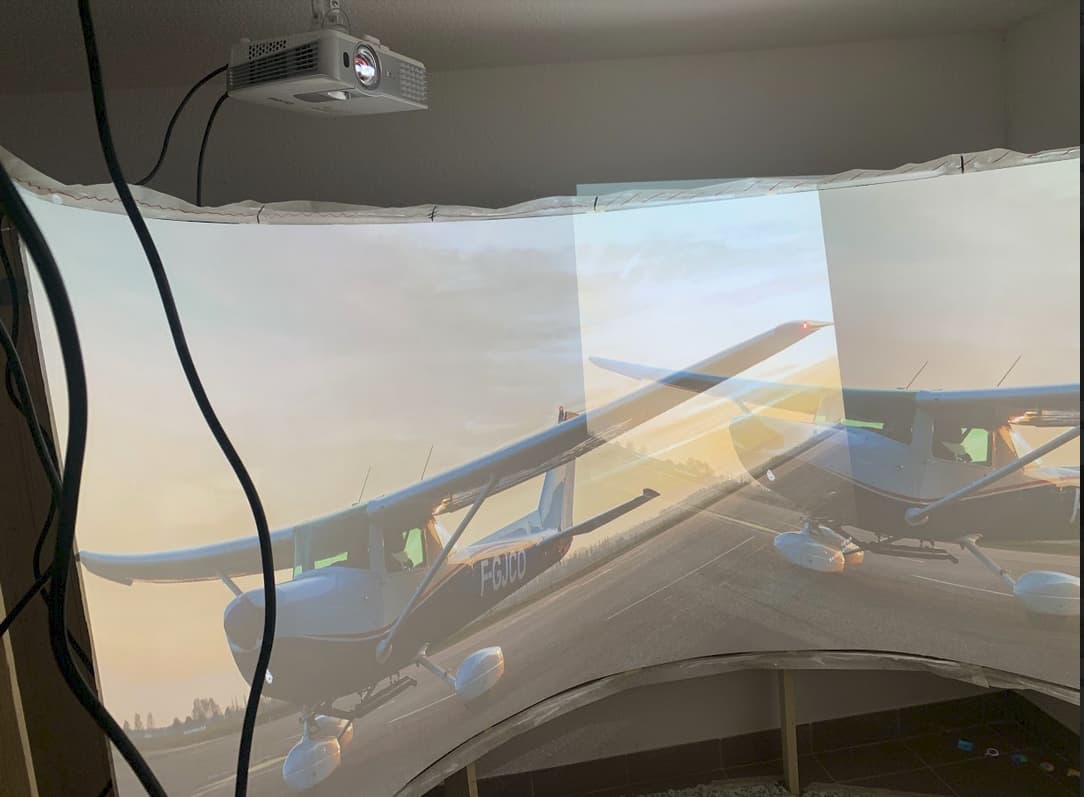
- First ignition.
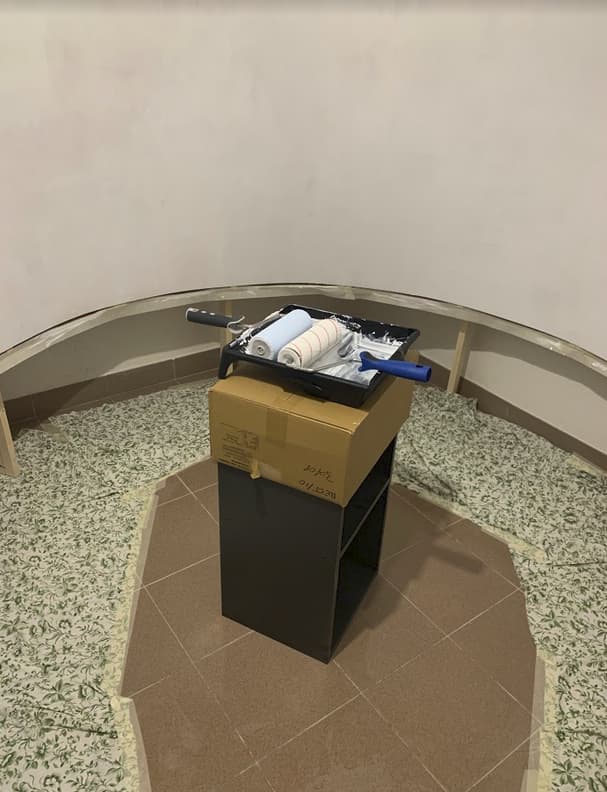
UNDERCOAT PAINTING :
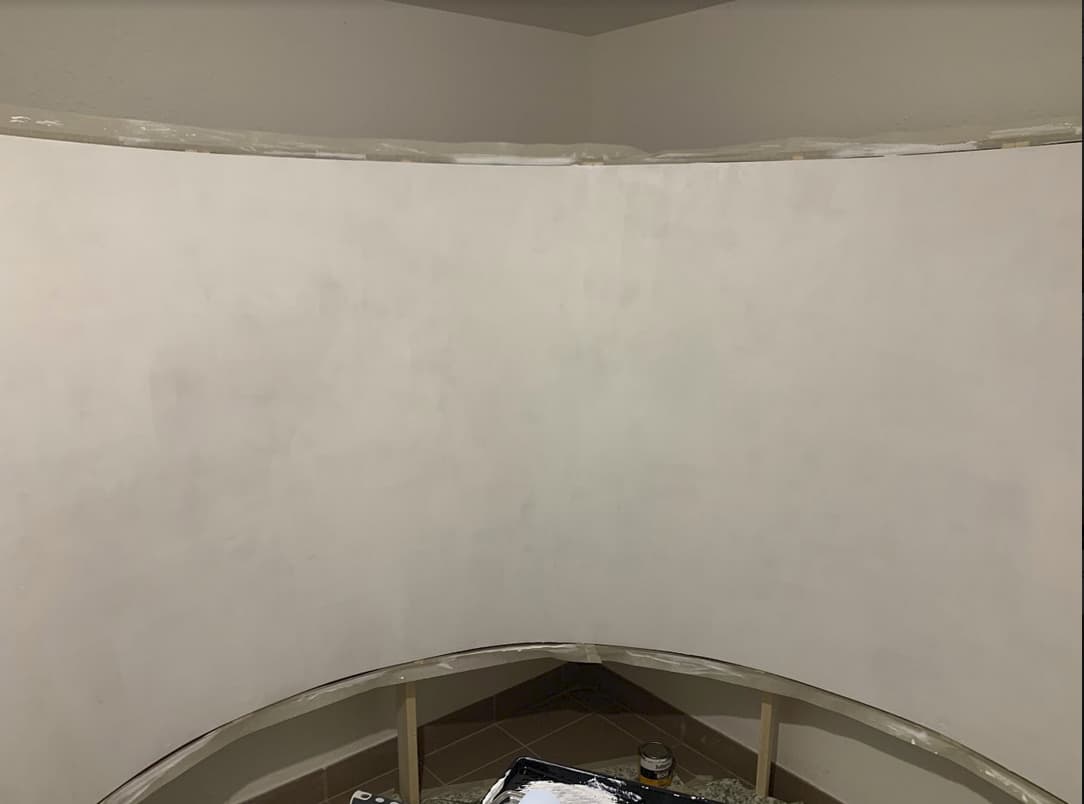
DEFINITIVE PAINT COAT 1 :
CREATION OF PROJECTION AXES :
CREATING A POWER SUPPLY (Instead of the lamp) :
FIXING THE VIDEO PROJECTORS :
FIRST IGNITION :
We soon arrive at the expected results!
See you soon and thank you for your interest.
Good day and good flight.
DBair
3 Likes
I did that with FSX way back an outside view , it was pain to find where to click to run programs etc..you kind of get an idea after a while where they are but with the low cost of a big LED tv now I dunno, I love projectors for the size of screen and weight but it comes with its issues.
Looks good, i was using immersaview screen warping.
The thing i liked about the projectors i was using the Optoma GT750, they were only 720P but they were 3d with nvidea 3d glasses and FSX it was pretty good.
But it took up a lot of space my screen was 8 ft across.
Keep us posted on your project!
no update here? Did you get a working suround projection with the current SU10 multi screen function?
