Hello virtual Hornet pilots, this guide will walkthrough how to enter, edit, and delete waypoints in the F/A-18E, as well as creating a flightplan via waypoint sequencing. This guide assumes basic familiarity with starting and handling the jet. The flight plan we’ll be making today is based on the flight plan from the Startup + Basic TACAN Navigation guide found here F/A-18E Startup + Basic TACAN Navigation .
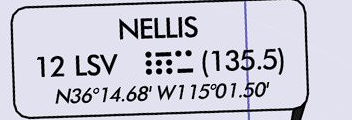
The data entry for waypoints in the simulated F-18E uses precise degrees minute seconds for entry, as such it’s looking for a 4 digit seconds entry. Since we’re not putting munitions on a target, it’s acceptable to take the standard 2 digit seconds value and just add 00 to it. For example let’s take the Nellis AFB TACAN LSV
The lat/long data of N36 14.68 W115 01.50 would be entered into the jet as N36 14.6800 and W 115 01.5000 .
Depending on how complex your flight plan is, it can be a good idea to keep a list handy of which waypoint will be which; for this demo flight plan we will be making use of the following waypoints
1 JLI N N33 08.4300 W116 35.1600
2 TRM N33 37.6900 W116 09.6100
3 TNP N34 06.7300 W115 46.1900
4 JOTNU N34 19.3300 W115 31.4600
5 GFS N35 07.8700 W115 10.5900
6 LSV N36 14.6800 W115 01.5000
Alright, let’s start up the jet at KNKX and get to entering our flight plan.
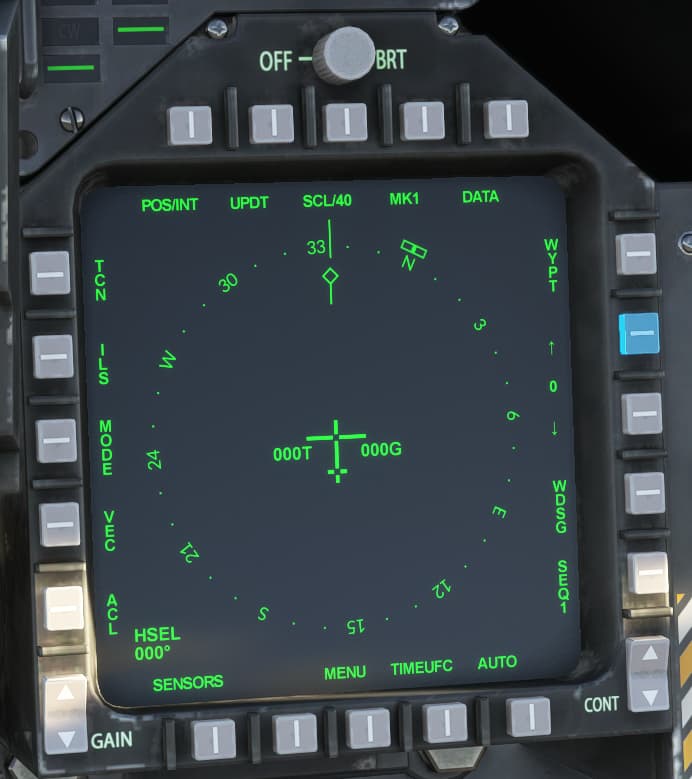
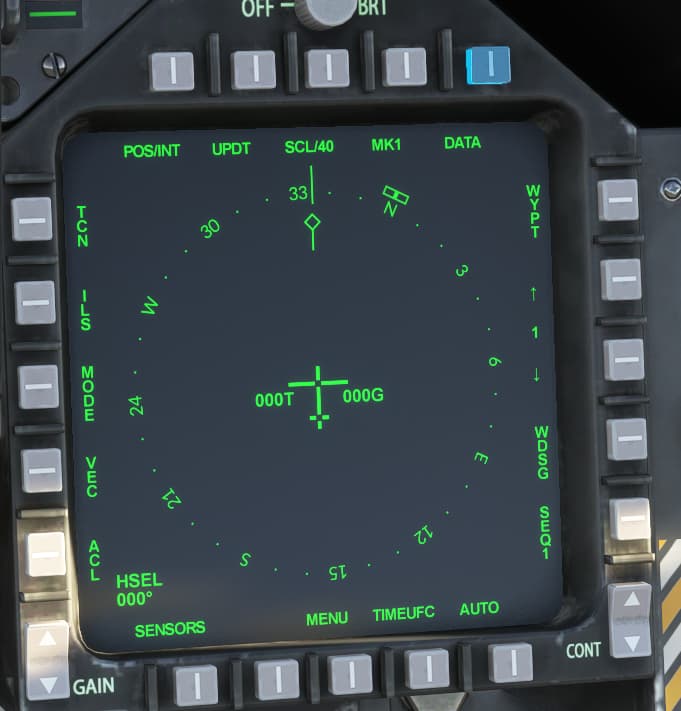
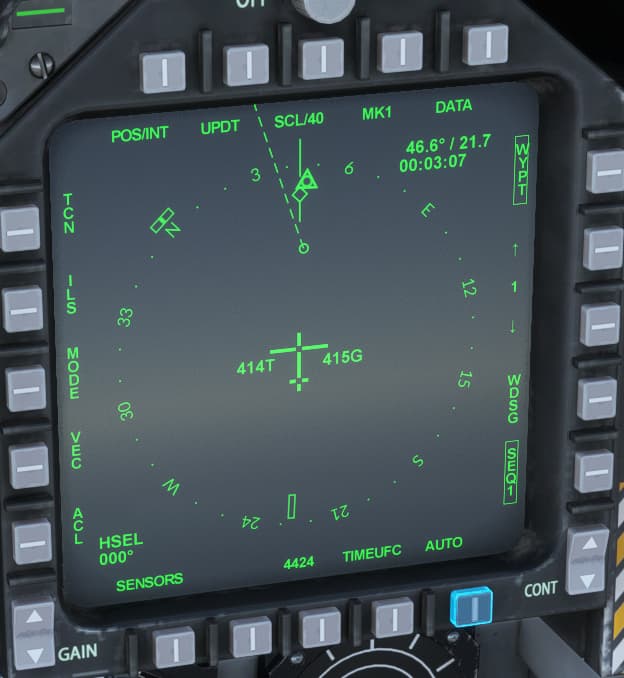
First we’re going to go to the HSI and press the up arrow on the right side to change the waypoint value to 1.
Then we’re going to press the DATA key on the top right.
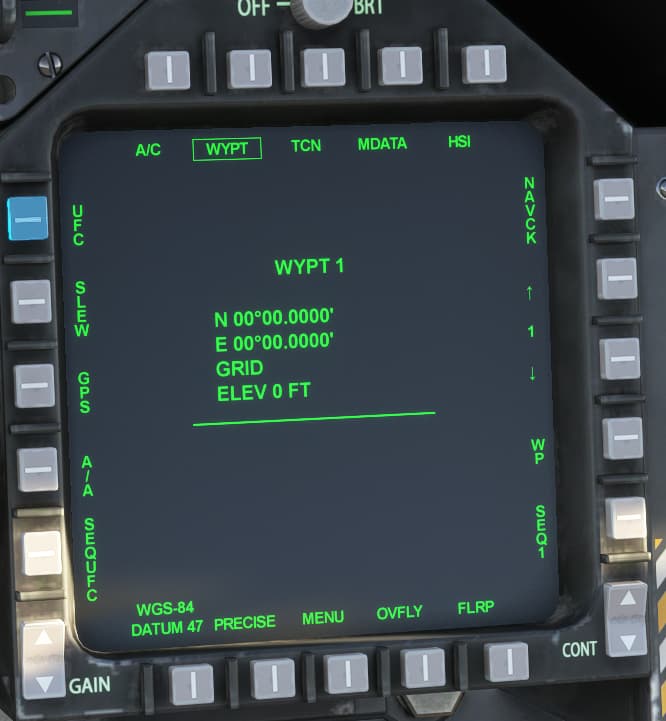
We’ll now have the following screen, from here we’re pushing UFC on the top left.
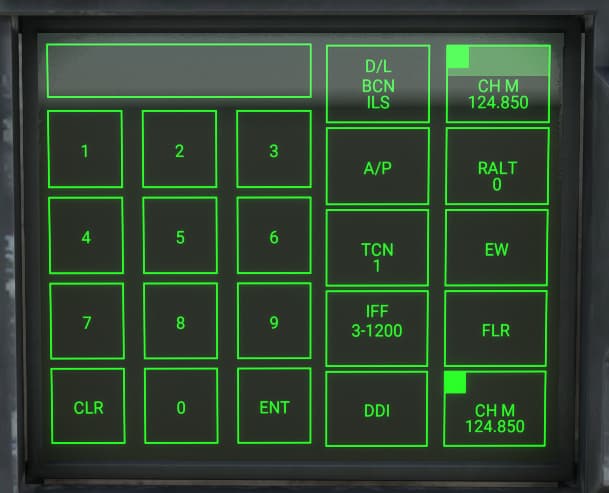
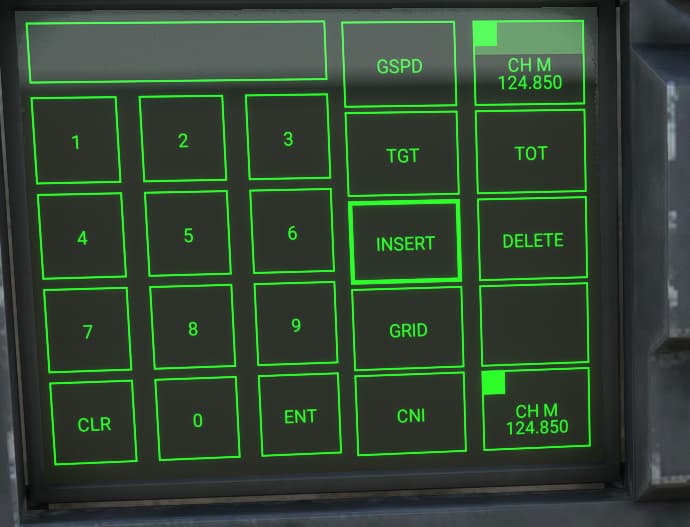
You should now see the following on the UFCD.
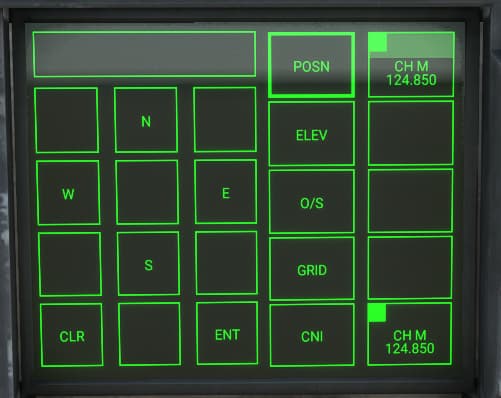
From here press POSN then ENT and the screen will change to this
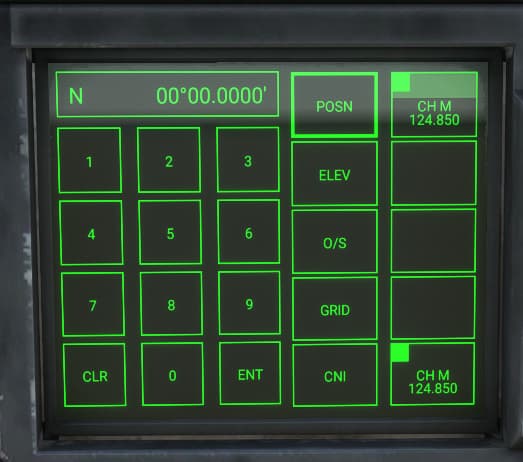
Now press N followed by ENT.
For waypoint 1 we’re going to press 3 3 0 8 4 3 0 0 then ENT, this will return us back to the POSN page, press W followed by ENT. Now press 1 1 6 3 5 1 6 0 0 and then ENT. If you so wish you can now push ELEV to enter an elevation in feet, since the flight planner does not currently communicate with the ATC Navlog this is just purely for “procedural accuracy” at this time though.
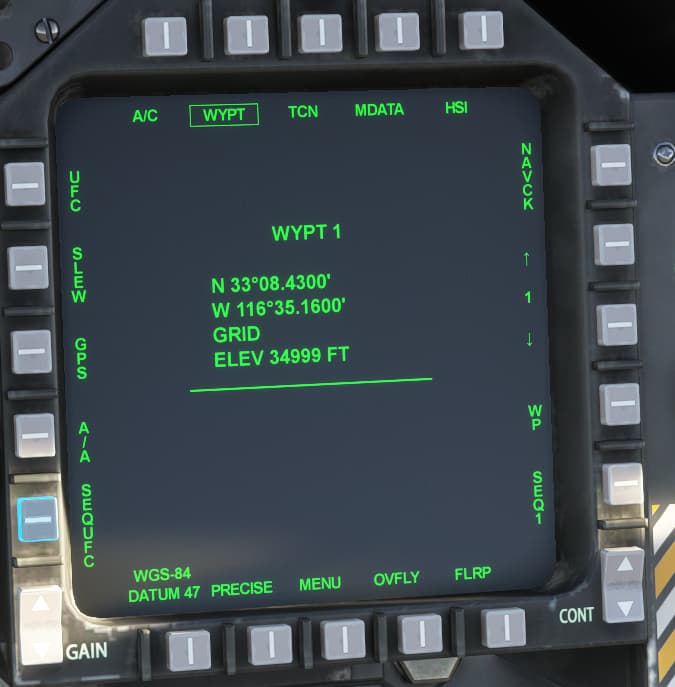
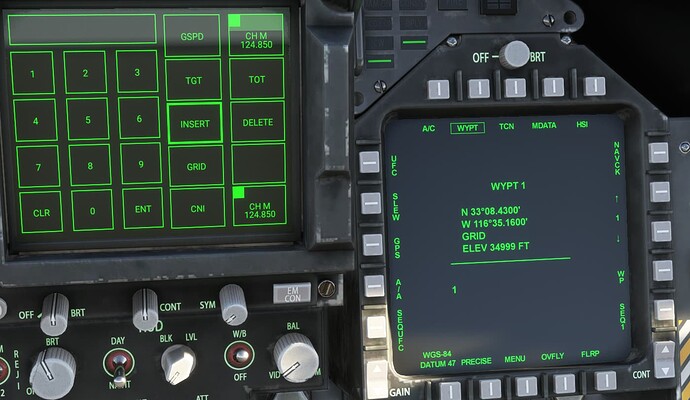
With the data entered, the HSI page should look like this now.
Now, repeat the above steps for waypoints 2 through 6. You can also use the above steps to edit existing waypoints as you need.
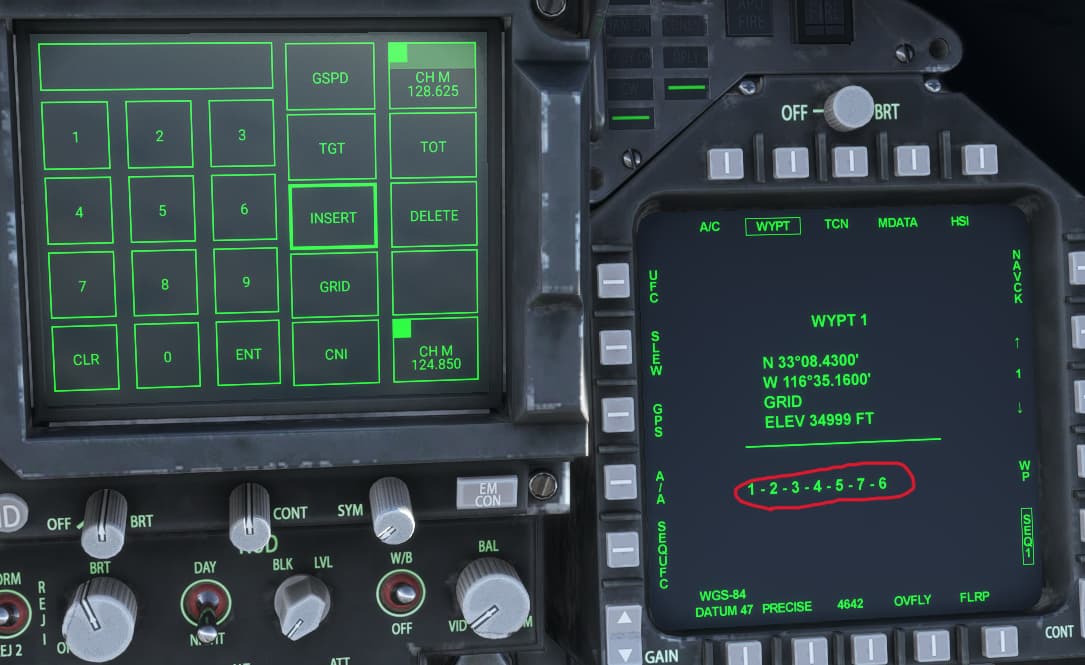
Now that all our waypoints are created, it’s time to sequence them into a flight plan. First go to the bottom right of the HSI and select SEQ1, SEQ2, or SEQ3 as desired, for this tutorial we’ll stick with the default SEQ1. Then, from the WYPT DATA page press the SEQUFC key on the bottom left to bring up the following menu.
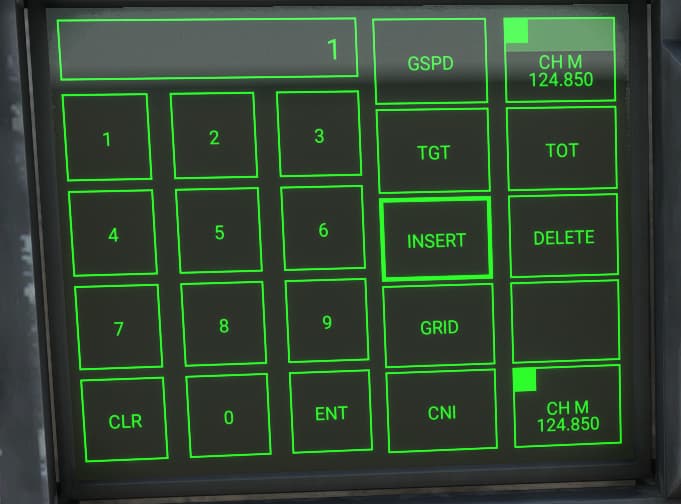
Push INSERT to highlight it and let the jet know we’re inserting waypoints to this sequence. Next we’ll press 1
then press ENT and the data page should look like this.
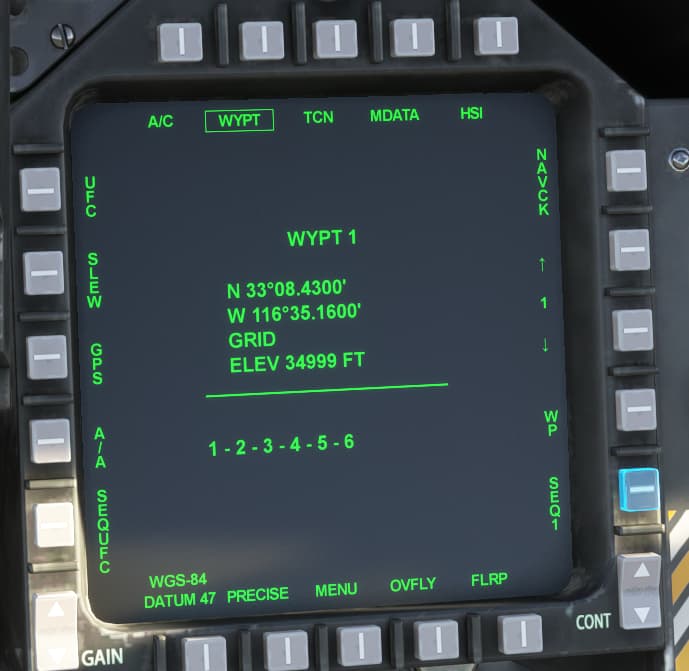
We’ll complete sequencing the flight plan by pushing 2, ENT, 3, ENT, 4, ENT, 5, ENT, 6, ENT and now see the following in the DATA page.
Next push HSI at the top right to return to the main HSI screen. Now we’re going to push WYPT on the top right to “Box” it and select it for navigation use, then box SEQ1 on the bottom right to activate it. Lastly we’ll box AUTO at the bottom so that the jet will automatically switch to the next waypoint once you get within 0.5 NM of the current waypoint.
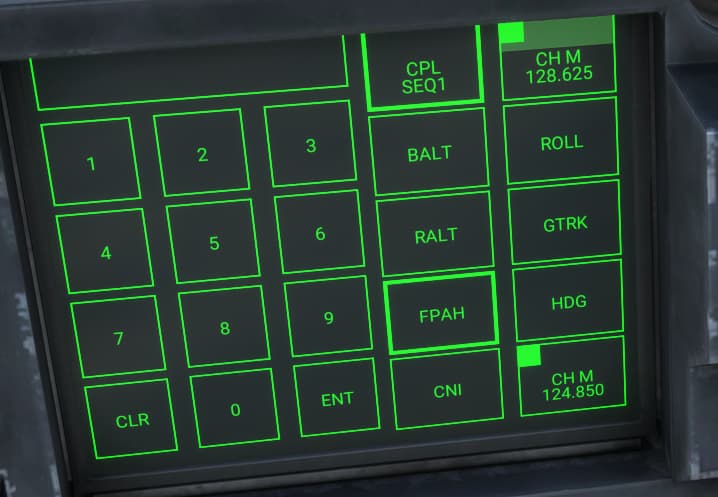
Now we’ll taxi out and takeoff, once safely able engage ATC to maintain climb speed, and go to the UFCD AP menu and select CPLSEQ1
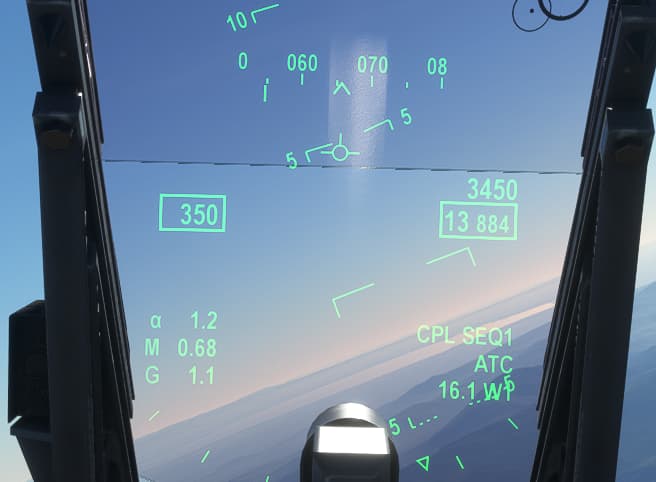
The jet will now fly direct to waypoint 1 then follow the dashed SEQ1 flight plan, with the following HUD indications.
Now let’s say something comes up and you need to edit the Sequencing, for removing a waypoint it’s simply a matter of going back to the SEQUFC page, pressing DELETE, the waypoint number, ENT. But what if you need to add a new waypoint into the existing sequence? For example ATC advises us due to Medevac flights instead of flying GFS->LSV they need us to fly GFS->LAS_LSV.
We’ll add LAS N36 04.7800 W115 09.5900 as waypoint 7 and then go back to SEQUFC. We’ll highlight INSERT then we’ll press 5, ENT to tell the jet we’re adding a new waypoint in sequence after waypoint 5. Then press 7, ENT to add waypoint 7 into the sequence, and you should now see the sequence as follows in the DATA page.
Hopefully this has been helpful, Happy Flying!
