Take a look at these two screenshots.
1- Before
2- After
Now, if you think the before looks better, then off to the next thread! OK, for those who, like me, think the after looks better, here’s the good news- You already have the software to do it with, and this isn’t just for screenshots, this works for gameplay, too, well except for VR users like me. It does not translate into VR. At any rate, here’s how you do it.
First hit ALT-Z to bring up your Geforce Experience overlay. Then there is a button for “Game filter”, or just hit F3. You will then see some options on the left side of the screen that show you various filters that are available, not unlike any post-processing app like Photoshop or similar. Then just goof with the settings until you find a combo that looks to you, and enjoy! Before yesterday, I had no idea this feature even existed!
24 Likes
Interesting. I agree the second looks better. Would you mind sharing your settings? Thanks!
1 Like
The after is certainly better (slightly blue/cyan on my monitor) but it may be that the colour of your monitor is slightly out anyway. To alter the overall colour of the monitor go to Control panel/Colour Management/Calibrate display and run through the wizard. That might improve every thing. HTH
3 Likes
Since on my system the GeForce Experience app keeps my computer from sleeping, I have uninstalled it, leaving the driver, of course. Playing with my monitor settings accomplishes the same thing as you describe with the NVidia ‘filters’.
2 Likes
Highly recommend creating a separate preset for night flying too, I believe the alt-f3 function can store 3 presets.
2 Likes
ALT+F3 to get directly to game filters and use these
Colour - 28% - 19% - 0.5% - 16.6%
Sharpen+ - 17% - 0% - Yes - No
Brightness/Contrast - -1% - -30% - -30% - -10% - -20%
6 Likes
Leaving a comment here so i find this later on my pc, def. gonna try this and report back, thanks!
2 Likes
First one is without the filter and the second one is with the filter
1 Like
All it appears to be doing is fixing the horrid green filter that has plagued this game since SU5
1 Like
Also it reduces the overdone brightness of the sim
2 Likes
I must say that I am a massive fan of these settings. I tried them and it really helps the sim look more realistic. Thanks for sharing.
2 Likes
Here are my settings. Unsurprisingly, they are different from @AlexLegend165’s, though you could use either mine, his, or a blend as a starting point. As you can see his and mine are quite different in places.
But it’s really going to vary from user to user, or more to the point, from PC to PC, because we all have different GPUs, different monitors, we may or may not be using custom monitor settings, etc., etc., etc.
In my case, I very intentionally cranked up the sharpening to give it that “pop” you can see in my “After” pic, whether that will work for you, or for that matter, whether you’ll like it or not is strictly an individual thing.
And without any further ado-
Under Details:
Sharpen 63%
Clarity 70%
HDR Toning: -44%
Bloom: 15%
Under Brightness/Contrast:
Exposure: -10%
Contrast: 40%
Highlights: -42%
Shadows: 22%
Gamma: 26%
Under Color:
Tint Color: 37%
Tint Intensity: 30%
Temp: 0
Vibrance: 18
Also the resolution of you monitor can make a huge difference, especially when it comes to the sharpness settings. Mine as 1440p.
4 Likes
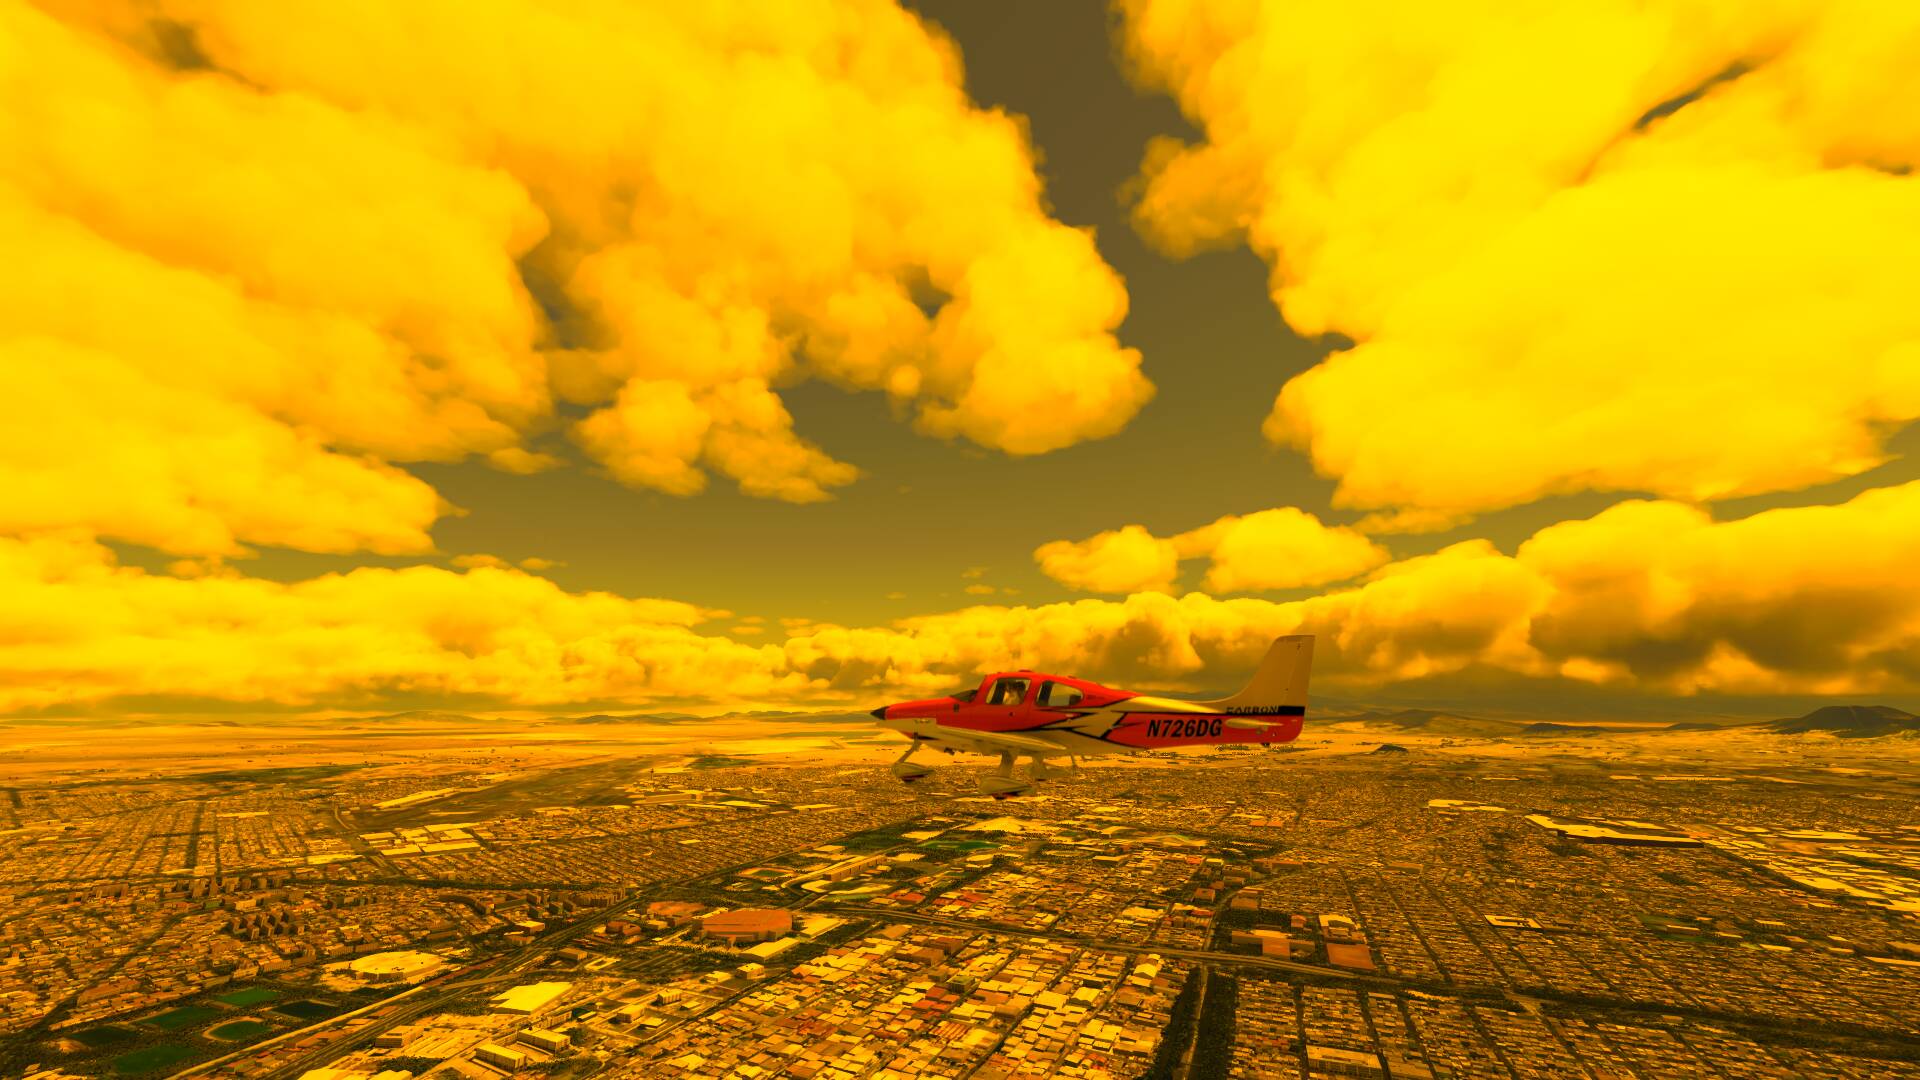
I tried to play with settings and then fly over Mexico City - and I must say it’s working  Now Mexico looks way more realistic
26 Likes
Omg that looks super realistic! Like Breaking Bad realistic!!
6 Likes
Wow, I had totally forgotten about these filters! So much fun with vintage aircraft like the JU52. 
10 Likes
Yeah, using freestyle for quite some time and can’t fly without it, looks so dull…
Anyway, here is an interesting observation.
I am using the same filter settings for the freestyle screenshot tool (F2) as for ingame. But, the final screenshot looks quite different with regards to the colors. I had to change the screenshot color filter for quite a bit compared to the ingame color filter to get close to the ingame image. Any idea why?
I would expect to get the exact same result (ingame = screenshot) when setting up identical values for ingame filters and screenshot filters.
The before is summer time, the after is winter time…
1 Like
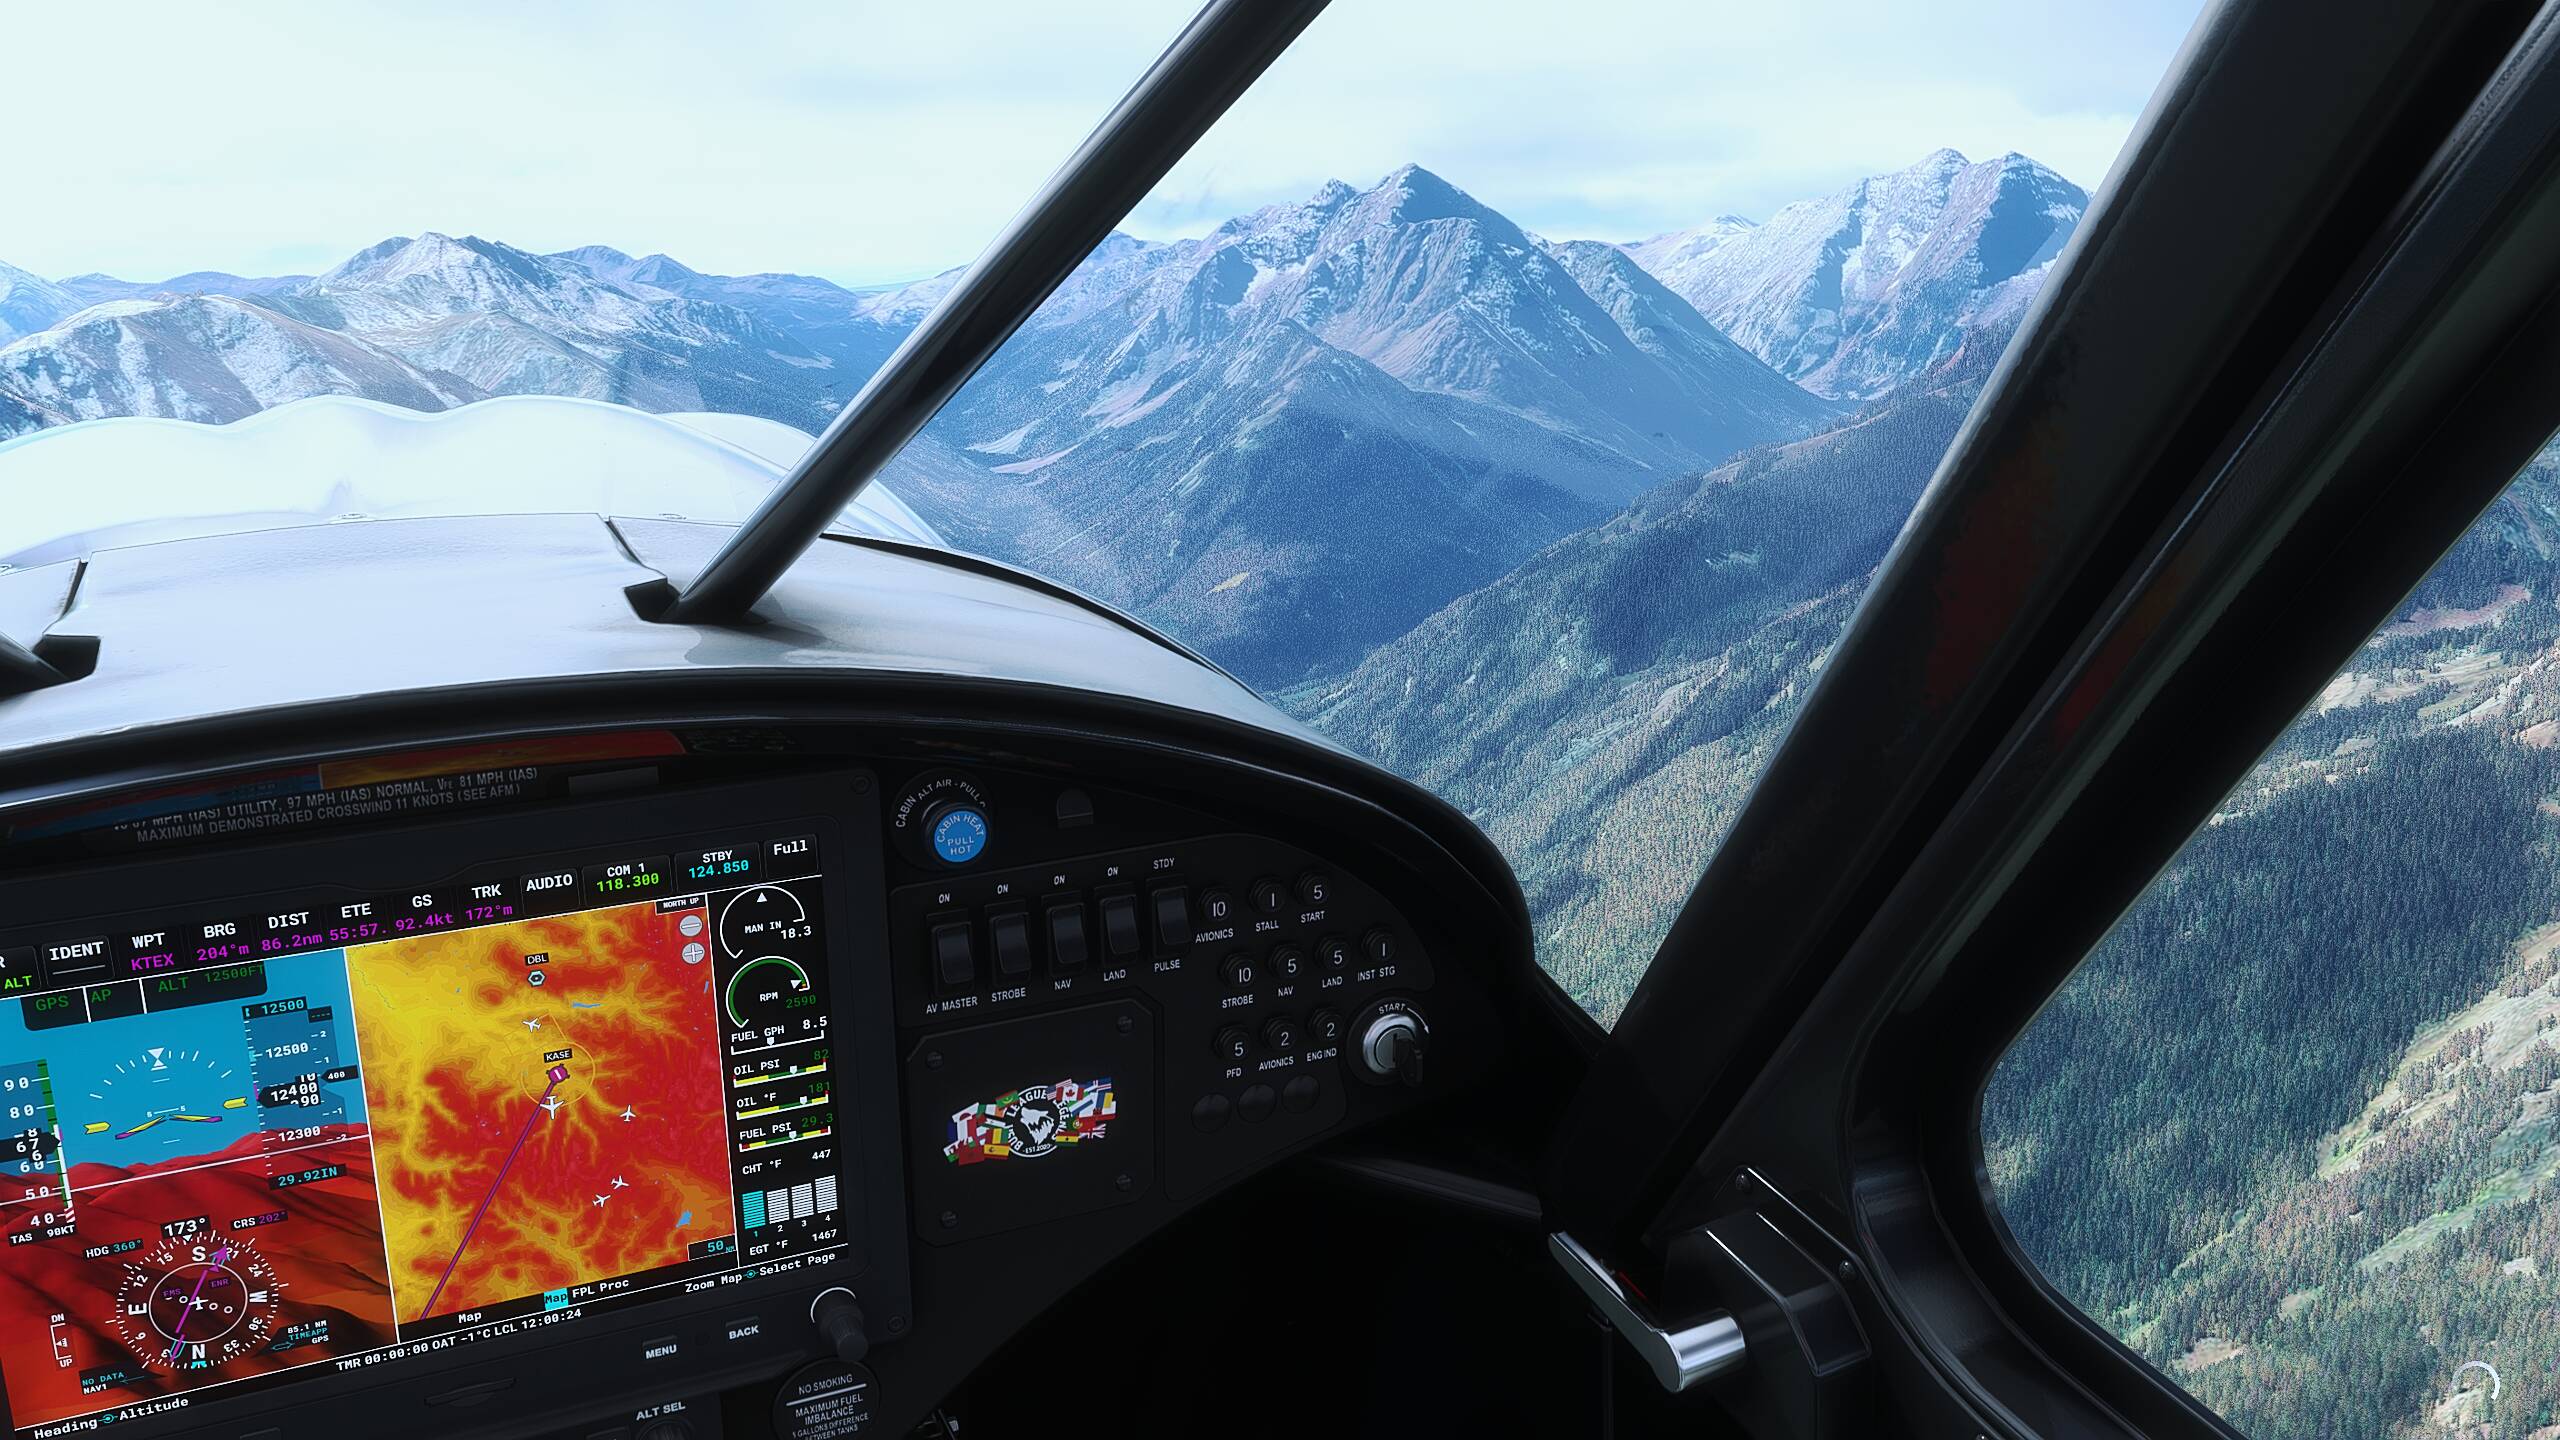
Here’s a shot I took going over the rockies with my settings. Check out how the extra bit of sharpening gives it that pop that almost makes me feel like I upgraded to a 4k display.
Except it was free. This site, like all others, compresses the hell out of uploaded photos, so if you want to see the original in all of it’s glory, just click here.
2 Likes
Interesting post. Whether you like the “before” or “after” look or not it’s certainly good to know the possibilities…
1 Like