Hello all, I’m ignorant of this thus maybe missing this already here on the forum. I’d like to learn how to make a button box with rotary encoders for course & heading bug to start. Could a kind soul please help me understand how to accomplish this please? Thanks!
1 Like
The easiest way, in my opinion, is to use Mobiflight software. It’s has an intuitive UI and an active, supportive forum. And it’s FREE! There is a PayPal link to support the developer; which you’re going to want to do once you use the program.
2 Likes
You can think of a rotary encoder like two buttons. If the encoder is turned one position to the right it is exactly as if button A is pressed, for the left the same applies to button B.
It is therefore important to first determine in which direction the encoder is turned.
For an Arduino pro micro the code is like this:
Define
int aState = LOW;
int aLastState = LOW;
int ScanRotary (int encoder0PinA, int encoder0PinB) {
int rotation = 0;
aState = encoder0PinA;
if ((aLastState == HIGH) && (aState == LOW)) {
if (encoder0PinB == HIGH)
rotation = +1;
else
rotation = -1;
}
aLastState = aState;
return rotation;
}
In the loop:
int rotation = ScanRotary (value [7], value [15]);
if (rotation! = 0) {
if (rotation <0) {
SetJoystickButton (PIR_Scan_Left);
}
else {
SetJoystickButton (PIR_Scan_Right);
}
Serial.print (“Rotary:”); Serial.println (rotation);
}
Ask if you didn’t understand something.
I had already programmed a solution with 5 encoders and 20 buttons and then came across the Xtouch mini from Behringer. Together with Lorby’s software, it’s perfect.
Take a look at https://forums.flightsimulator.com/t/axis-and-ohs-help-and-questions/196415
and: https://forums.flightsimulator.com/t/behringer-x-touch-mini-works-flawless/193140
1 Like
Hi,
There are many ways to crack a nut!
If you want a simple to build button box that requires no programming beyond assigning the controls from within the MSFS 2020 assignments page, then you can do no better than to open up an old Xbox controller [or many an old joystick], transplant its guts - one small board - to the inside of your box, mount the controls of your choice through one side, plug it into a spare USB port and bob’s your uncle.
The following picture illustrates what I mean. It provides me with a preset brakes rotary, an interior cab lights function, a recognition lights on/off, a yaw control / steering tiller and a spoilers[airbrakes] setting function.
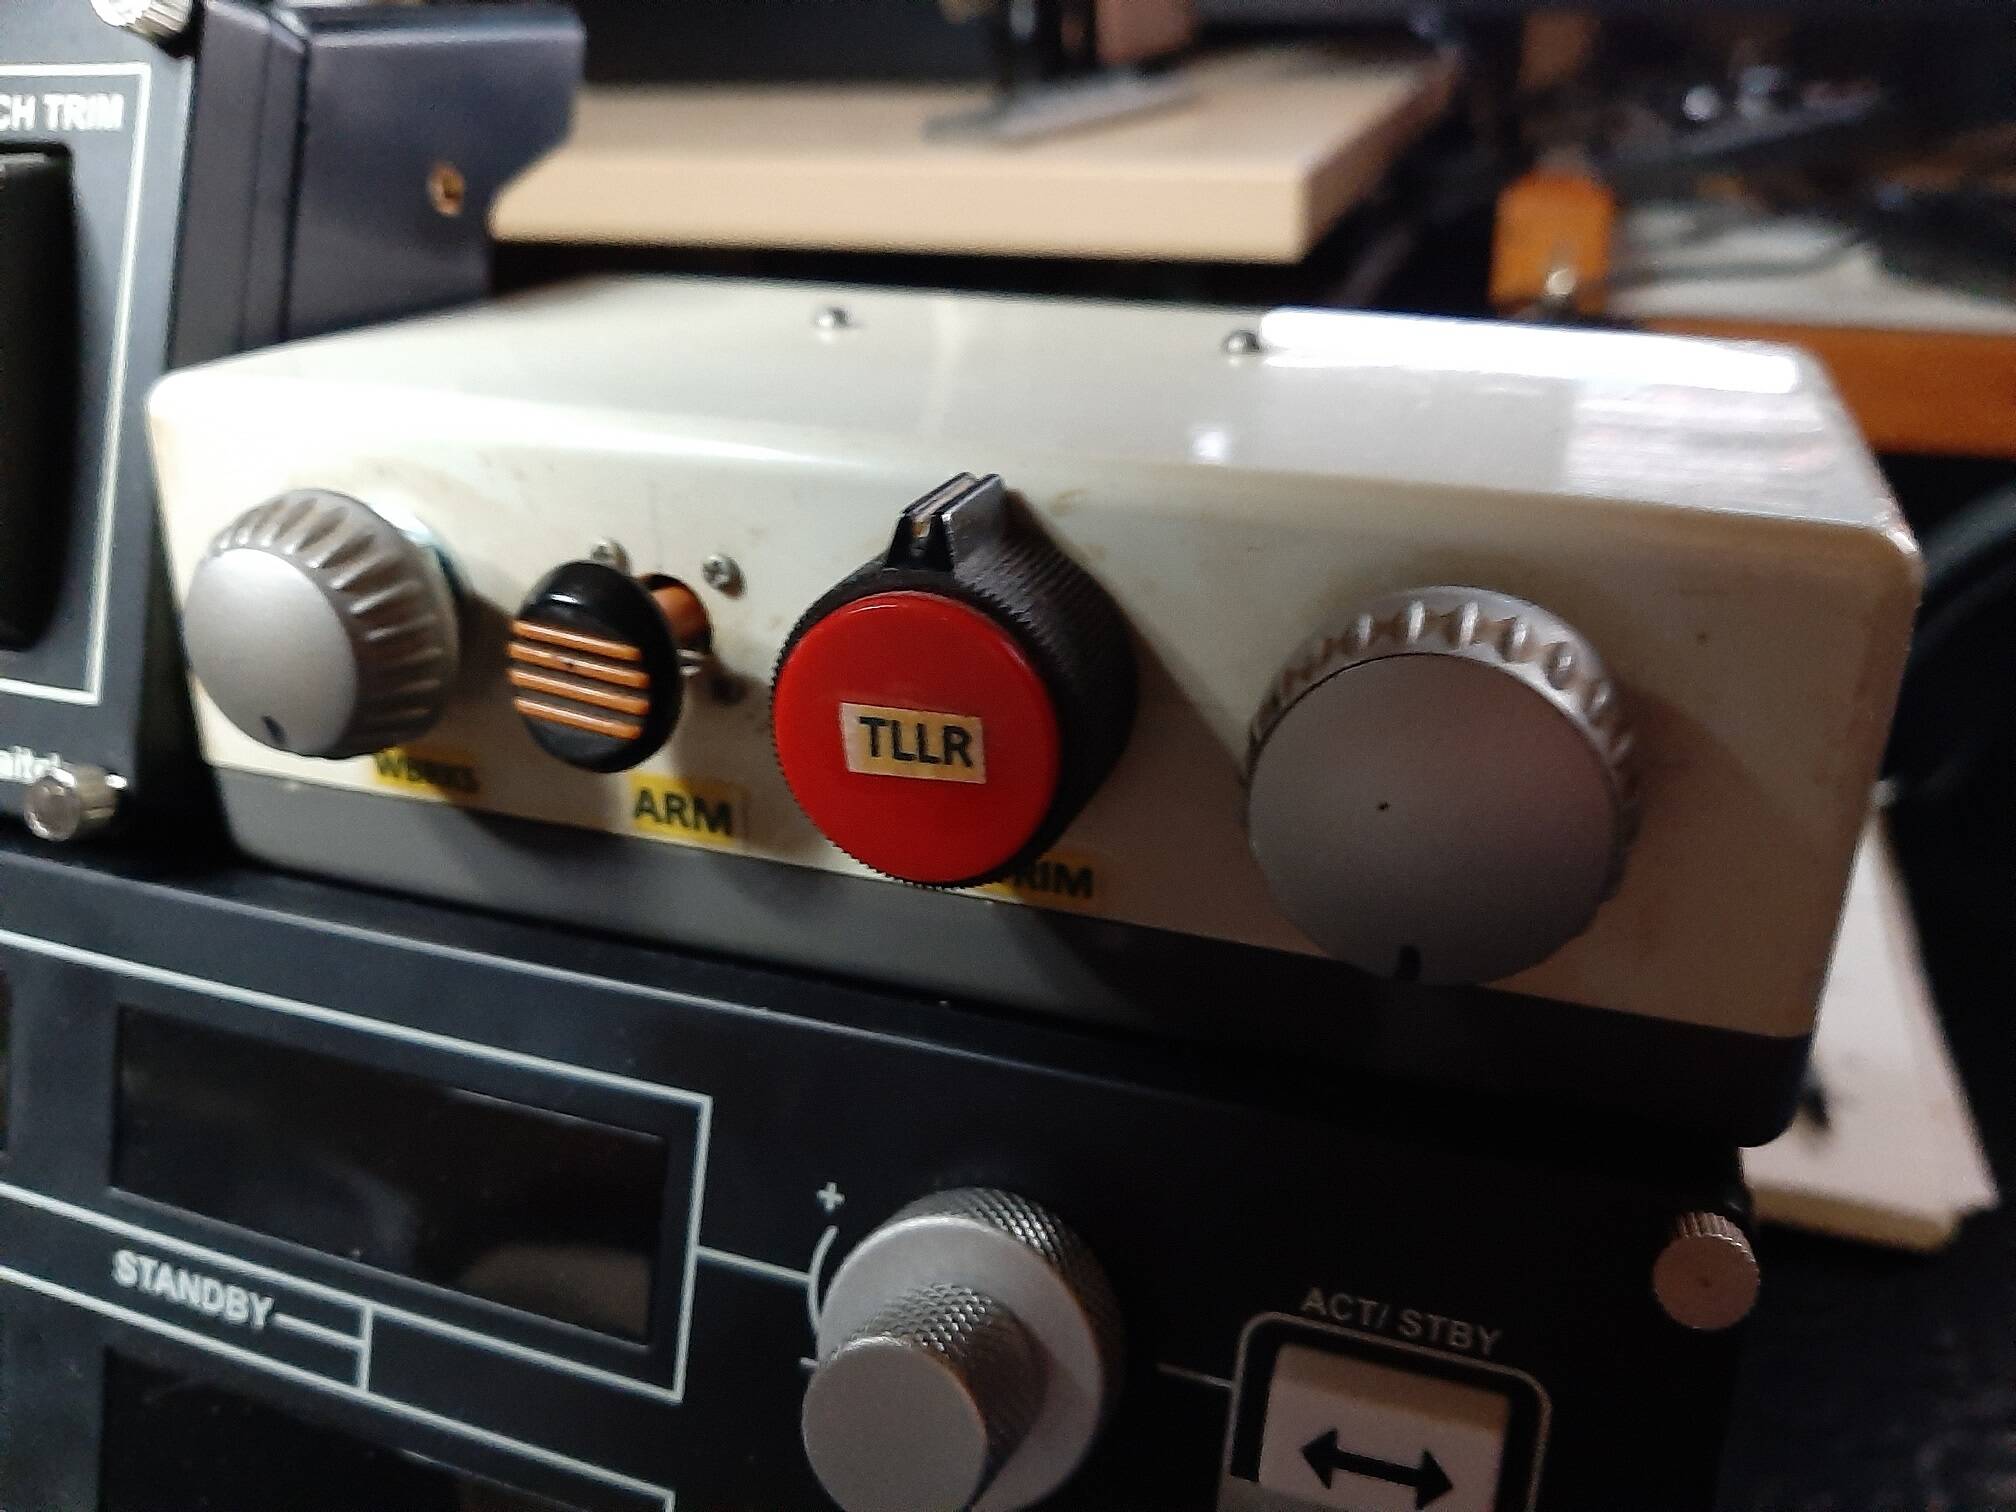
Which ever ‘nut’ you decide to use, have fun.
2 Likes
I agree to JCSLOVE. Mobiflight is easy to use.
I built up a ‘cockput’ prototype with 18 encoders, 46 buttons, 12 LCD’s for NAV and COM display, steppers for flaps and trim monitor and 12 LEDs (with 3 Arduinos)
such a ‘complex’ thing you need to know basics in soldering and URI (Ohm’s), but just basics.
To start use a Arduino MEGA (or ELEGOO Clone - only ELEGOO please, others not working), breadboard, (basic Kit), buy KY040 encoders and start testing. Hint: for the ARDU: there are boards where you can fix wires with screws, using the pins may lead to connection errors. The big ‘A’ has all what you need.
Thank you all for your thoughtful replies! If I’m correct Mobiflight isn’t compatible with my Arduino Leonardo. That’s not a problem yet. Right now I’m struggling with laying out my switch/button/rotary encoders matrix. I’ve found this article. Unfortunately it’s not quite simplified enough for me. https://www.baldengineer.com/arduino-keyboard-matrix-tutorial.html. Might anyone know of additional resources to help me understand the matrix so I can wire up me buttons/switches/rotary encoders please? Thanks!
This looks promising https://www.instructables.com/64-Key-Prototyping-Keyboard-Matrix-for-Arduino/. I must study this after I do my chores today ![]() . Should anyone have additional resources that might help me grasp this, please share. Thanks!
. Should anyone have additional resources that might help me grasp this, please share. Thanks!
looks quite cumbersome, multiplexer decoding is interface programming, so if you are a pro in C++ it is fine. and - how do you map the FS variables to the code? For me such a program looks hard to maintain - ok, when you look for a good reason for programming it is fine. prog may be up to 300h+. All events hard coded - thats not really maintainable after 3 months. (And you need to change code when you change the plane model)
Maybe it is easier to buy a pc keyboard and adopt the mapping in FS to ‘touch without strg’.
For the encoders the Ardu is much better choice, it is not that easy to link the variables from FS to the encoder rotating directions. Forget the 15$
An Arduino Mega2560 is only $15. Unless you really want to take the hard road…
2 Likes
I’ve made an entire collection of components for flight Simming and how to use them. My articles are mainly aimed at people that want to learn to code themselves with the help of my homebrew Arduino library plus software. We have a very active and helpful discord as well with people that built entire cockpits to people that just want a small button box. but you could also use software like Mobiflight if you’re not interested in the coding and only use the wiring parts.
3 Likes
I read through the encoder page. Nicely written. After a few more read throughs and I might start understanding it. Does this negate the need of a third party software app like Mobiflight? Can one program their Arduino in this fashion to actuate all the buttons and dial in a 172 or 182 with steam gauges or G panels?
It will always need an intermediate layer. Be it Mobiflight or my software. The Arduino simply can’t talk directly to the game. Unless you programmed it as a gamepad and use the ingame keybinds to map the inputs to actions.
The joystick/gamepad idea is a good one. I had thought of going that route but it seemed that all the switches , buttons, and dials of the aircraft are not available to be assigned in the in-game controls menu. Nor do I know how to assign an encoder as 2 joystick/gamepad buttons. Is it possible?
Being able to program an Arduino as a 32 button (max?) gamepad; then just assigning them in-game would be the ideal way.
It’s possible to do so. Imagine the logic like this.
Keybind to affect i.e.: Com 1 up or down
If the rotation is clockwise press gamepad 1
If the rotation is counterclockwise press gamepad 2
Now there is a slight challenge with the timing. you either want a long press as long as you are turning or else you want to create virtual ticks. So each time you get the next indent you want to press Gamepad 2 release it and then hit it again for the next indent. This way you get the increment feel. Now delays can cause some issues with Rotary encoders so it requires a bit of tinkering to work smooth out but it should work fine (not perfect but quite usable and enjoyable).
I have several bi-directional momentary rotary switches and dual momentary rotary switches with a push button that were purchased several years ago. I had considered using those but the limited available functions in the in-game controller page made that a non-starter. Maybe one day all the aircraft controls will be assignable through the UI.
Behringer should release an Airbus Ral blue Version, 38 bucks an amazing device
1 Like
Not all are available, that´s right, but you can do a lot with the available ones.
That´s exactly what I show in my code above. This code requires the joystick.h library:
MHeironimus / ArduinoJoystickLibrary
and you need a Arduino Leonardo compatible device. These appear in the flight simulator like an input device next to a mouse or keyboard.
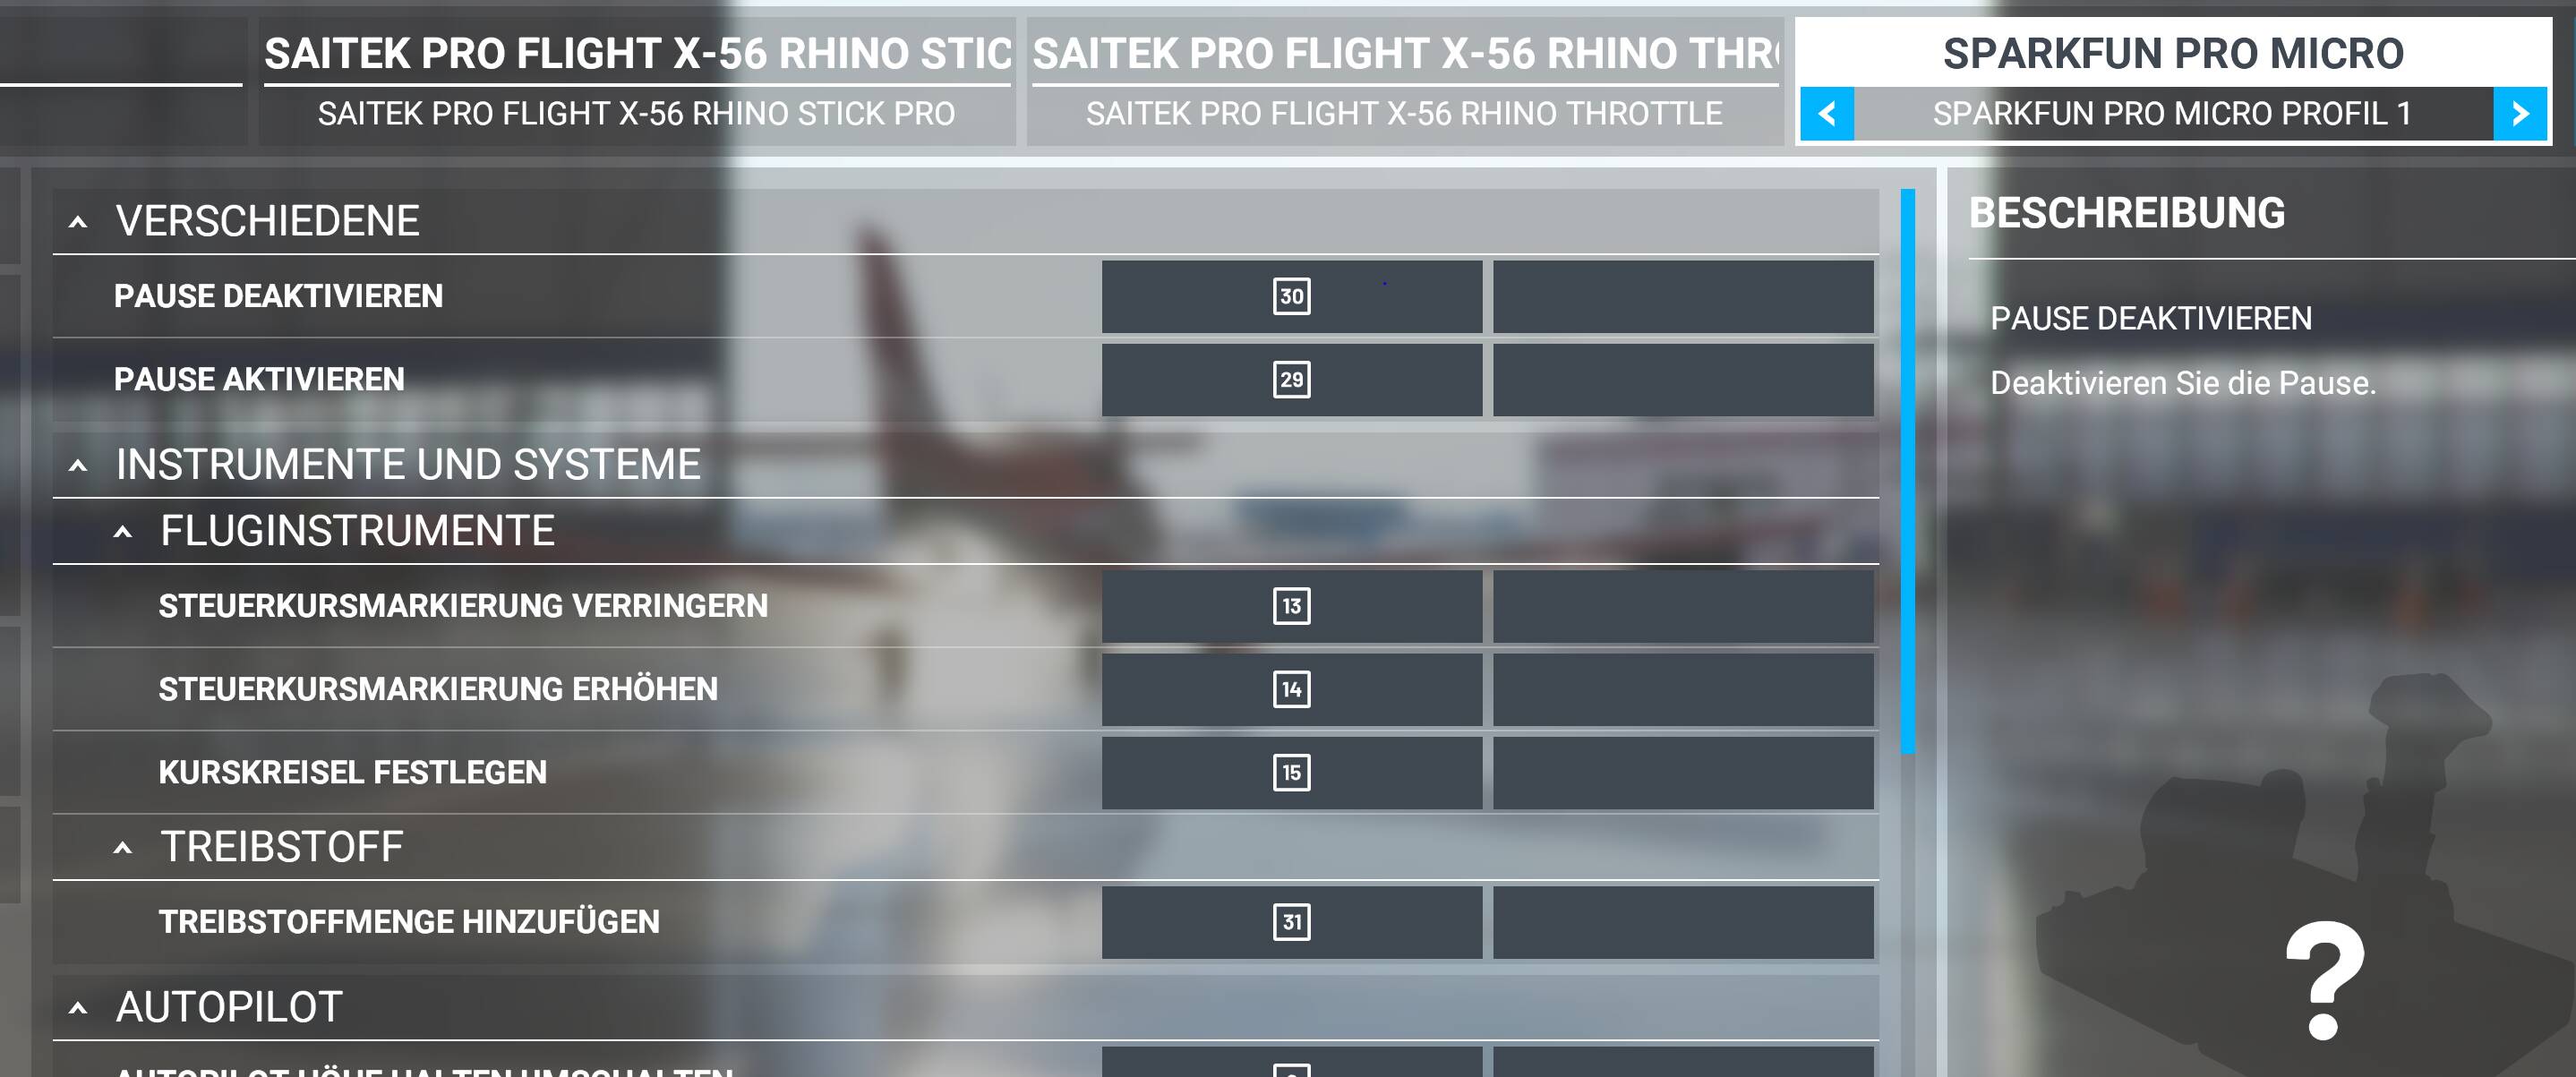
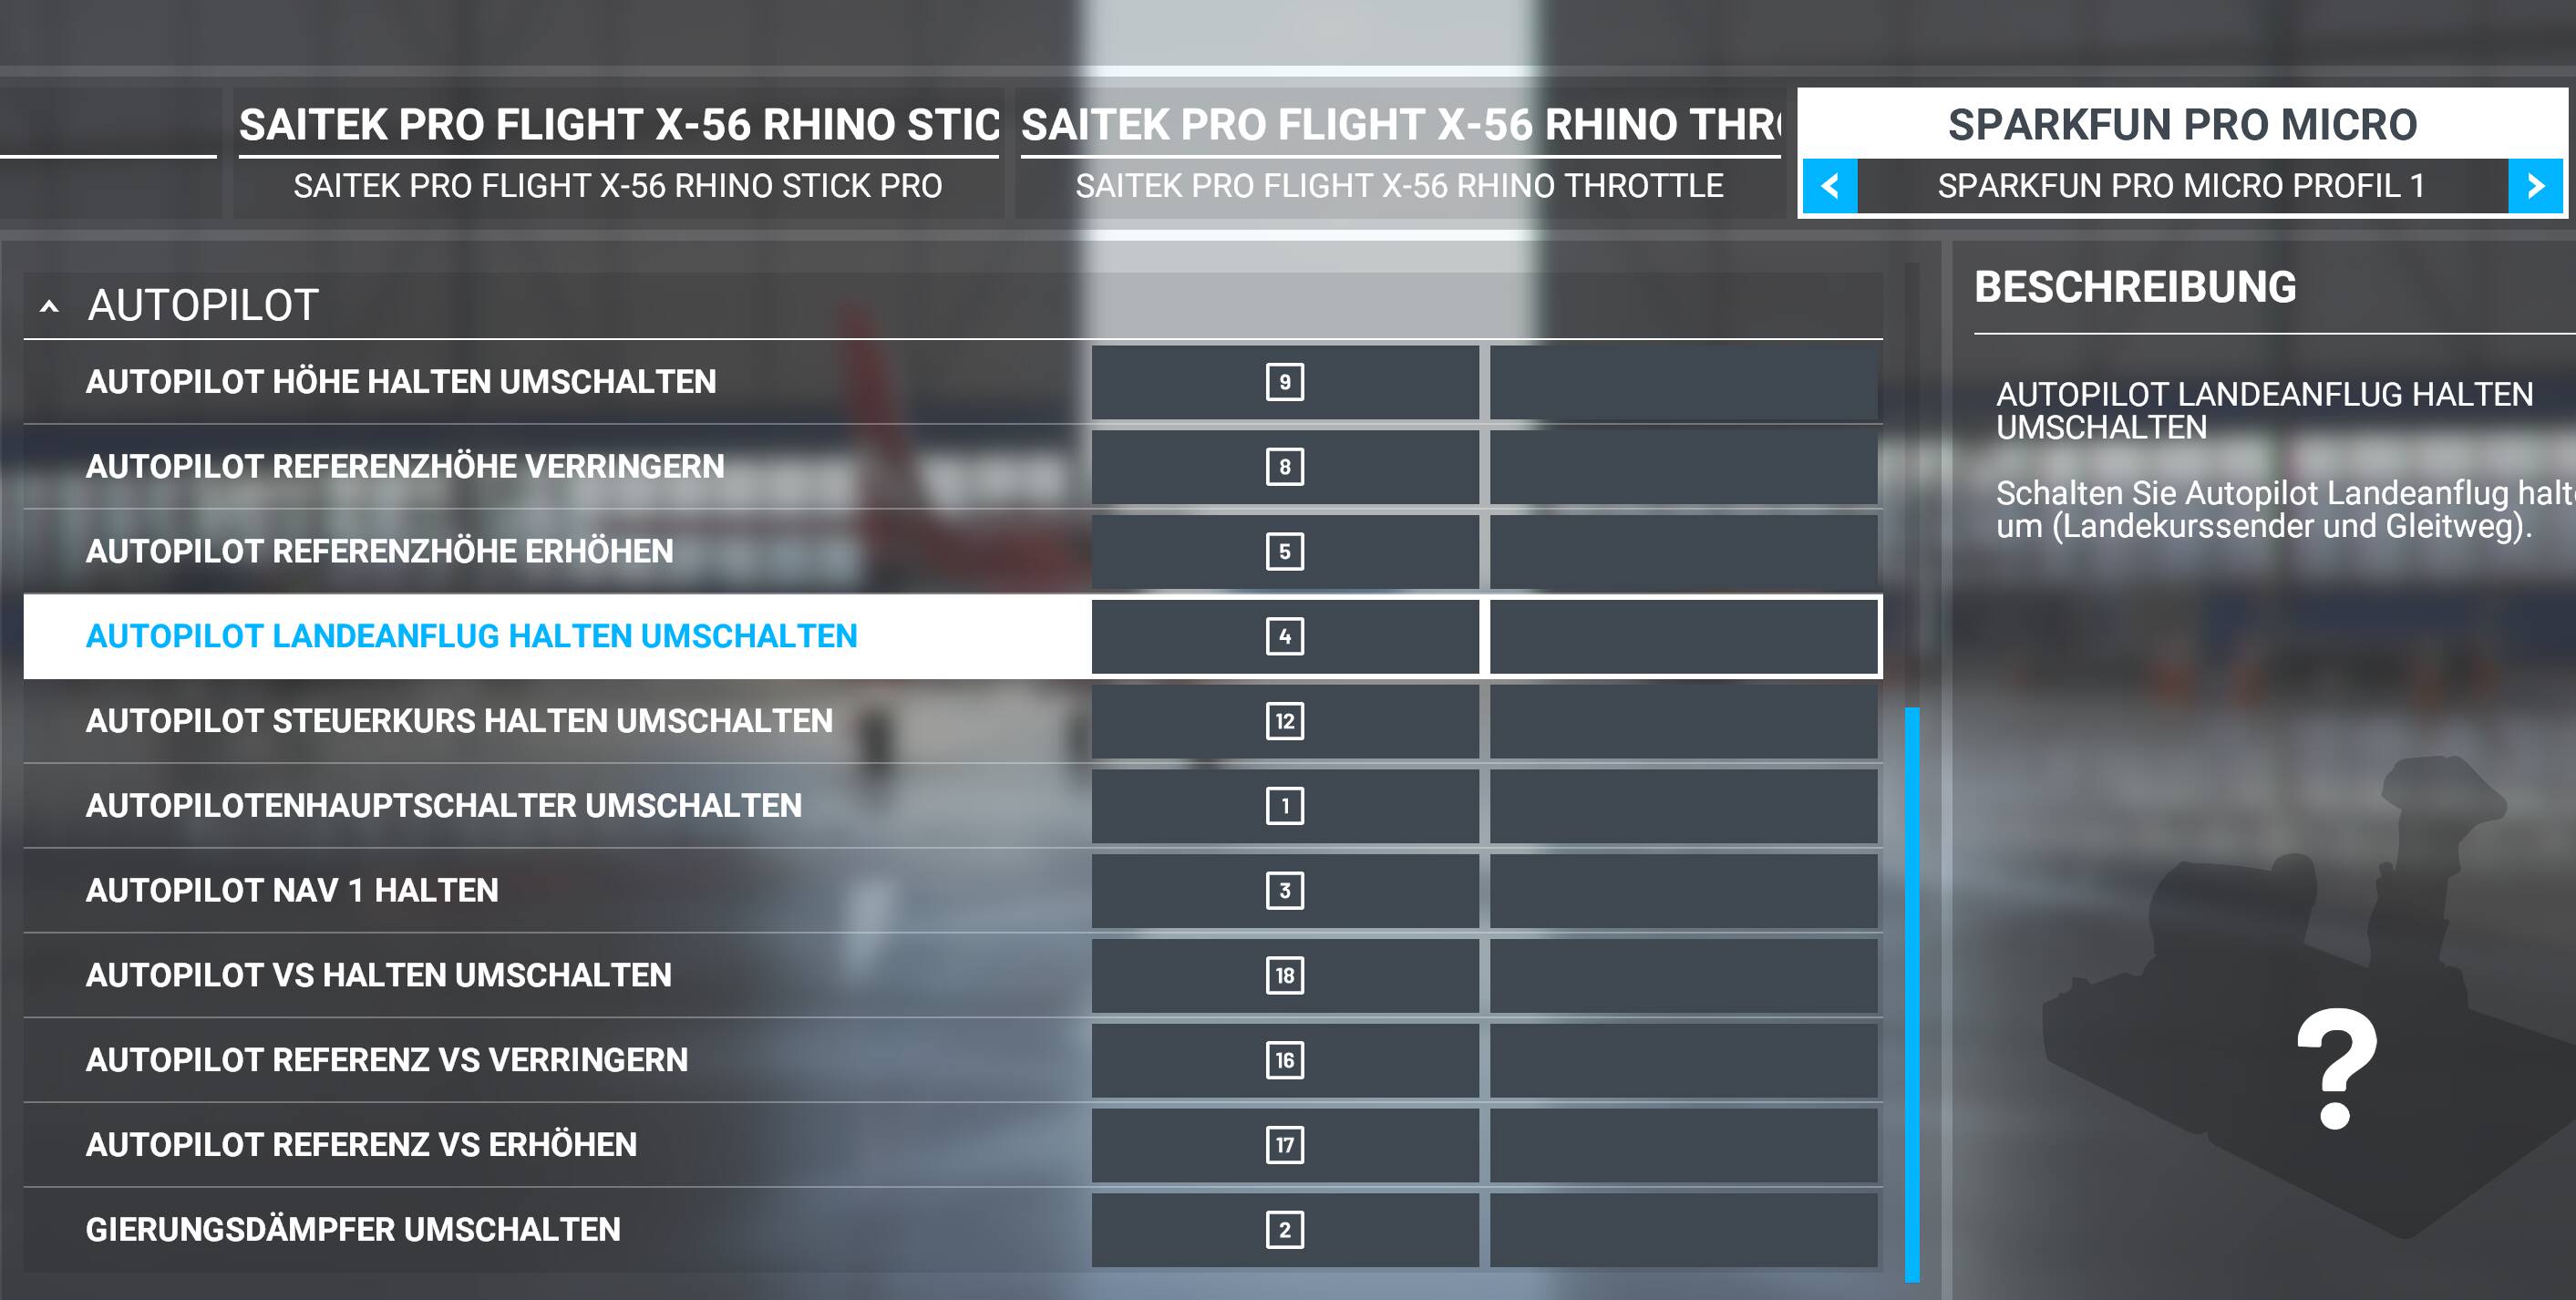
More than 32 buttons are possible. I am using an IR-sensor at my arduino pro micro and an old TV remote control. The arduino receives the signals from the remote control and forwards them via the function Joystick.setButton (button, HIGH) of the Joystick.h library to the PC → " then just assigning them in-game" ![]()
But there are no rotary encoders on an TV remote control ![]() , and you have no control on hidden functions. So I came to the solution with the Behringer Xtouch device → see my first post above.
, and you have no control on hidden functions. So I came to the solution with the Behringer Xtouch device → see my first post above.
That´s a part of my settings with the Arduino pro micro with TV remote
Not the normal Arduino, but the Leonardo compatible ones can ![]()
Haha yeah that’s true. I was reffering to the Simconnect SDK specifically.
1 Like
Highly recommended links. Explained very clearly. ![]()
1 Like
This is a link to one of the video’s in a series on how to configure Mobiflight to operate encoders, buttons, LEDs, displays. You’ll need an Arduino Mega. In the video series a complete radios and autopilot panel is built, but you can make your project as large or as small as you like, the different elements are explained in detail.