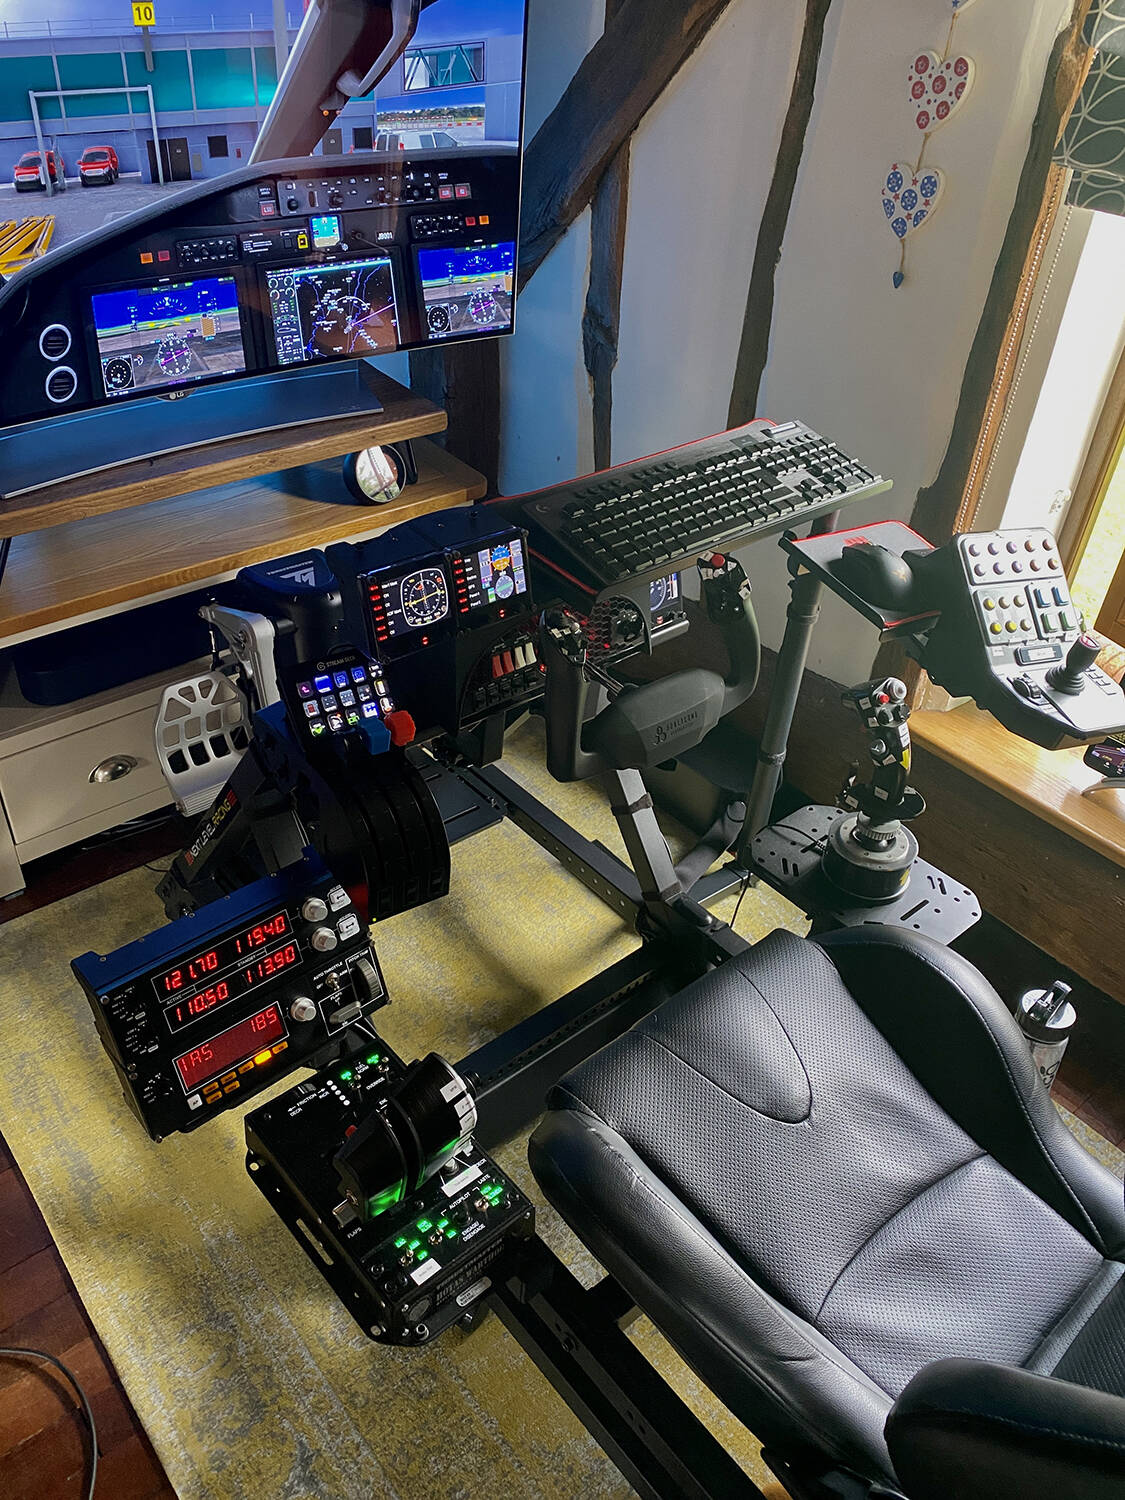
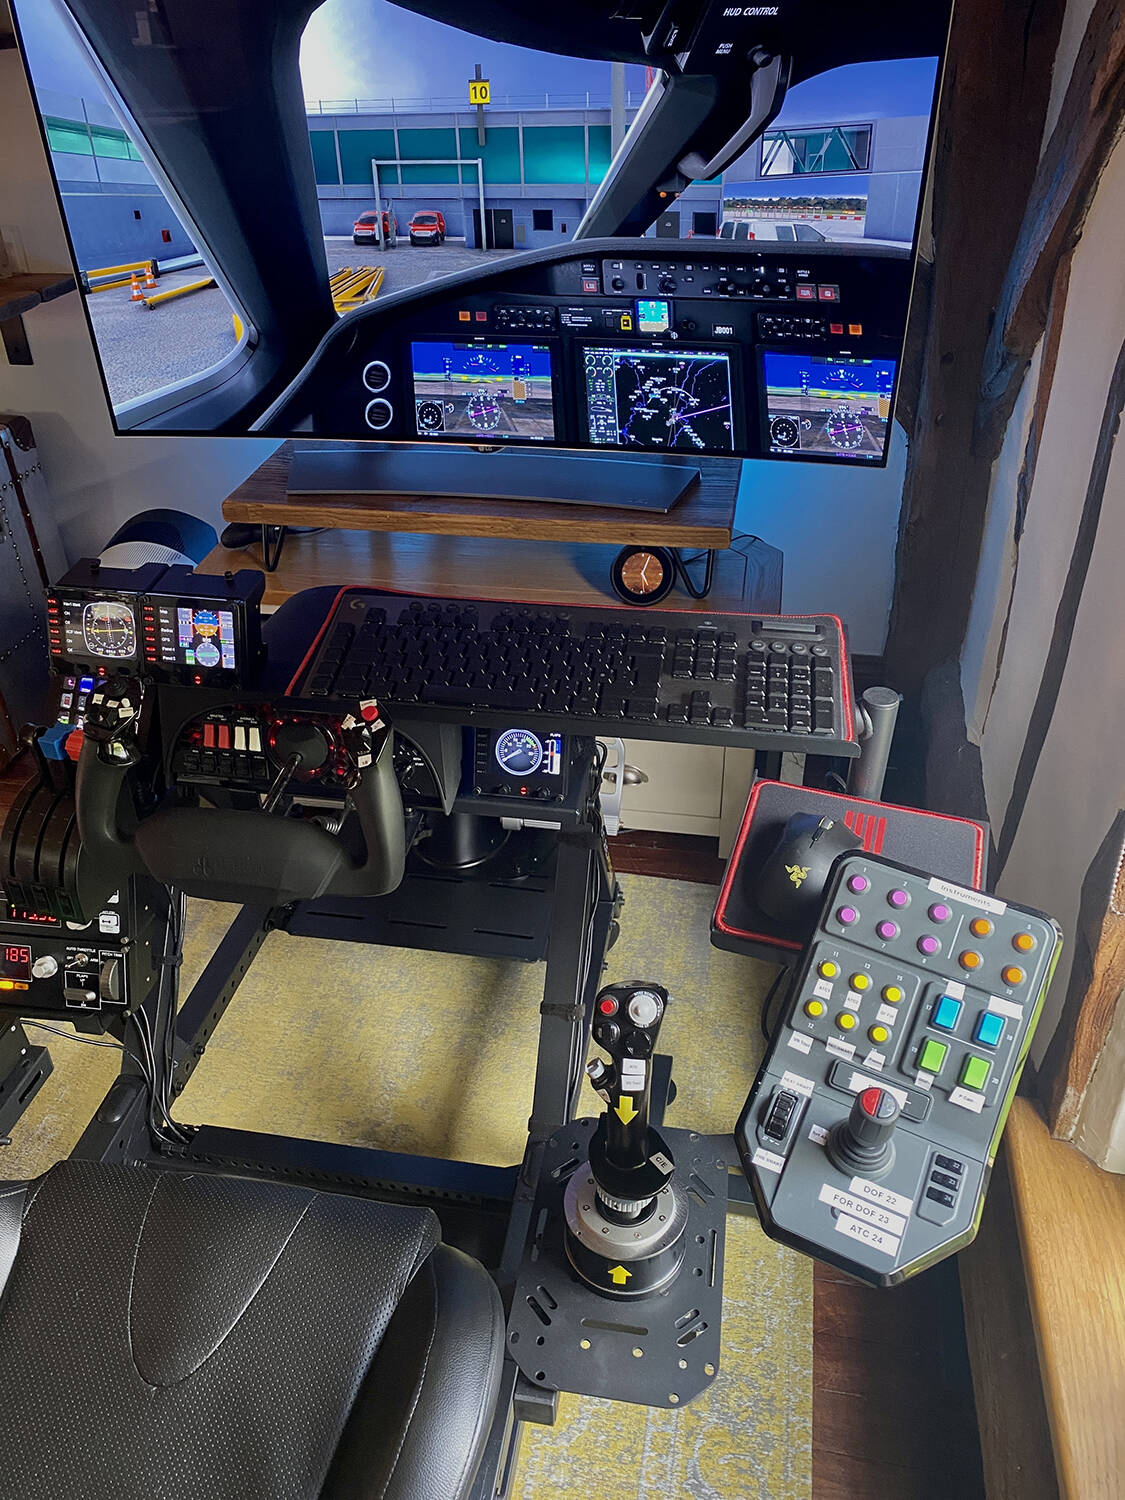
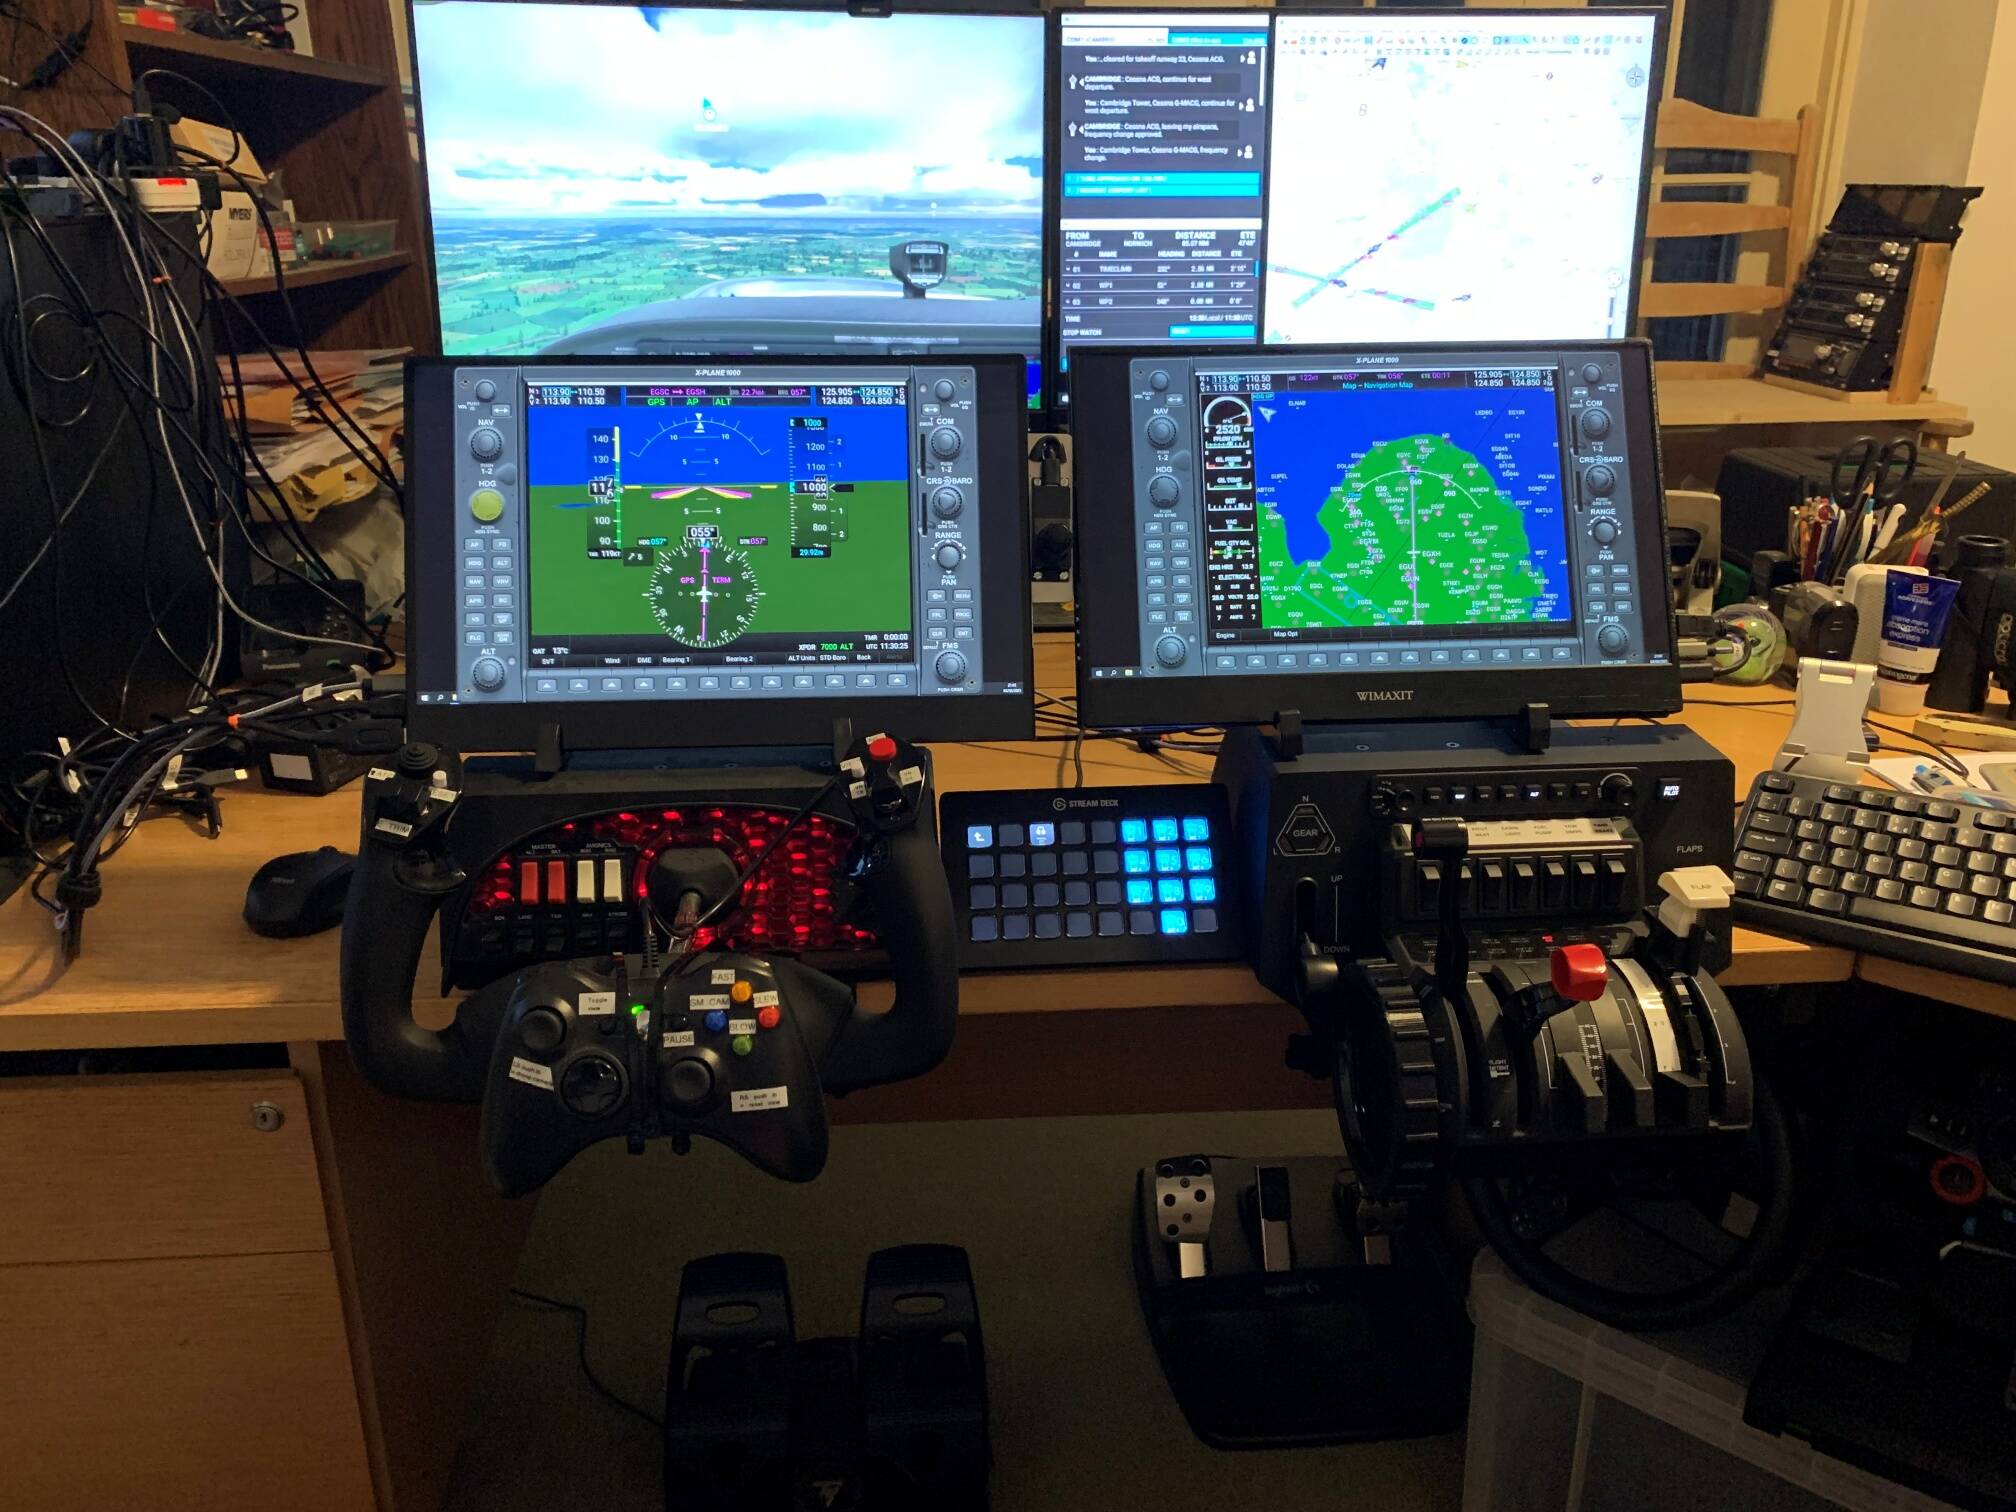
Now that Bravo TQ has arrived and is set up how I think I want it, have been able to progress my home cockpit - mostly fly Cessna 172 G1000, hence the touchscreens and knobster, using Air Manager.
XBox controller is for cameras only.
I attached my Xbox controller to my yoke via adhesive velcro. That way it’s right there at my fingertips for my camera and drone control and easily removable if I need to use it for another game.
Scroll up. You’ll see several of my cockpit pics going back several months as it evolved. Attaching the Xbox controller to my yoke was literally the first thing I did after getting it last year. Several others have followed suit and done the same with their setup. It’s just so handy…
EDIT: Some people were concerned about damaging that rubberized finish on their yoke with adhesive. If so, zip ties are another options. Although then the controller isn’t quite as easy to remove for other uses.
Oh, that’s a nice idea – I use my Alpha yoke’s POV hat for controlling the camera pitch/yaw and horiz/vertical translation, but the inability to control the speed makes it not quite as nice as the controller joysticks.
this cockpit is amazing, but my googlefu is failing me on finding this board…is this something you designed? is it going to be a product you will release? I have a RSG g1000 setup, but I bought that before I started flying real world, I would love to have a steam gauge setup also…and yours looks amazing, panel and everything. looks great.
Thank you for the compliments! Yes we did design the board and will be releasing it through our website at www.loungepilot.com along with a lot of other cool products for builders. The site is not live yet as we are still finalising the design. You can send an email to admin@loungepilot.com and we can tell you how to get one in the meantime.
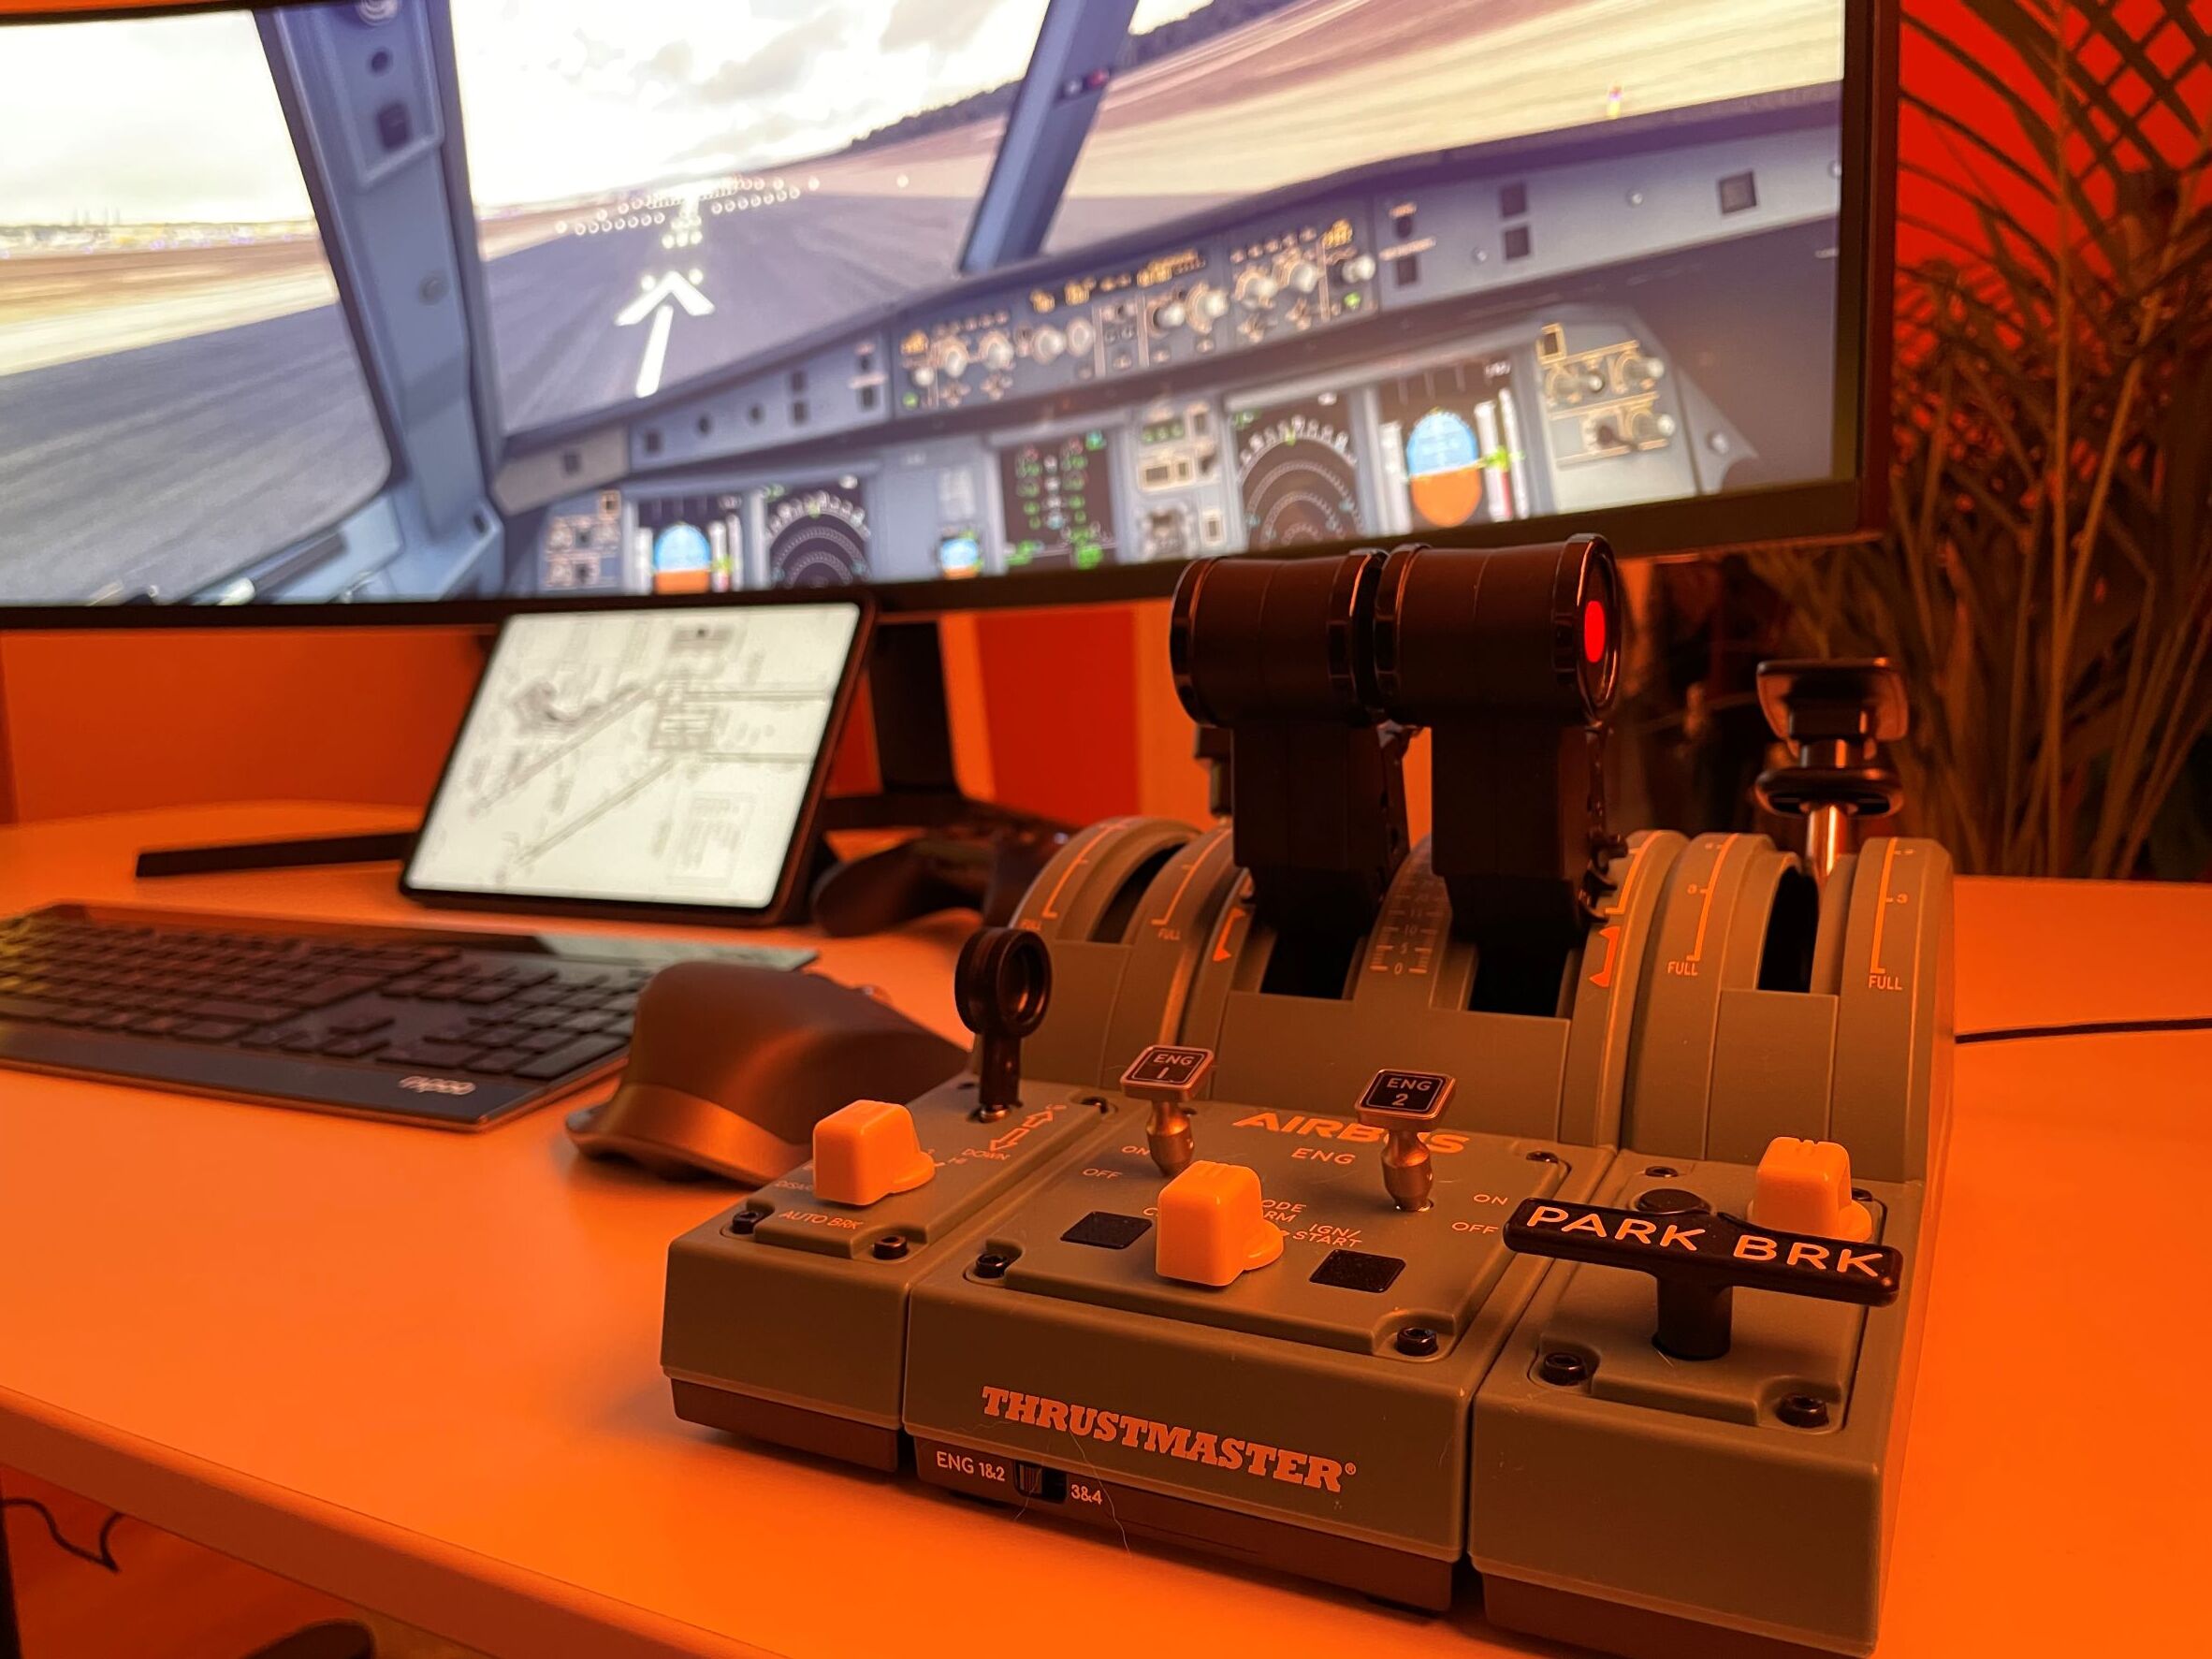
I really wanted these when I put my cockpit together as I got the Honeycomb yoke and throttle quadrant, and the full matching setup would have looked nice. I toyed with the idea of buying a cheap £100 pair of pedals whilst I waited for them, but in the end decided to fork out £450 for the Thrustmaster TPR pendular pedals instead.
Although they were pricey I have to say I’m glad I did it as the all metal construction of the rudder pedals is better than the plastic of both the Honeycomb yoke and throttle. £450 is a silly amount to pay for some pedals, but hopefull they will last me decade or so, in which case the yearly cost will be trivial.
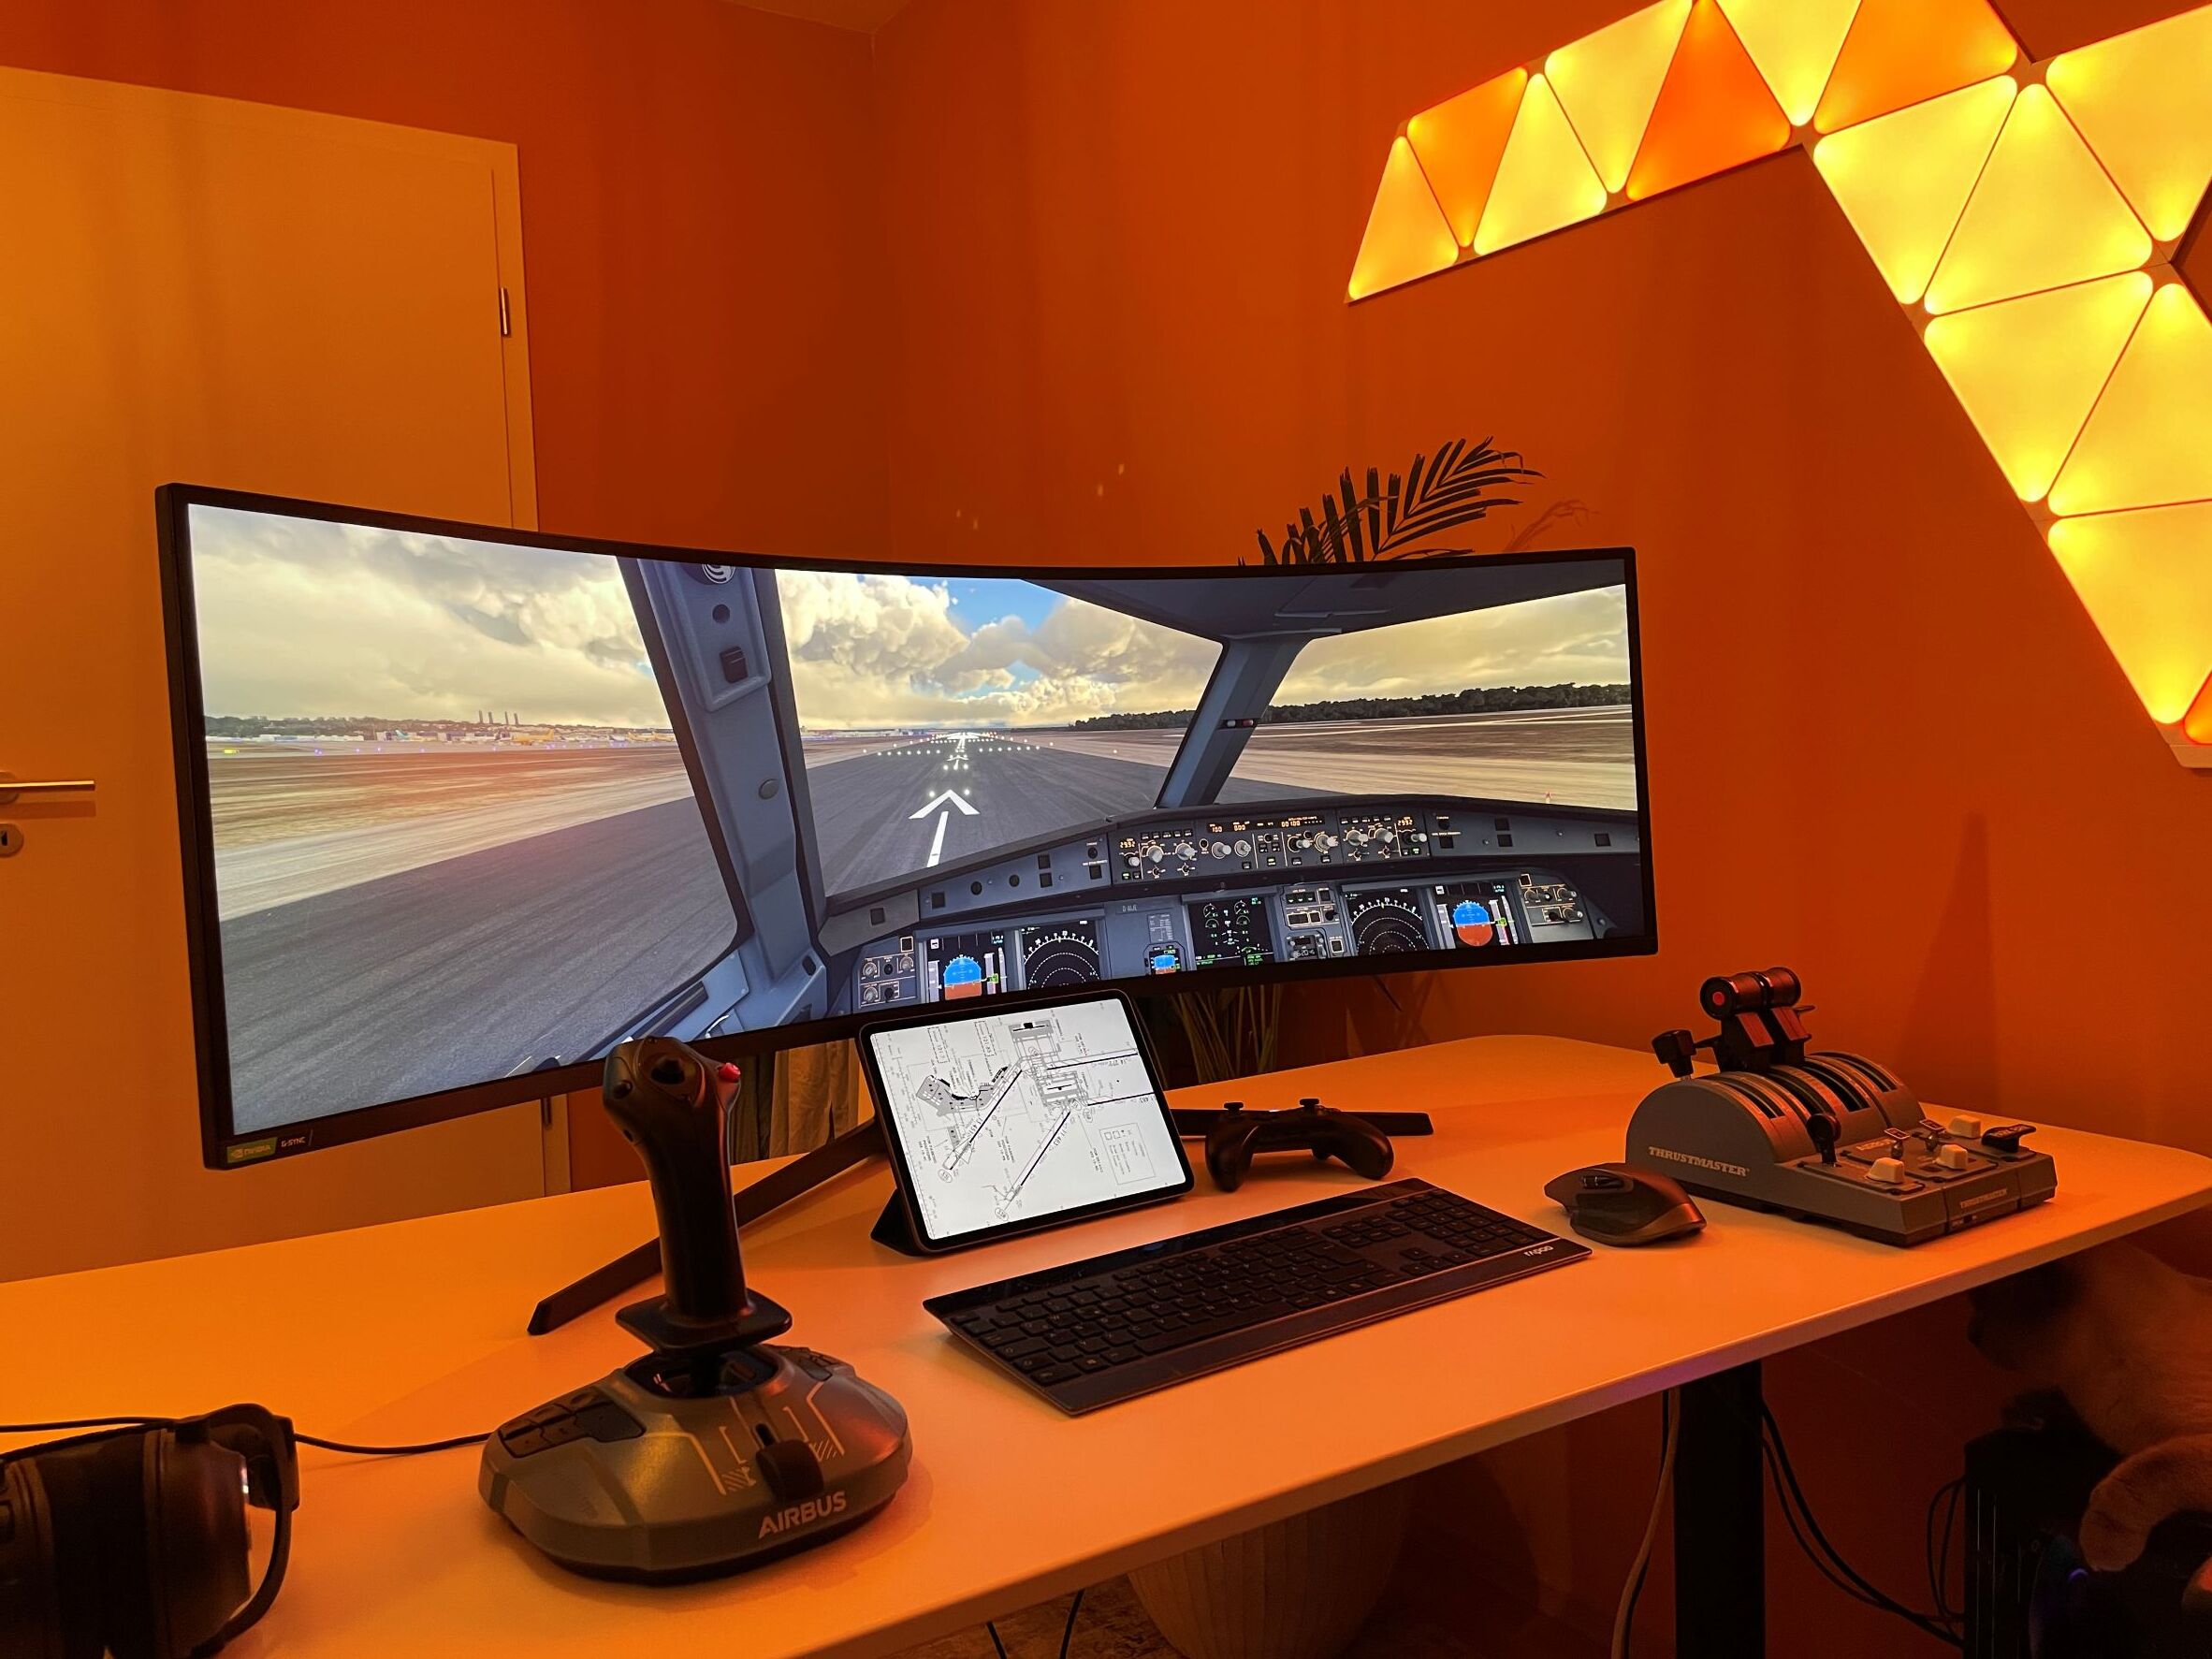
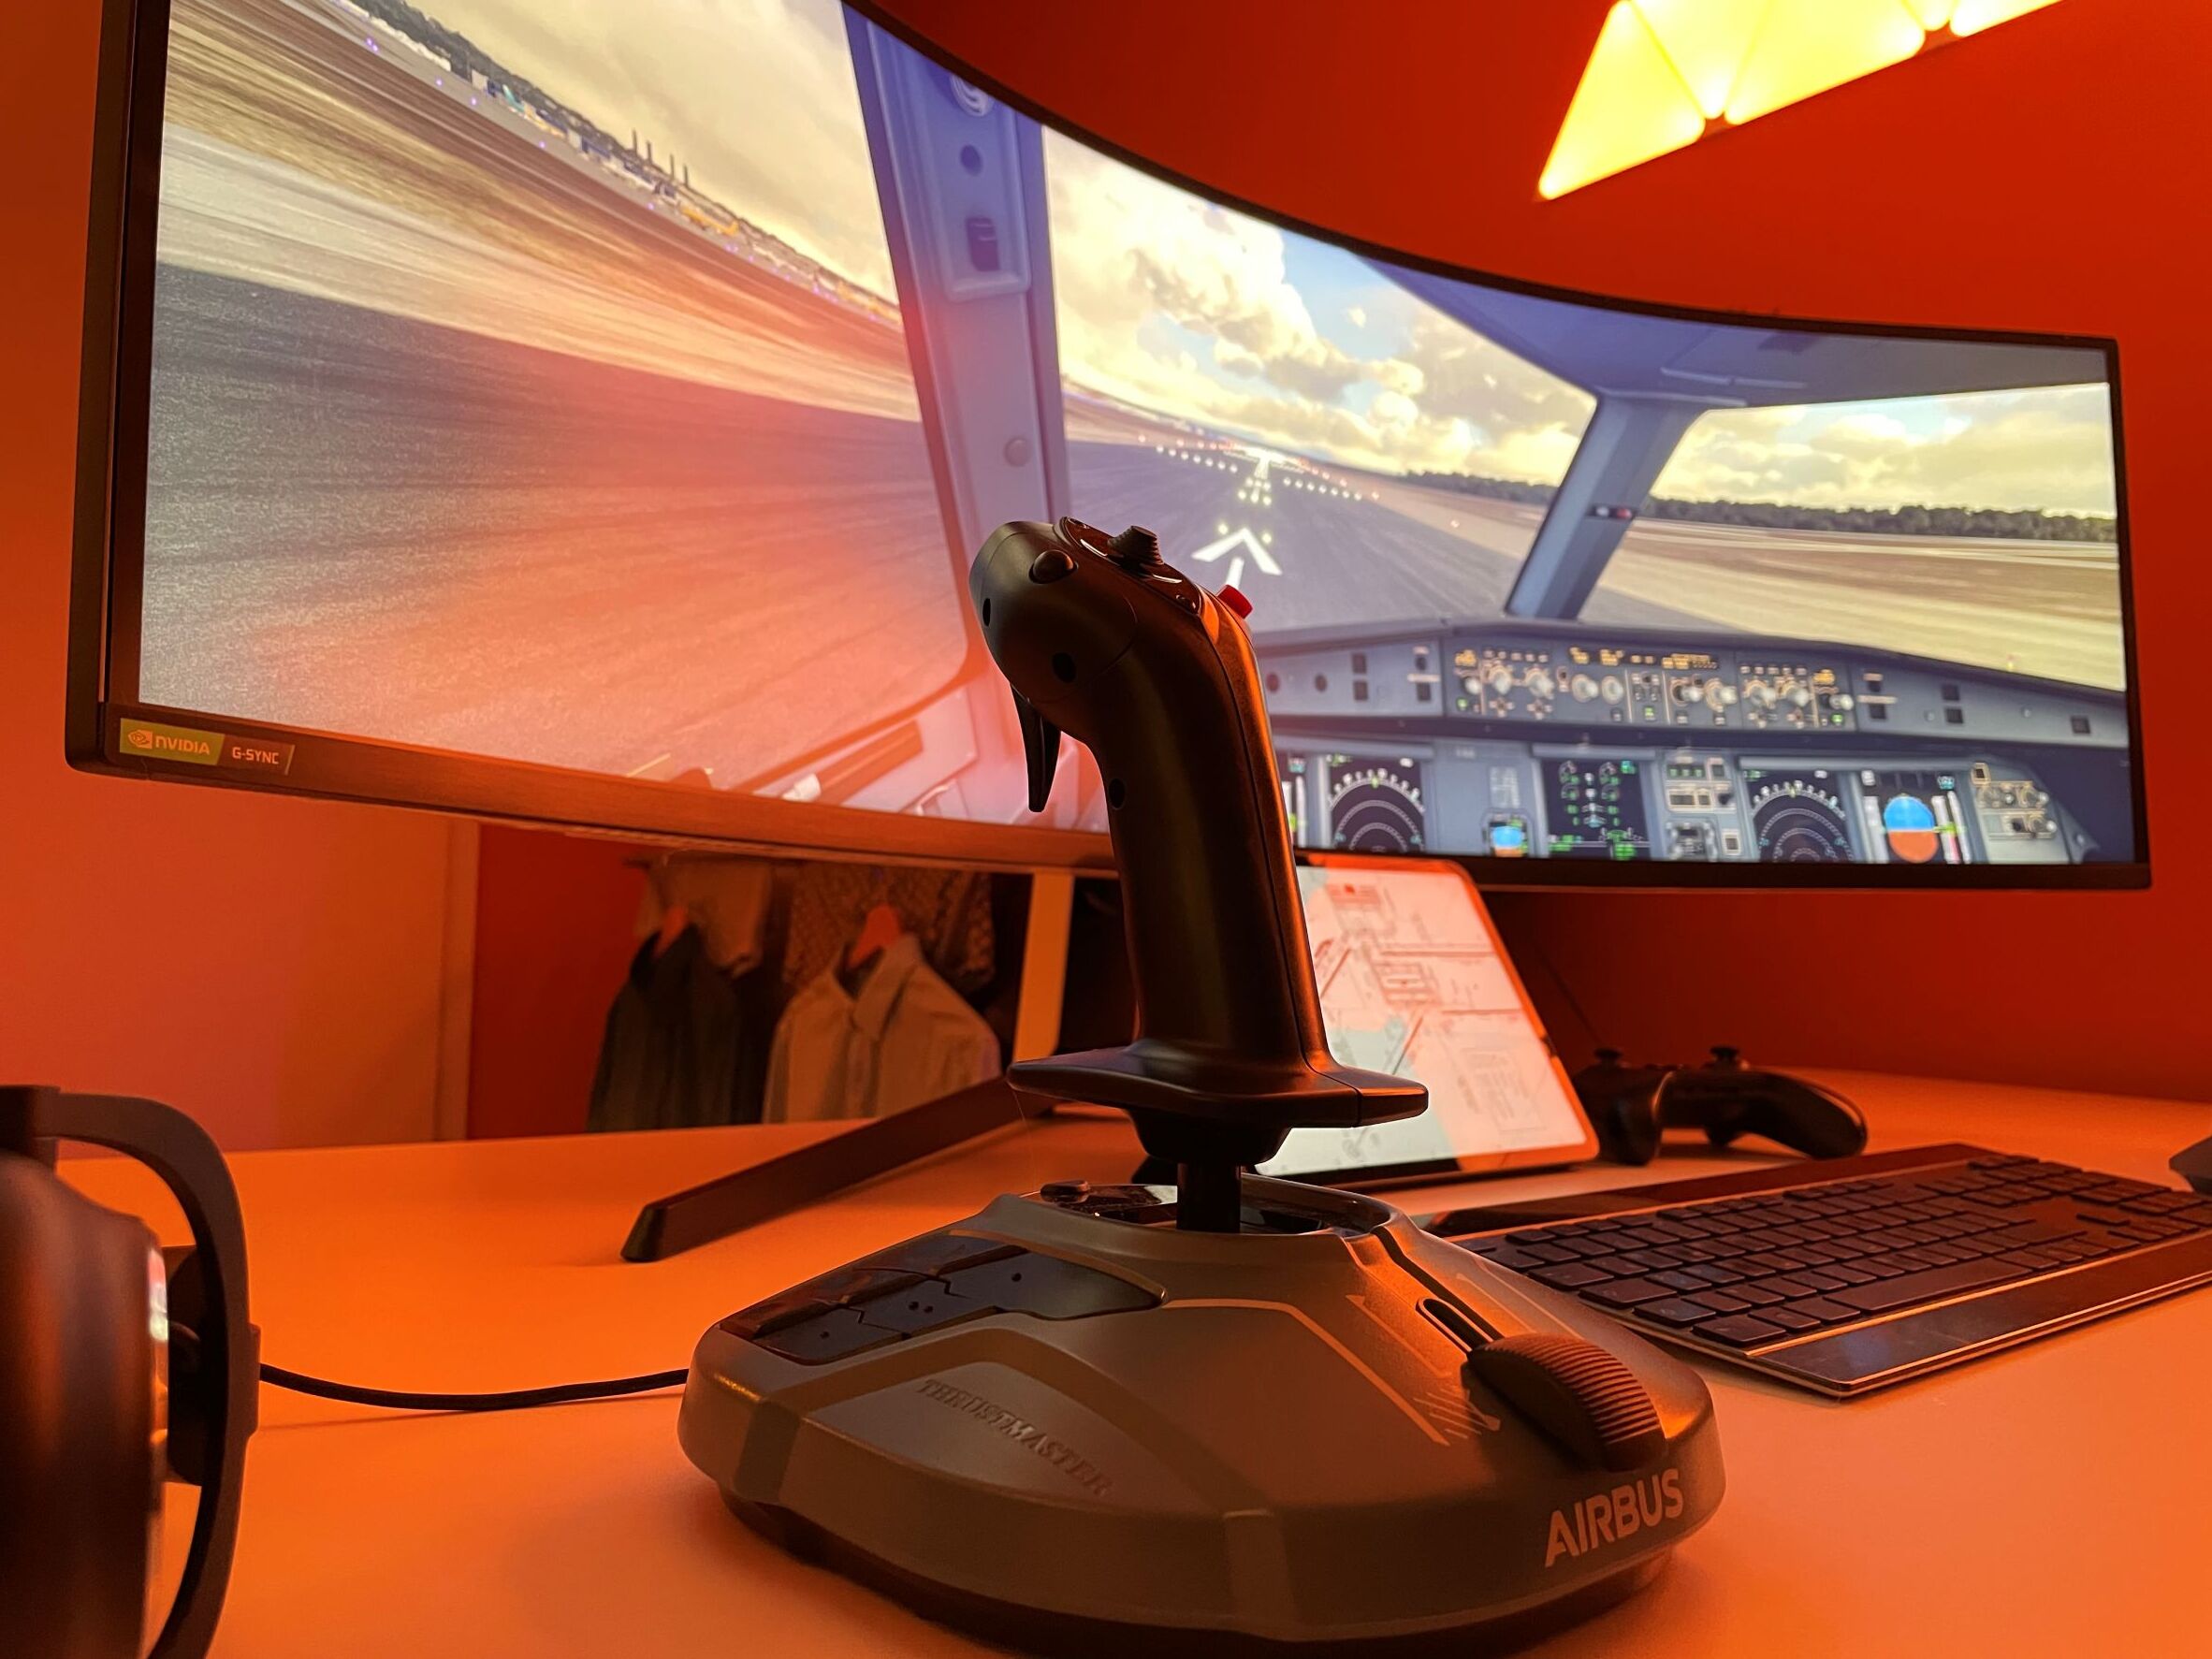
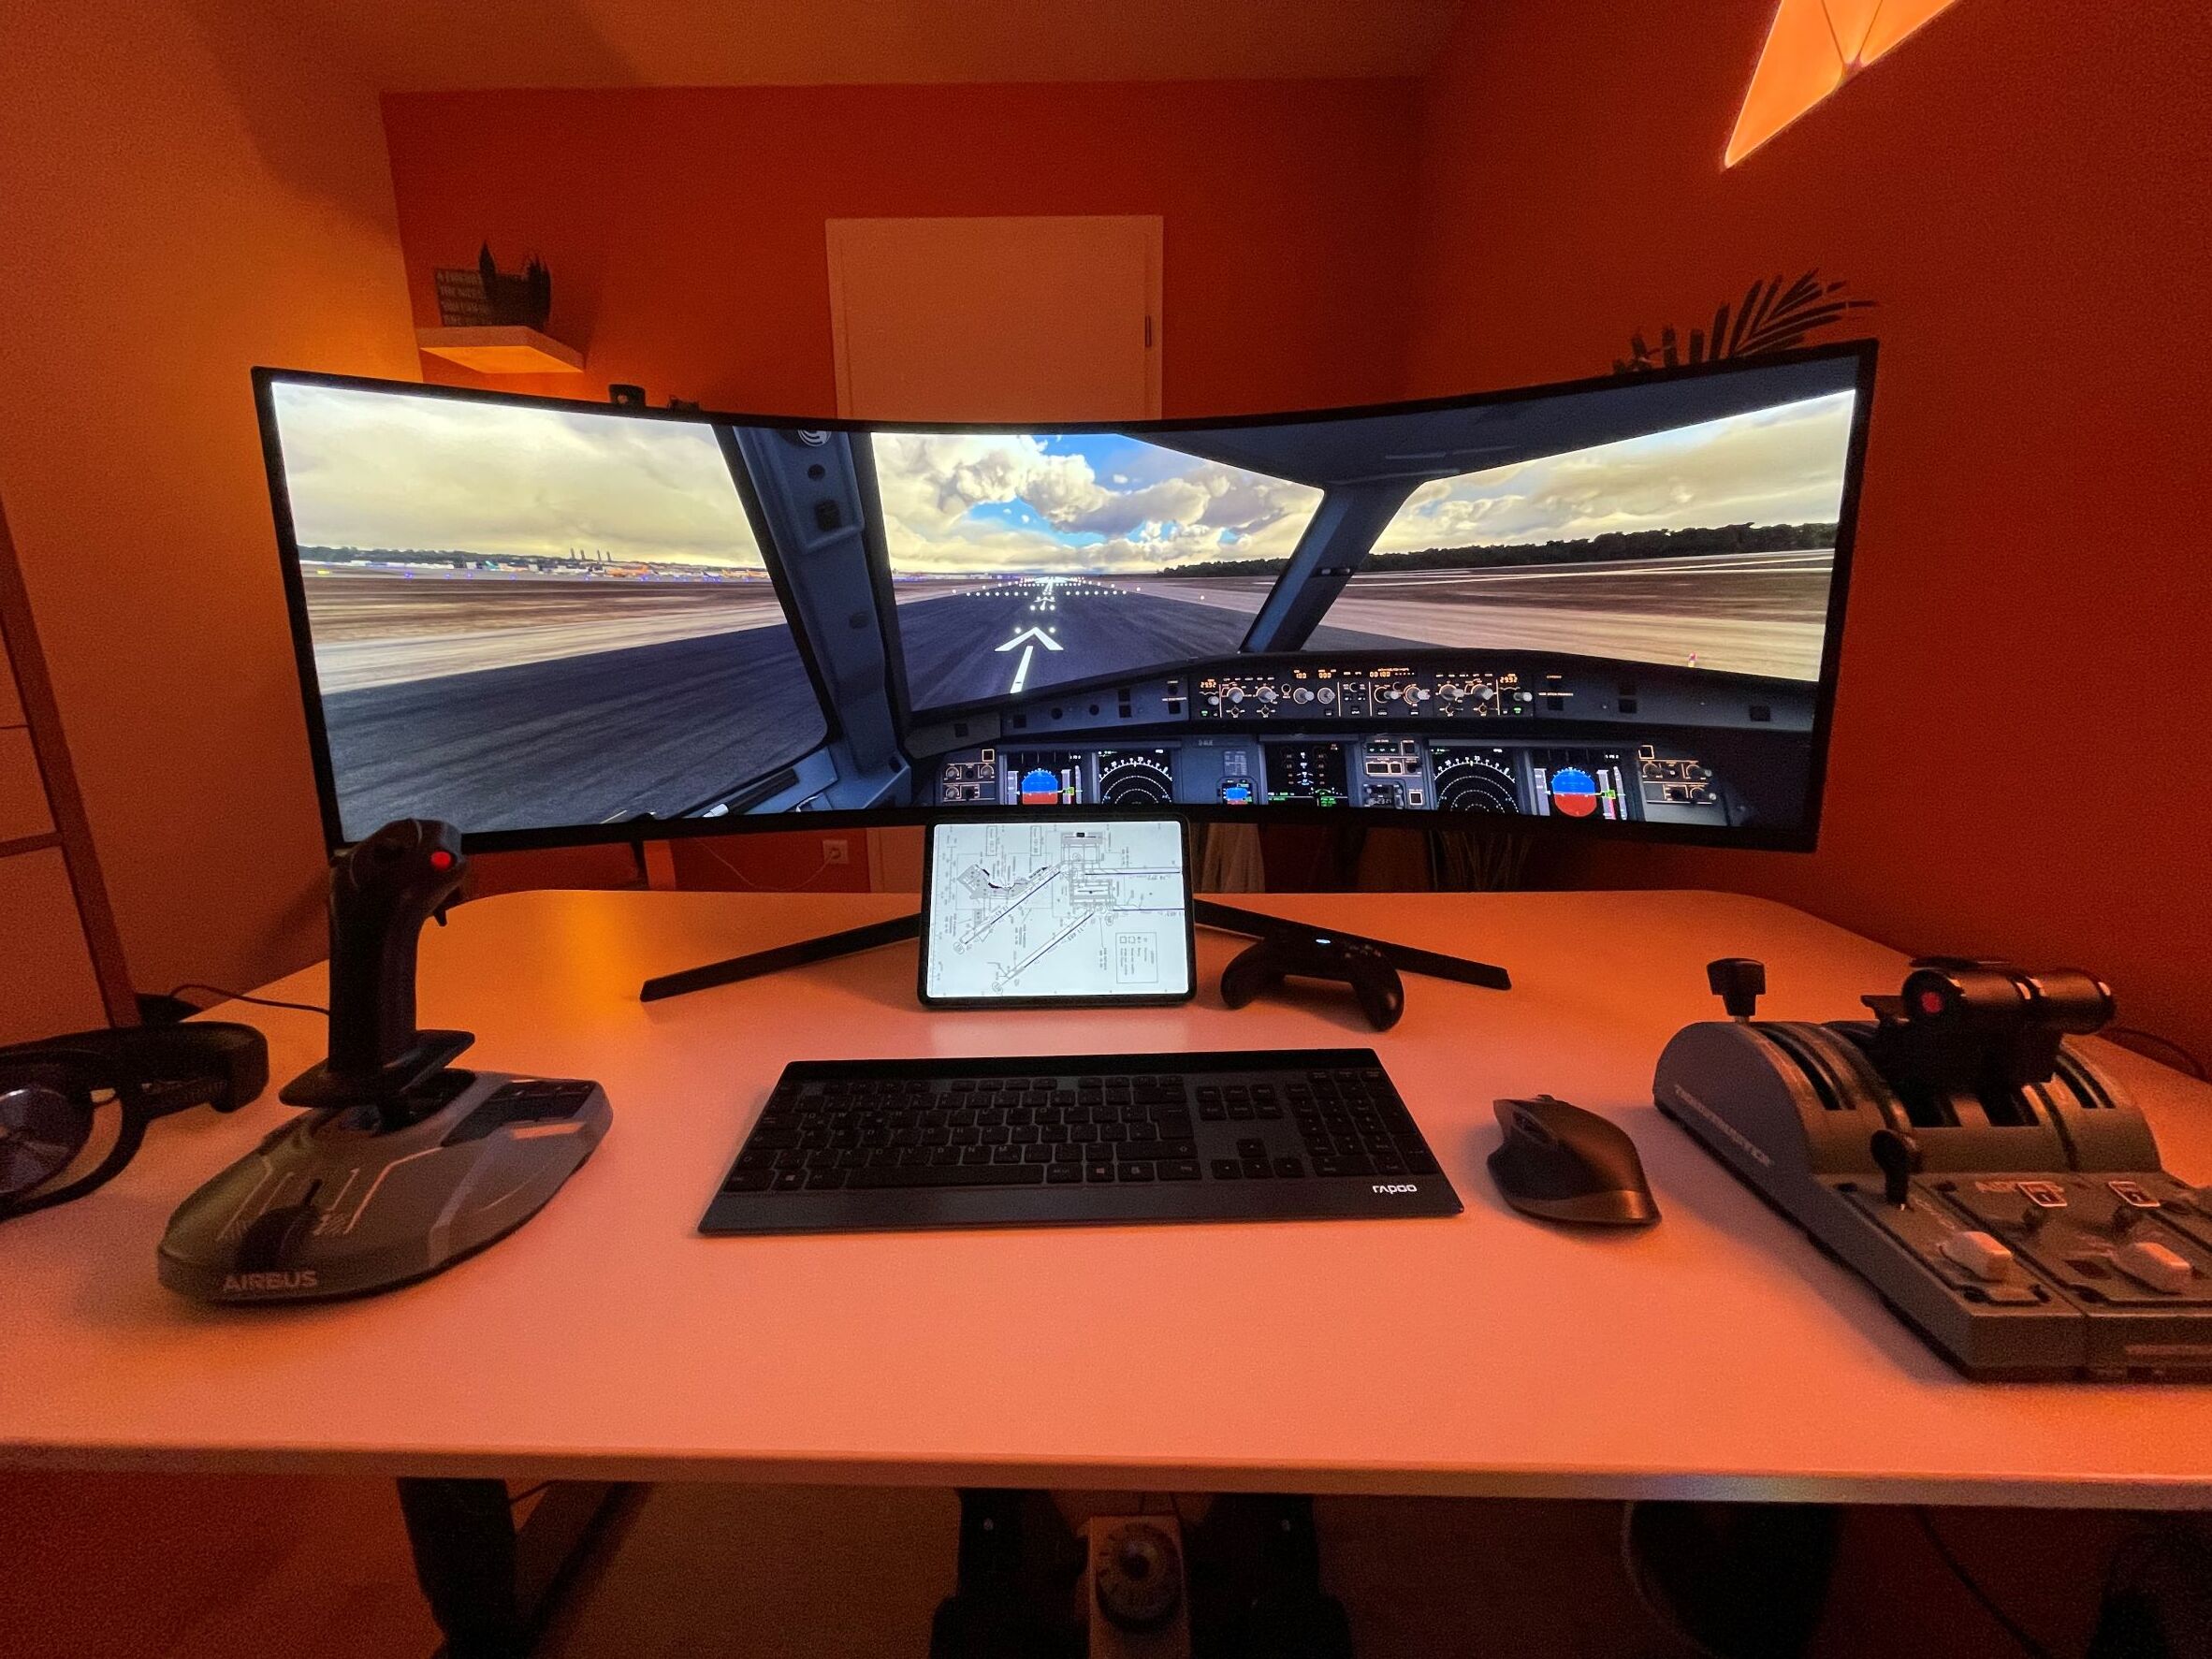
2 days ago I replaced my former 40 inch 16/9 screen by this 32/9 beast. Despite some open issues with the general support of those formats by the Sim, the immersion is absolutely stunning.
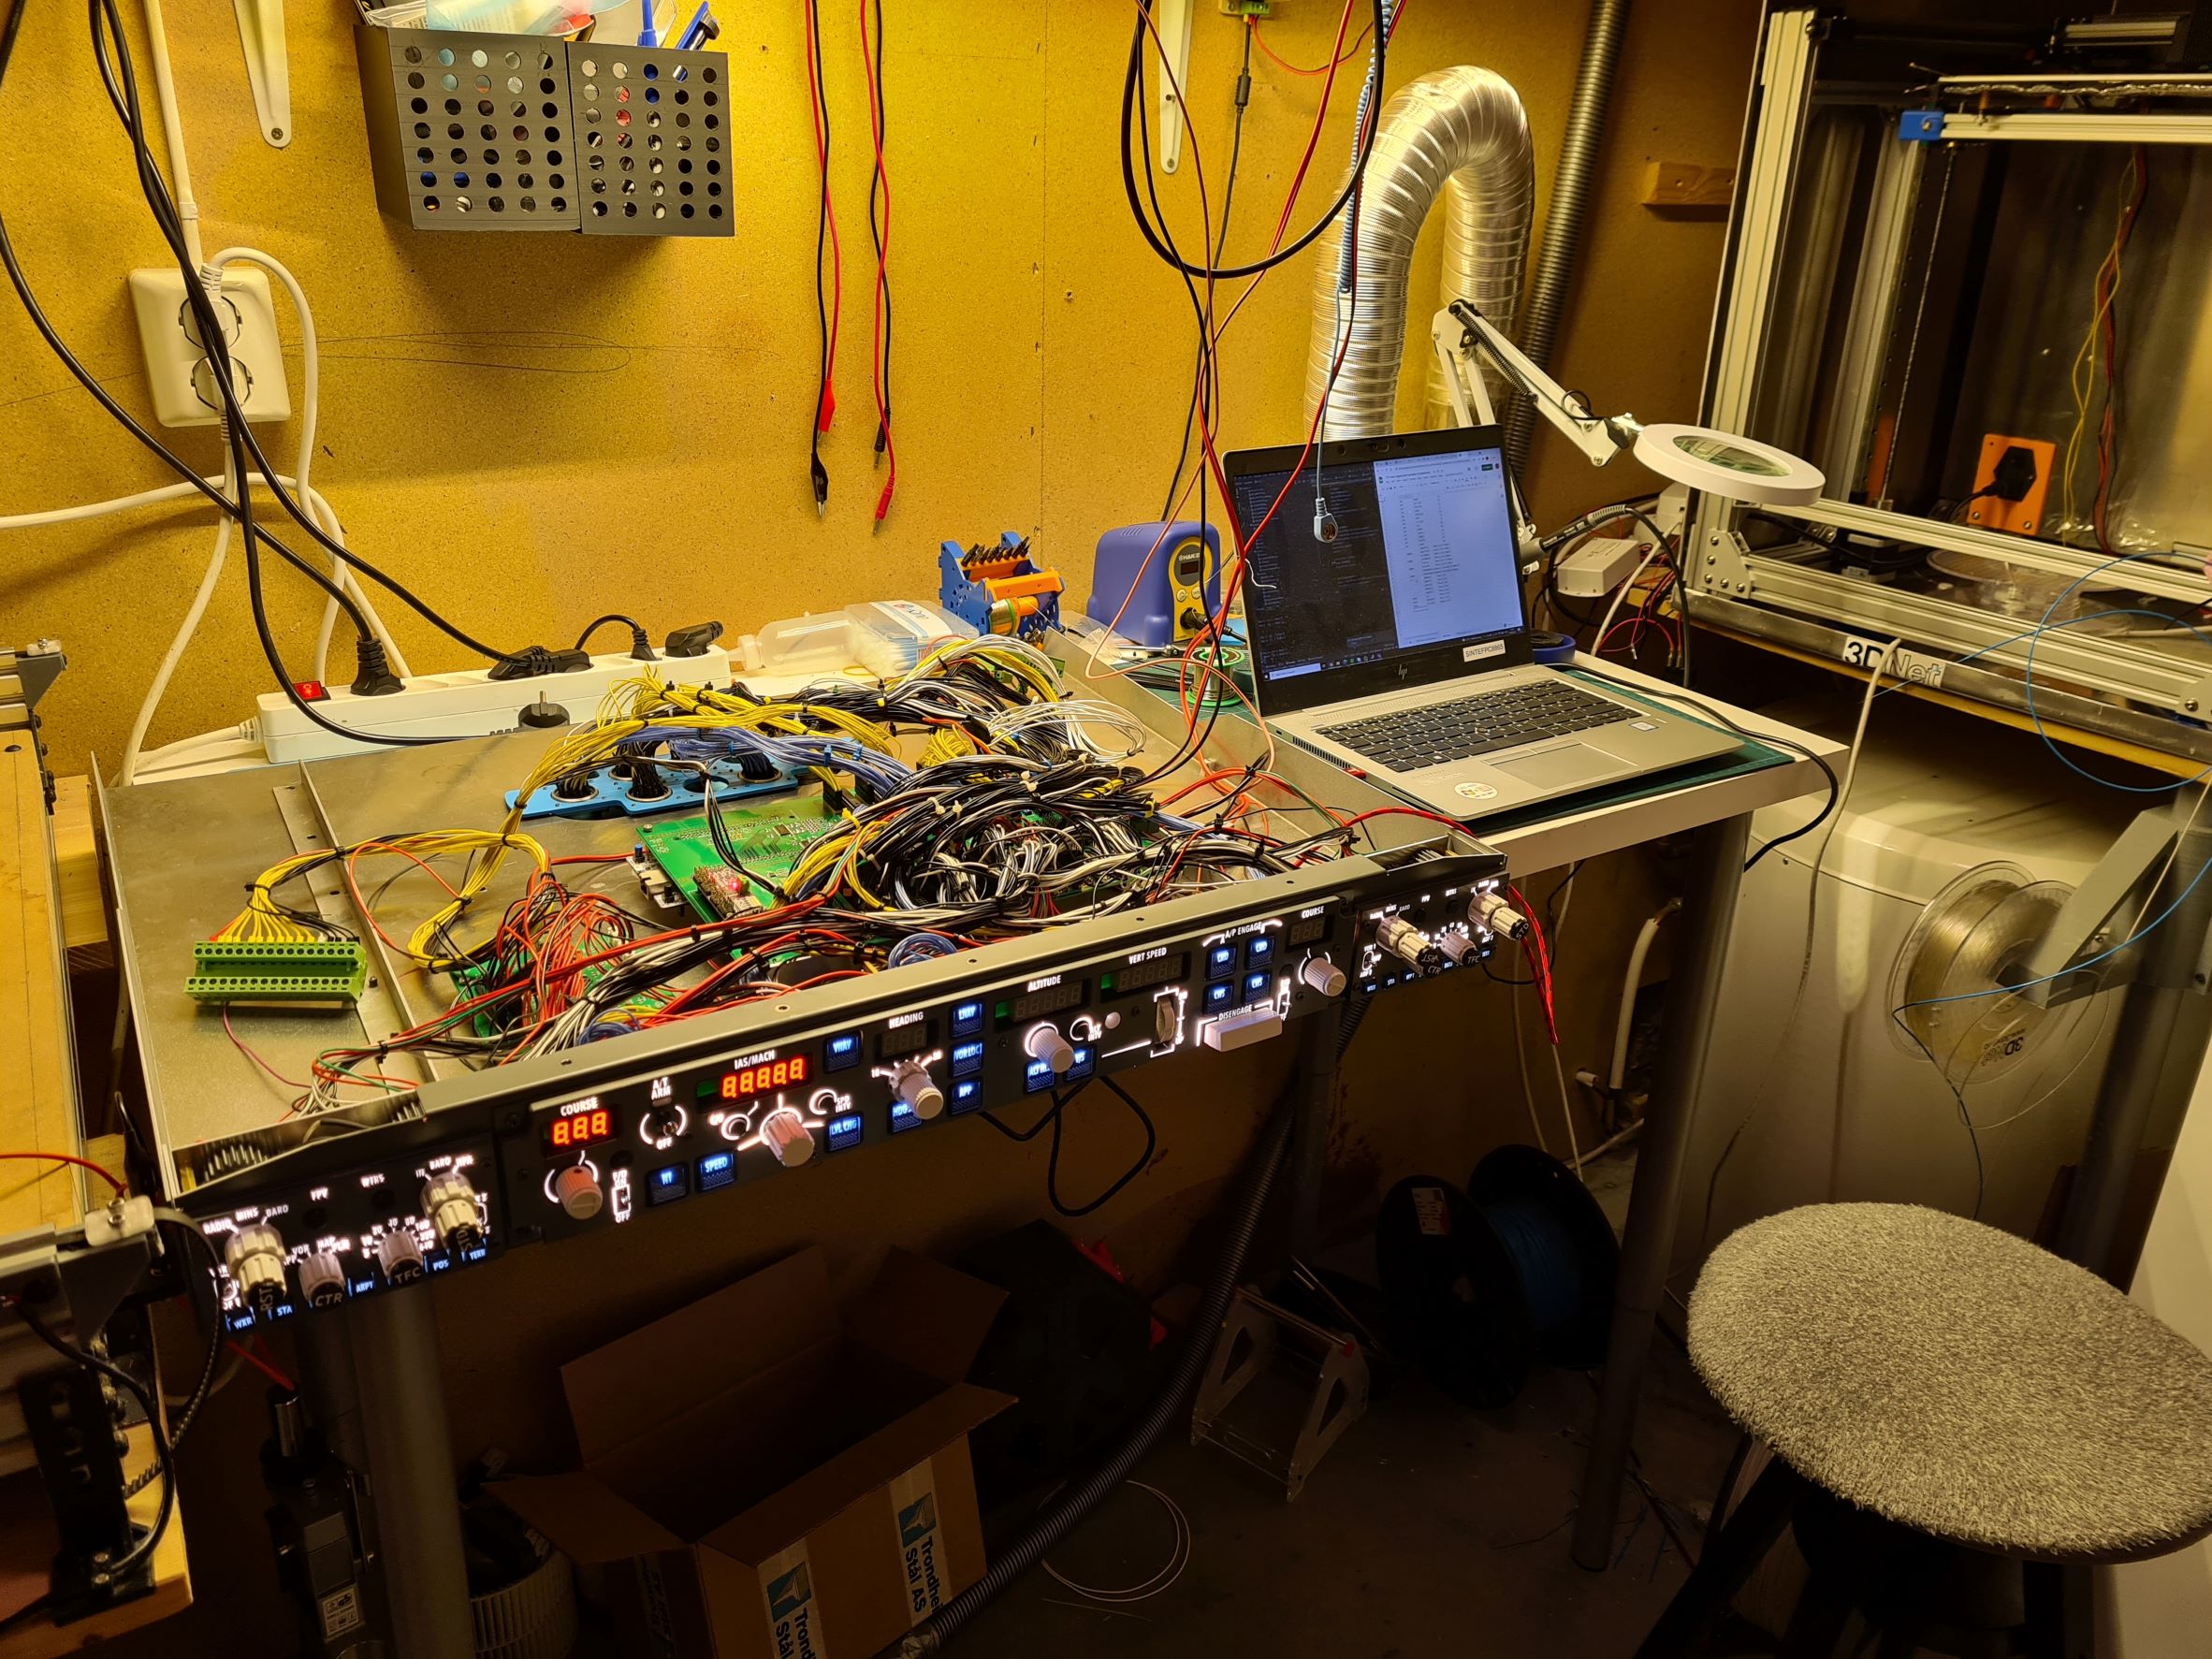
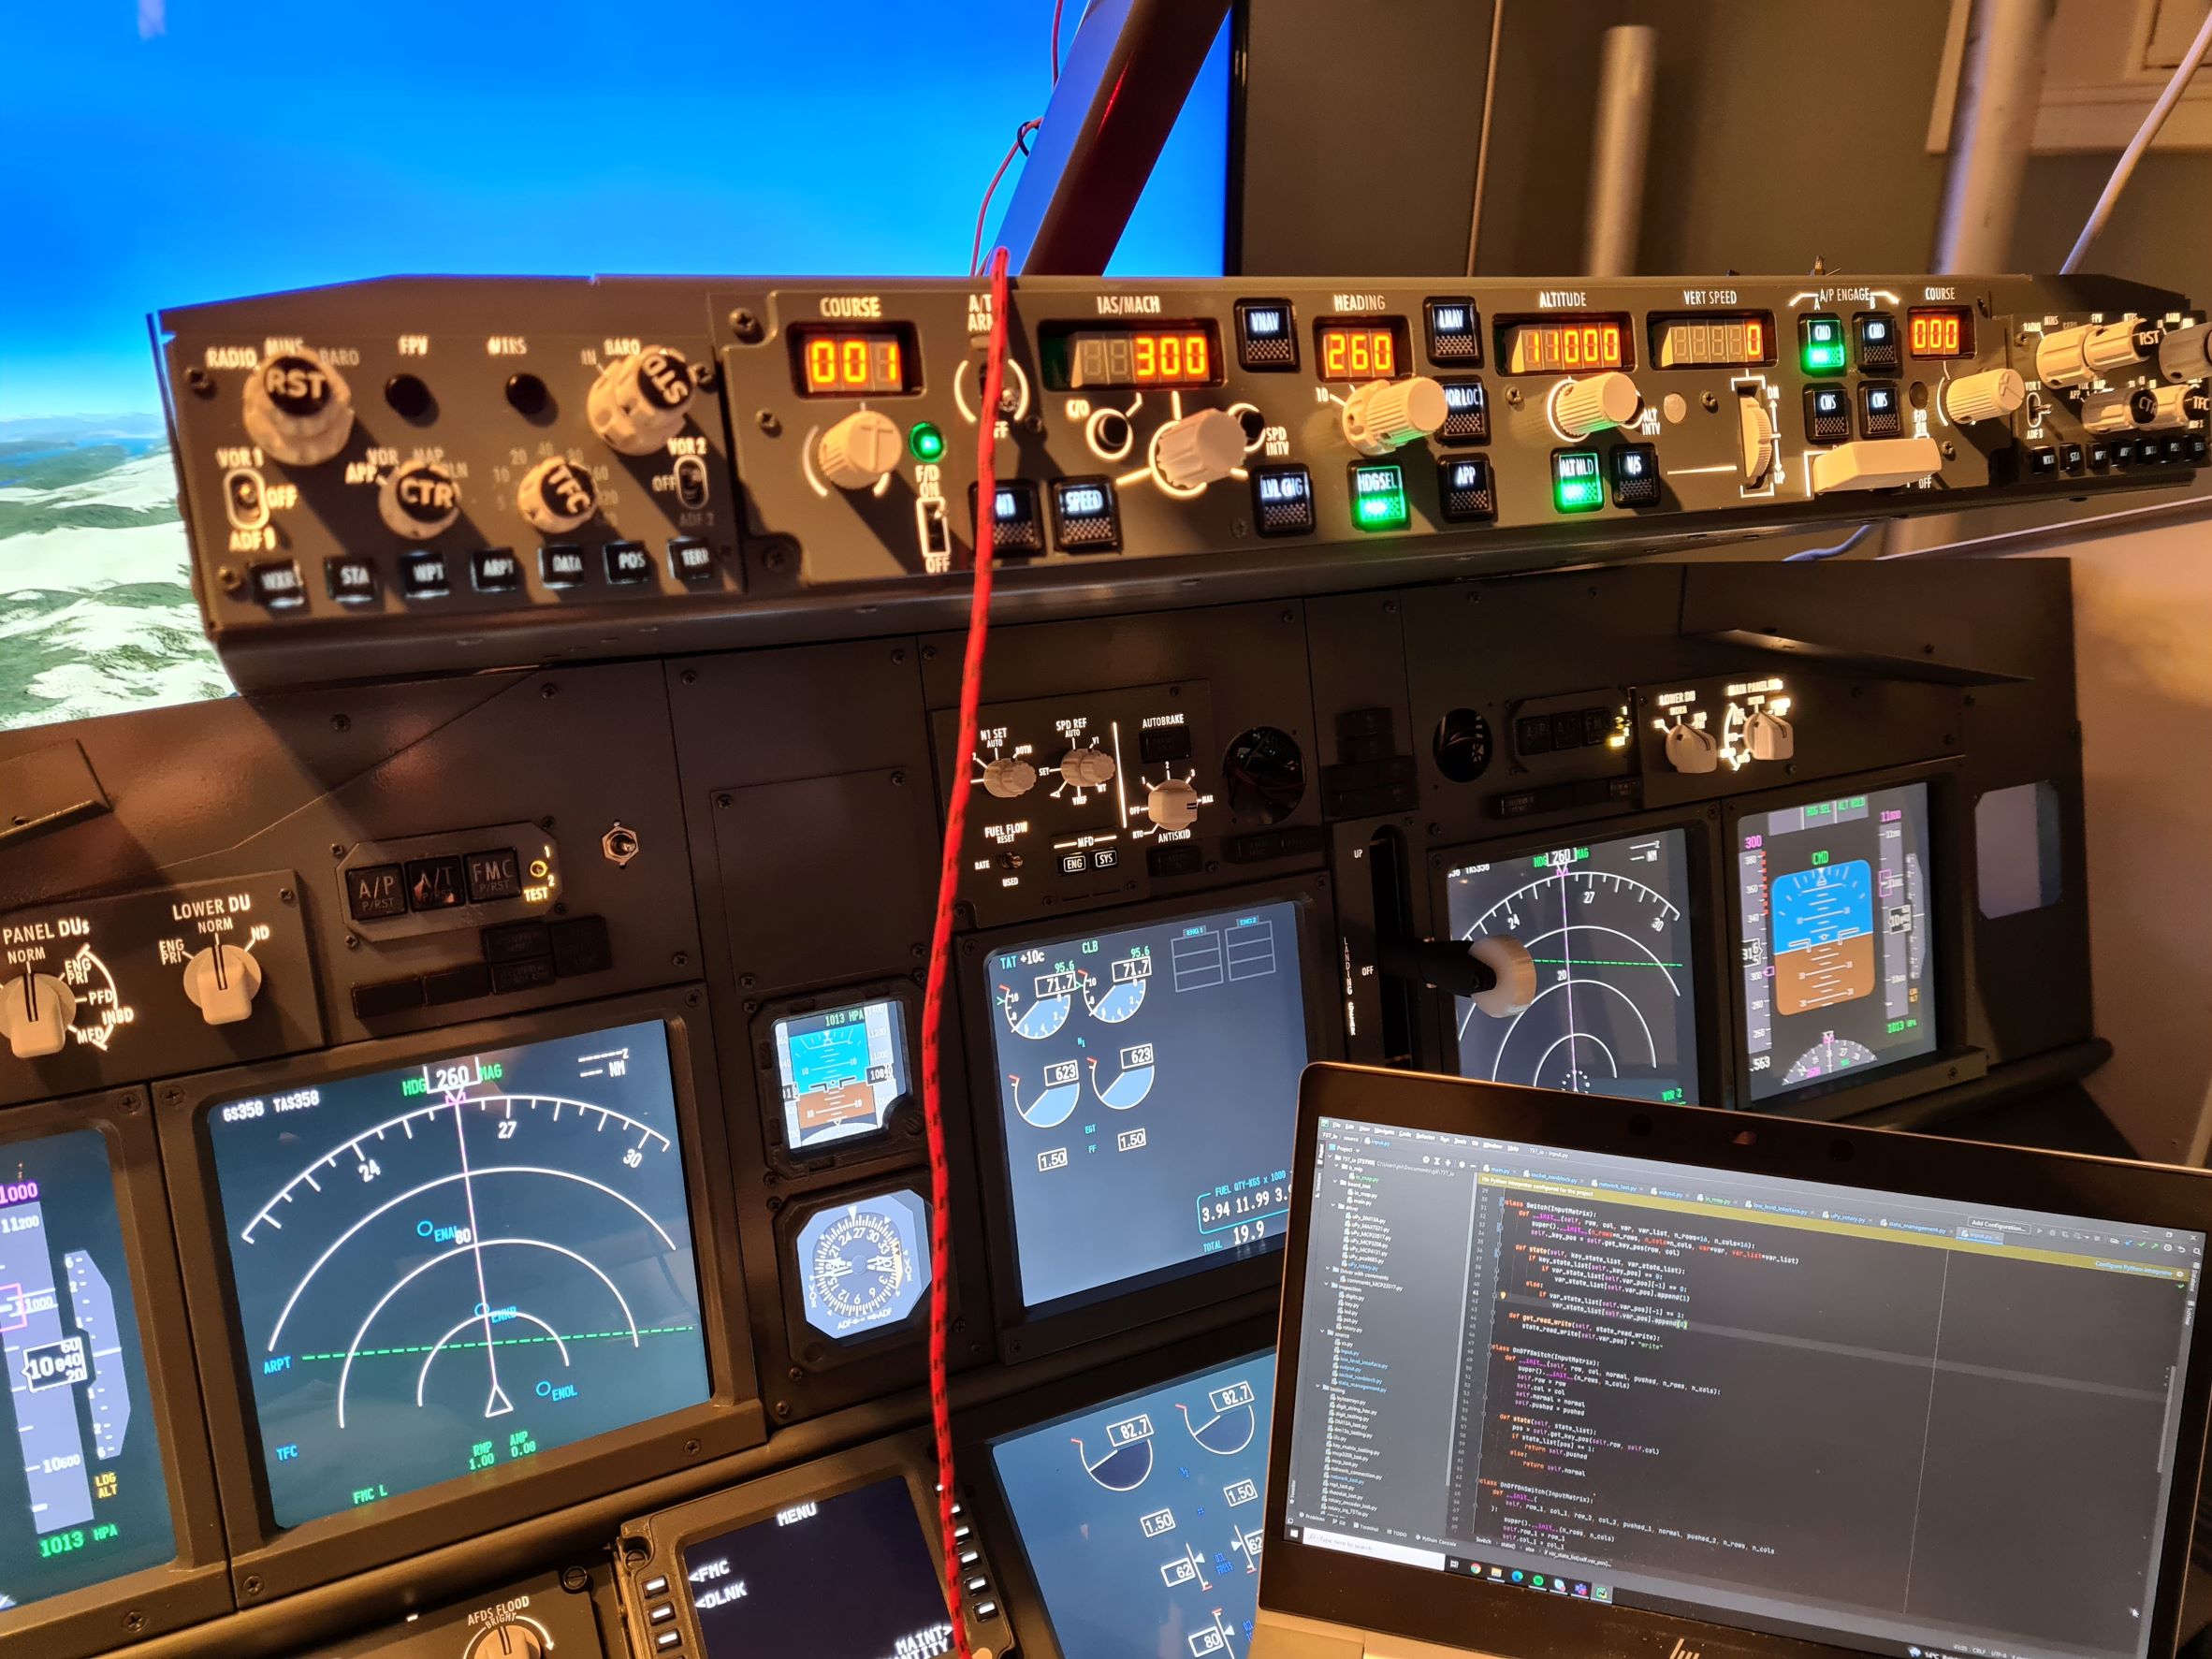
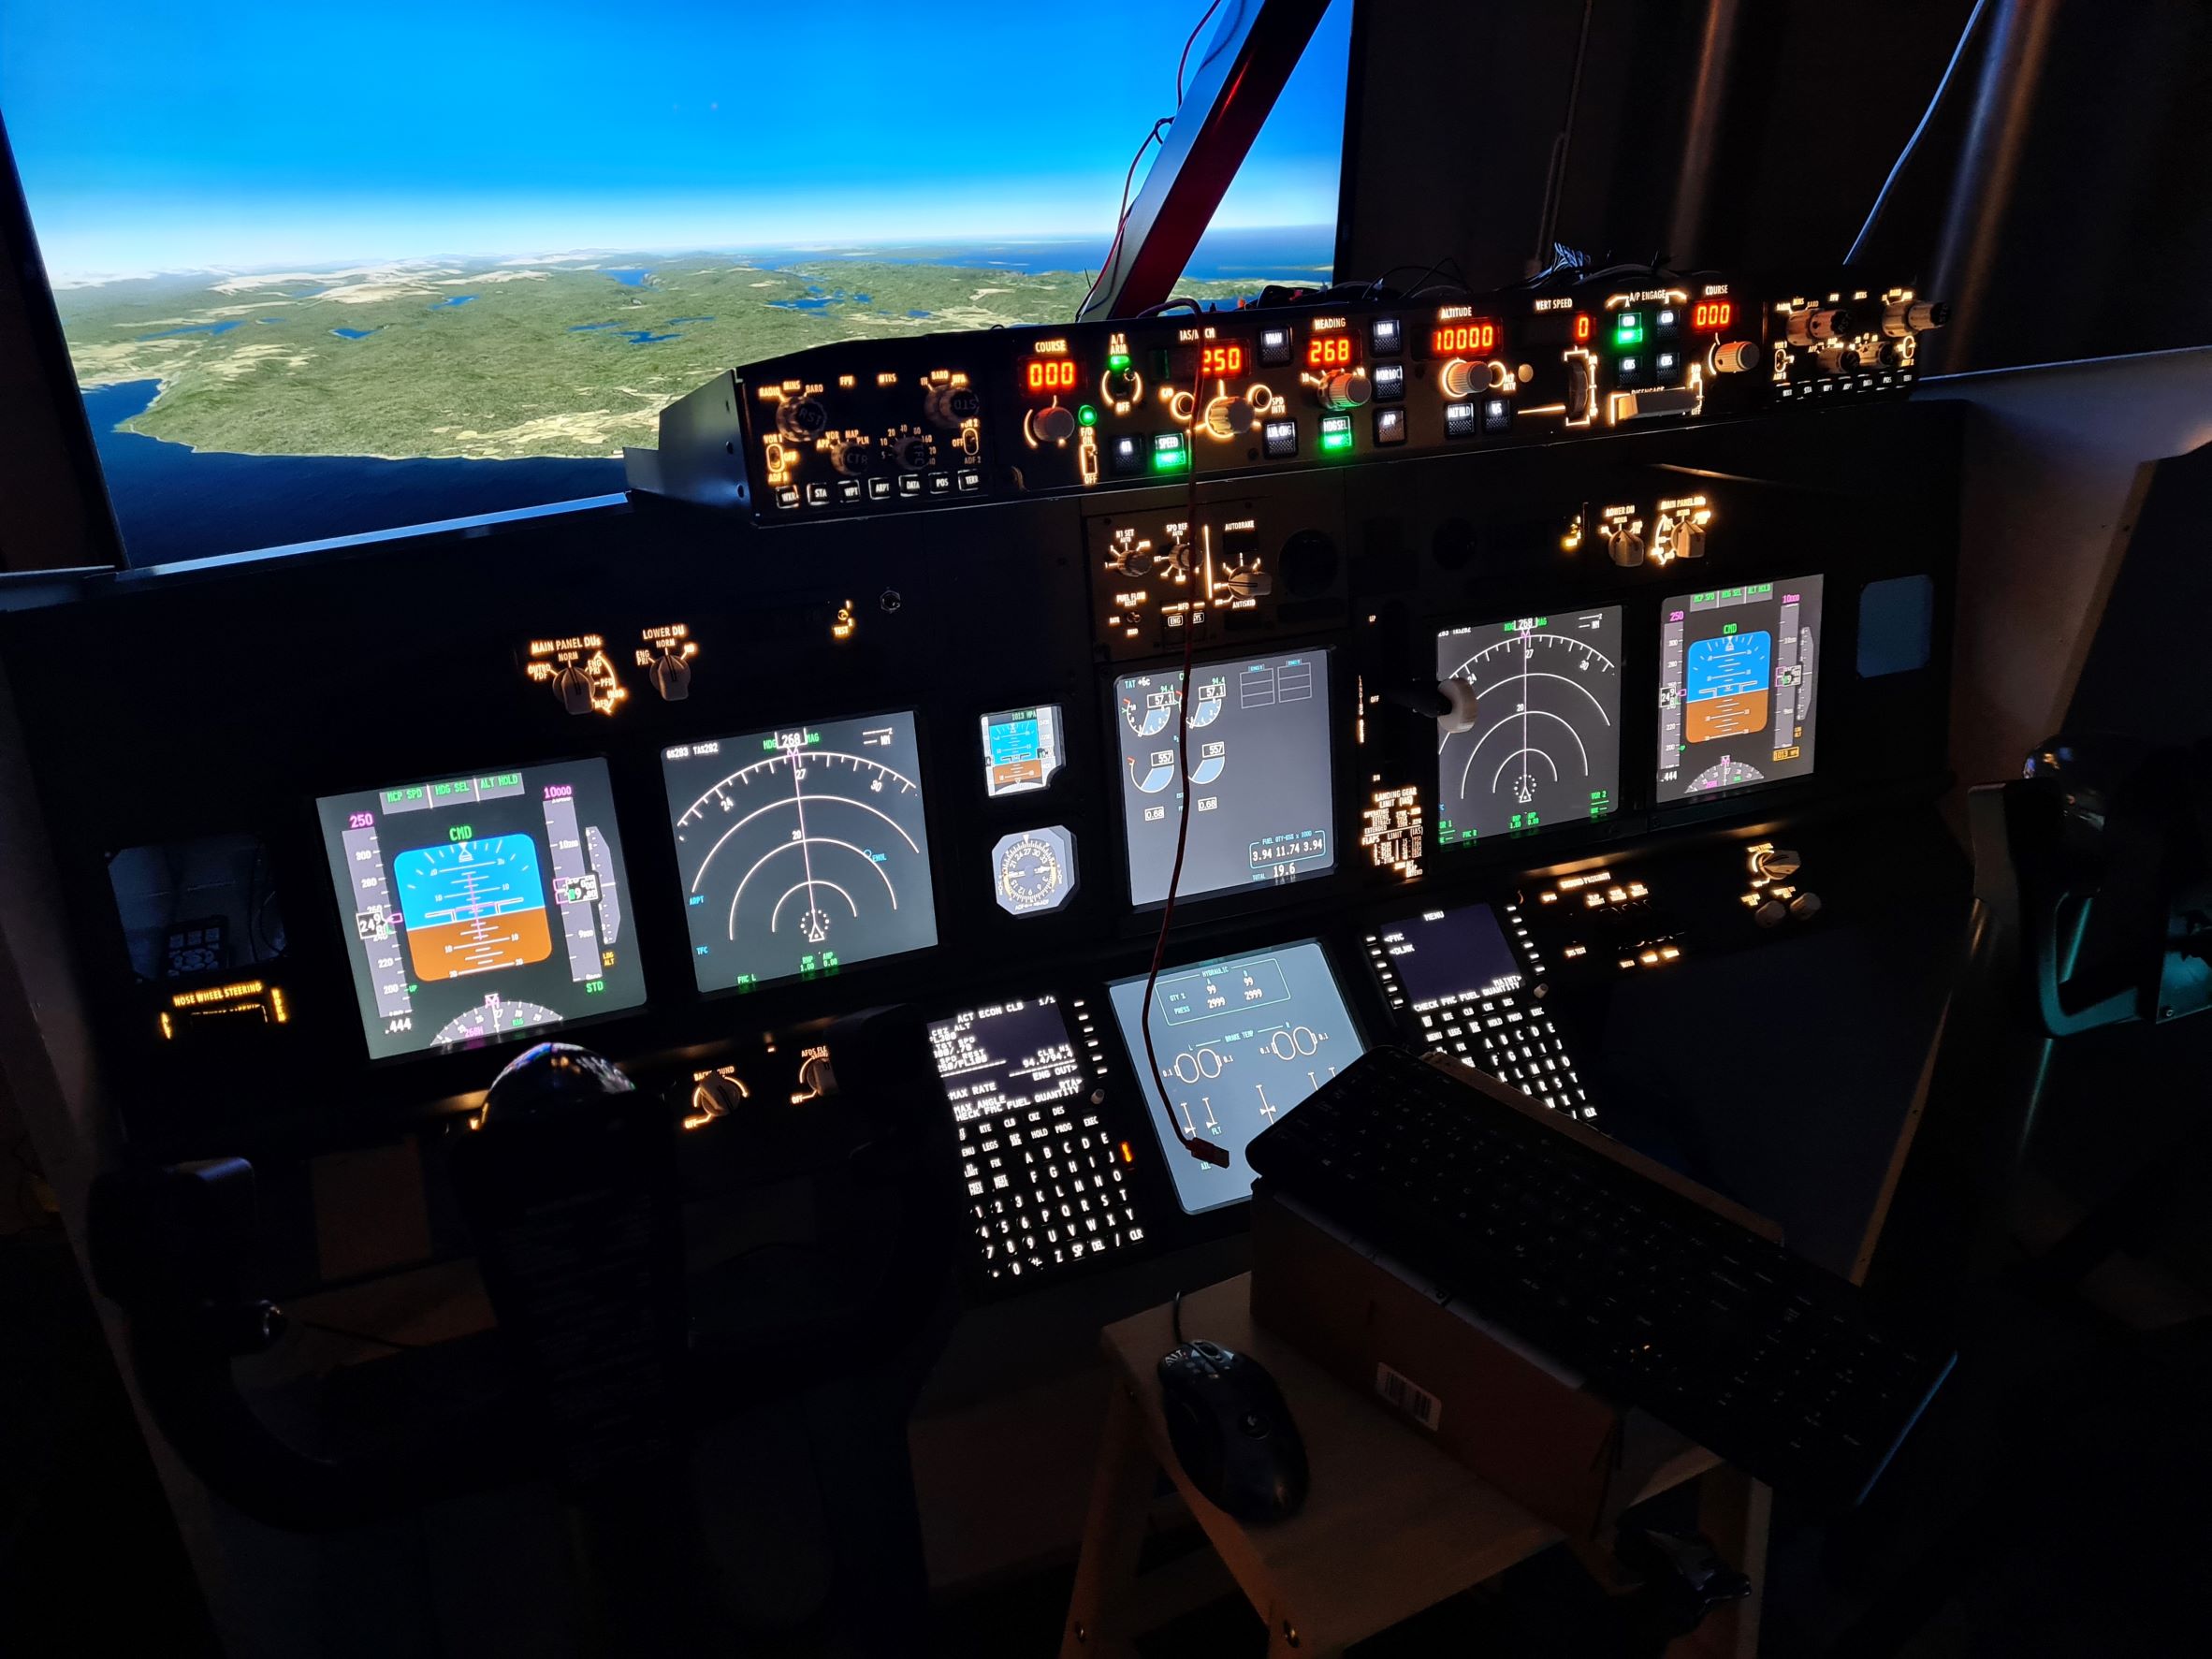
Progress on my diy 737 project. Not as clean as many of the other setups here, as wire management etc is not my strong side. It is flyable, however there is plenty of work left. Hopefully multiview capability is implemented before I’m “done”.

 awesome!!