Further to my post above about the Desktop Pilot fuel selector, I thought I’d share that I approached them for some help to modify the selector to make it work more like it does in the real C172 that I fly.
Not only did they help me, but they went far beyond anything I’d hoped for. They did the mod quickly themselves, made a video of it working and created a document explaining how they did it.
Companies like that deserve our support. Little niche hardware like theirs makes our hobby so much more fun.
It’s the details that matter! Looks great.
The fact that you stick to one a/c in the sim means you are surely getting some highly immersive experiences?
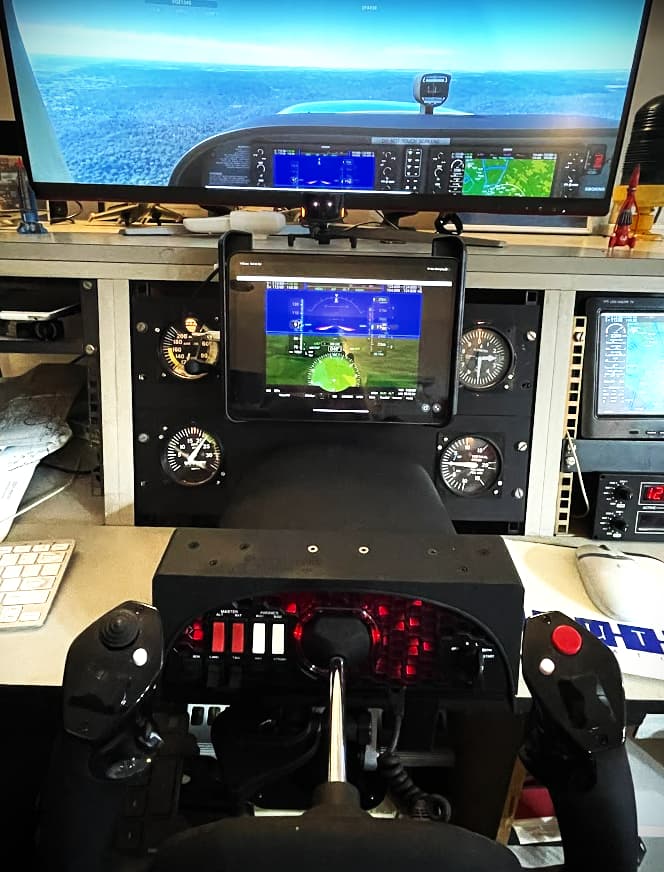
Here is a picture of my cockpit with work in progress. The monitors at the bottom are 2x28" plus 1x32" all 3 with a resolution of 3840x2160 and connected to my RTX3080. The 2 monitors on the top are 24" with 1980x1080 connected to the motherboard via Thunderbolt 4 and served by the graphics functionality of the 11700k CPU.
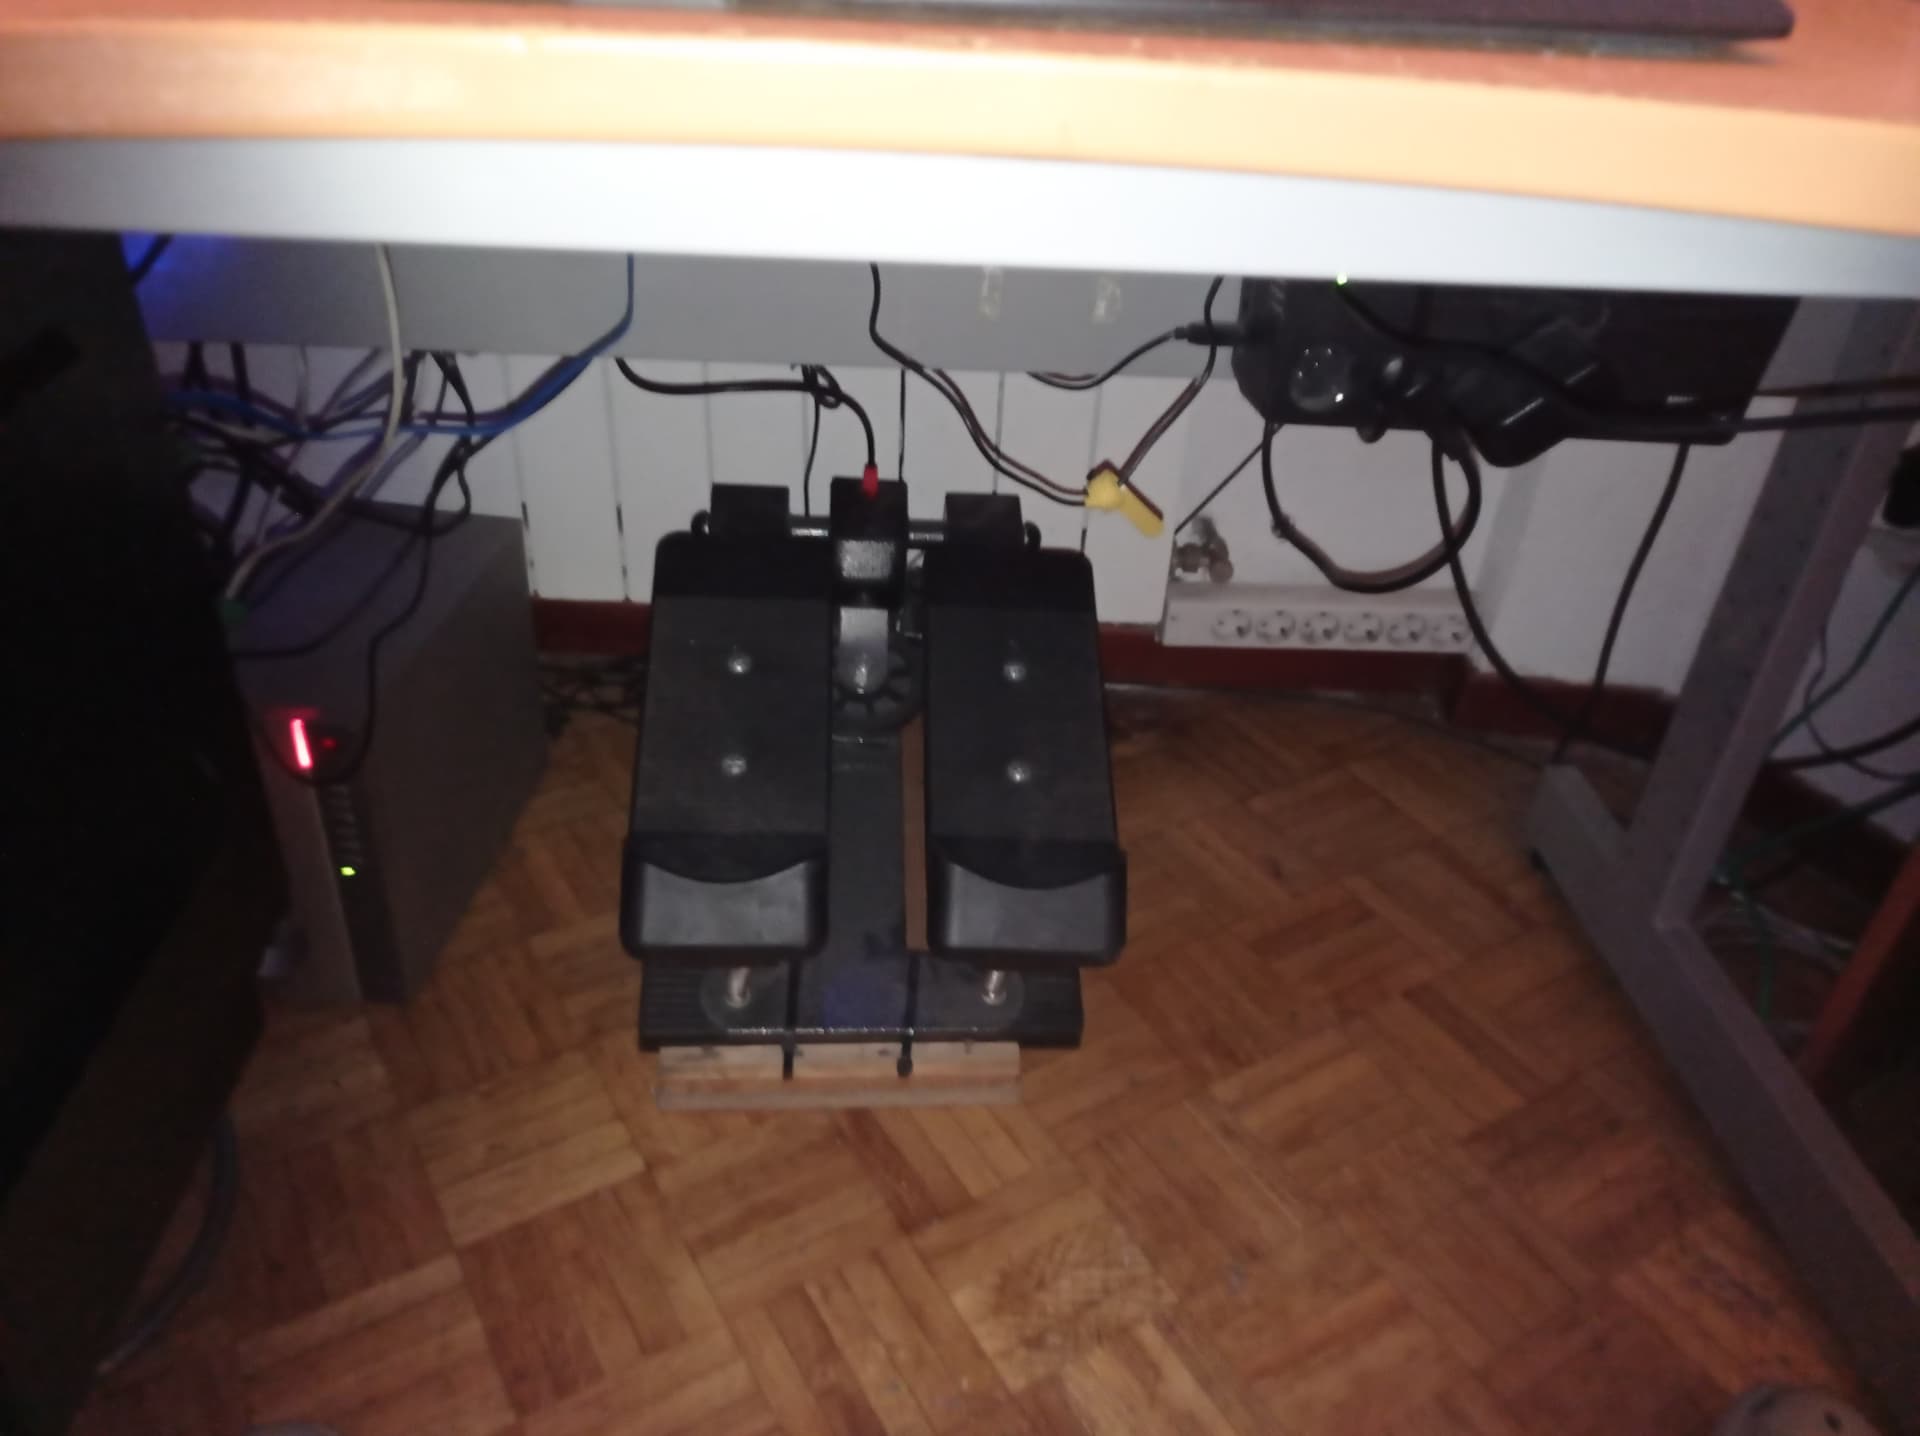
In front of the monitors, there are the Logitech Saitek peripherals. As shown here my Tobii 5 eye and head tracker cannot see me. So I am widening the table by a 25 cm wooden board. Hard to see, below the desk surface are 2 Logitech power quadrants, and below the desk the rudder pedals.
What is still to be done is to add my just-bought Brunner CLS-E NG yoke. The expensive purchase of it where due to the lack of reality with the Logitech yoke. I used to fly real GA airplanes and the Logitech Yoke behavior was too far from the real thing. The Brunner Yoke should fix this.
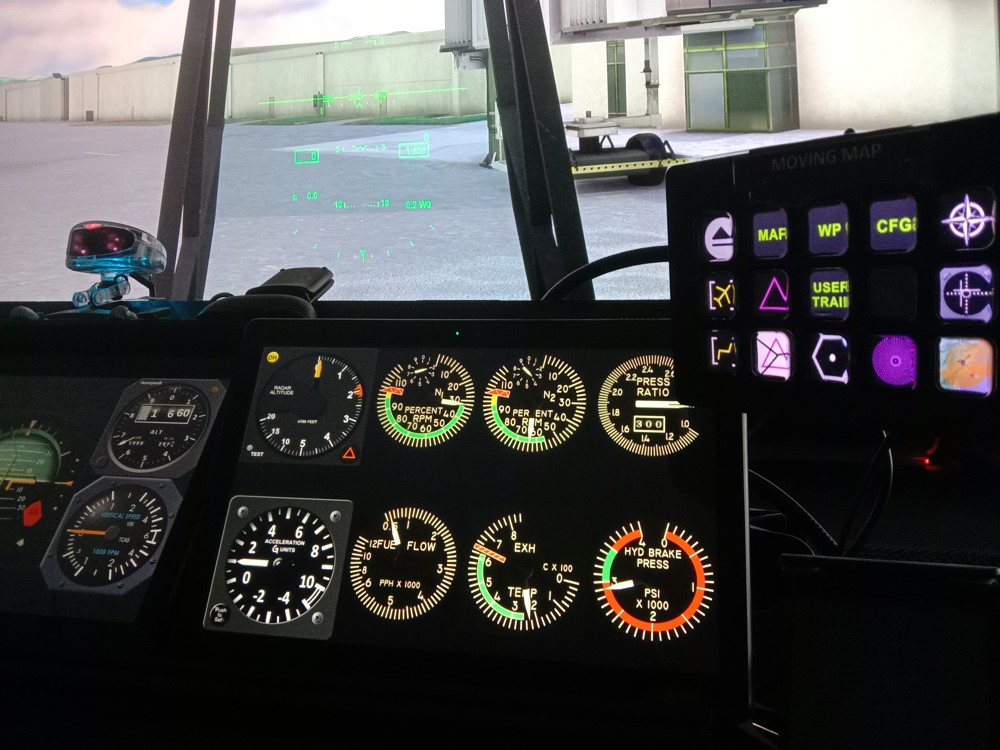
I’ve added some instruments from another build I had. Some Simkits gauges.
The 4 compliment what I had and gives a semi hybrid setup between the C172 steam gauges to the G1000 setup.
Now at least the gauges can enhance my current build than to just sit in boxes.
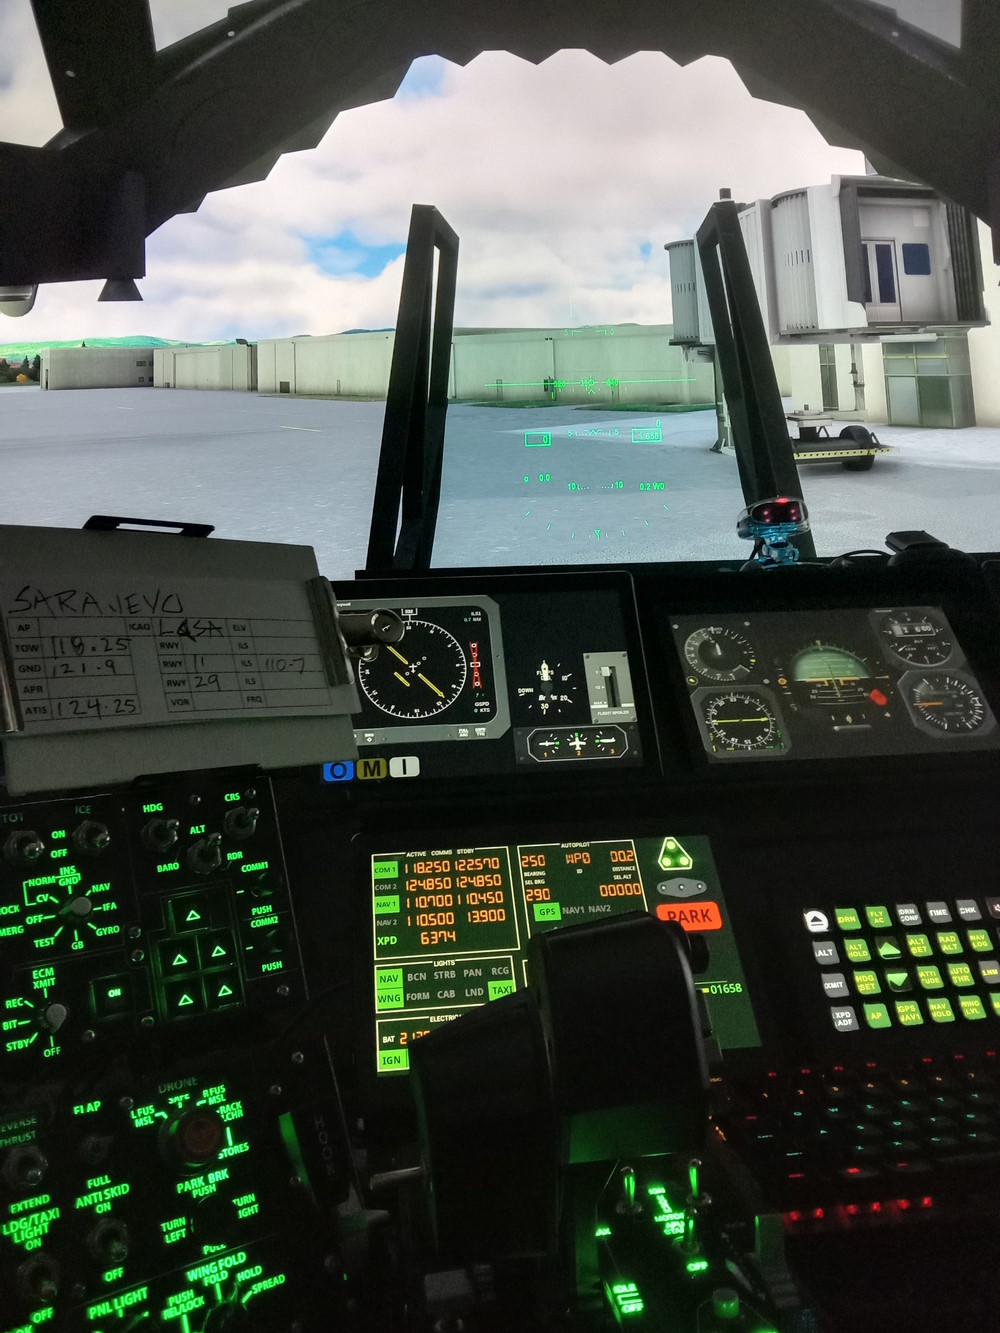
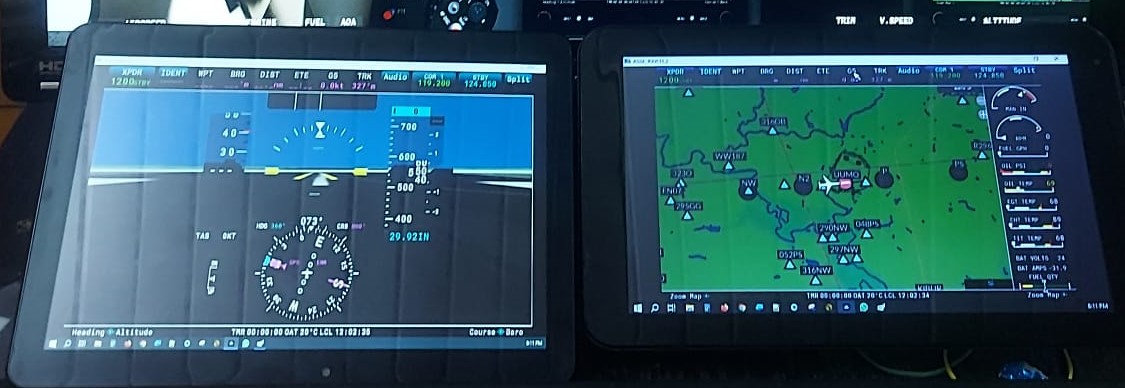
I have added Spacedesk and two inexpensive, (obsolete), tablets that I have laying around that aren’t useful for anything else. (In fact, I had to “side-load” an updated version of Google Play just to download Spacedesk!)
The problem I am trying to solve is the fact that “glass cockpits” are essentially useless to me because the screens are too small for my ancient eyes to see. Spacedesk allows me to create two additional Windows displays on the two tablets and then I can move “detached” views of each of the two screens to the tablet - where they are much larger and easier to see.
(This is a different cockpit with different “glass” instruments. Note the control buttons on the top of the two external screens.)
On the composite control panel, these buttons are active controls that you can select - but on the detached images of these instruments the control buttons do not work. Neither do they work if they are still on the main screen.
@Jimrh1993
Your PopOuts only show the images from the simulator.
They do not bring the buttons and knobs with them.
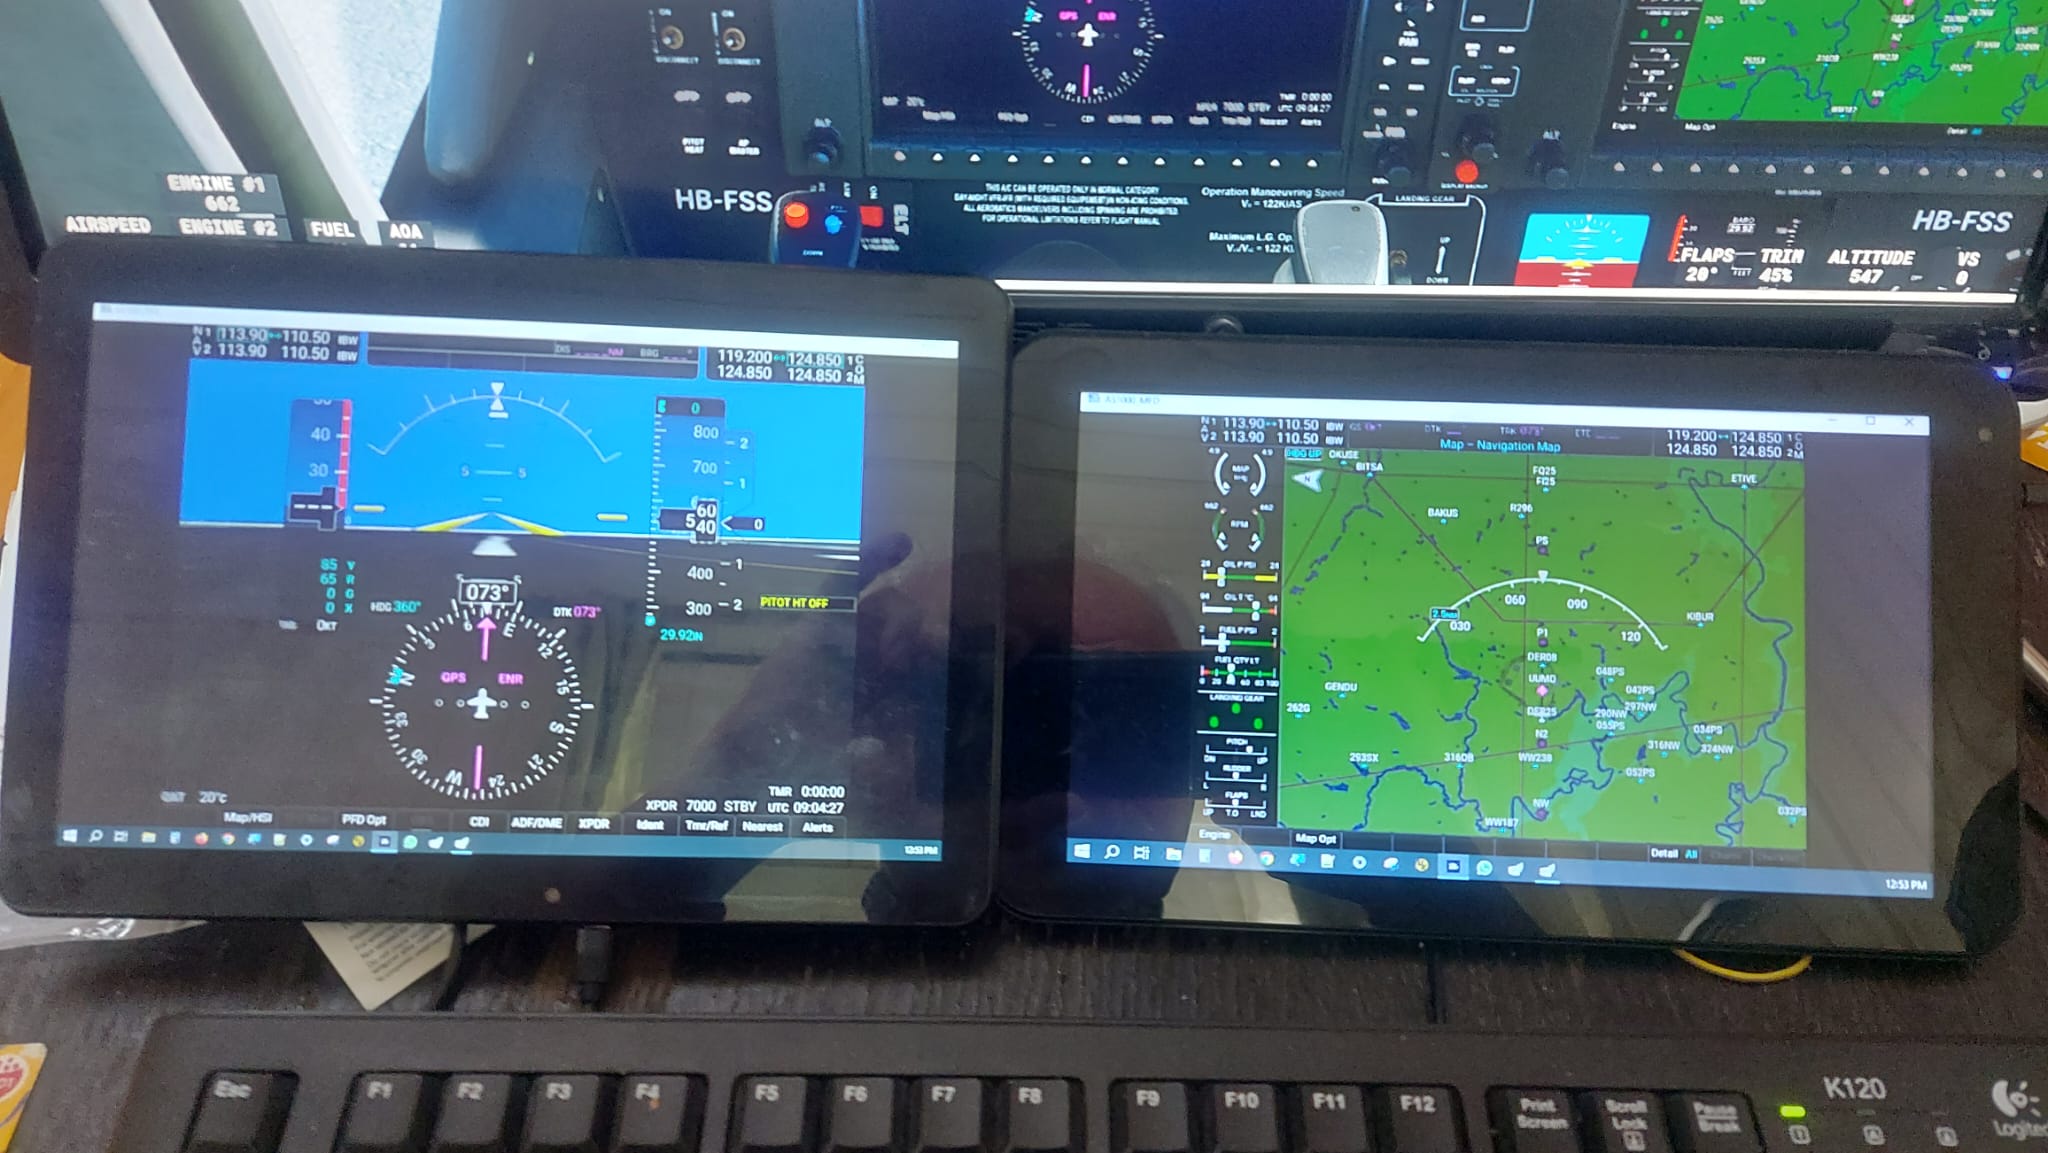
Air Manger is a software that uses what are called “Overlays”
These are virtual instruments that have all the active buttons coded to operate in the simulator (MSFS or Xplane or…)… just like you can press buttons on your controllers for operating flaps or gear or other things in the sim.
The “overlays” have all the same buttons as the PDF or MDF and they work whether or not the Popout is on your monitors, but they are made with a transparent section the same size as the popout… so it then looks like you have the whole Garmin on the monitor.
You can see one of them on the left in this picture of my cockpit.
It’s a homemade version of the Prusa i3 Steel, but it started out as a clone of the Anet 8 bought on eBay. Over time I have made modifications such as using a steel frame, changing the printed parts of the X axis carriage for a machined aluminum version. Those two changes have helped give it greater precision when printing. I have also changed the classic linear steel ball bearings for Igus, which provide less noise and more stability in the movements of the hot bed and the X axis. The rest of the modifications are printed parts such as the power supply housing, the electronics box, supports for cooling fans for power supply and electronics, cable chains, nozzle fan, etc.