This topic has been created to get you more familiar with how to use the forums and the formatting tools Discourse has to offer. These can be found on the formatting toolbar when you create a new topic or a reply.
Quick Access Links:
Useful Links
Latest Topics: Microsoft Flight Simulator Forums
New Topics: https://forums.flightsimulator.com/new
Top Topics: Microsoft Flight Simulator Forums
Unread Topics: https://forums.flightsimulator.com/unread
Quick Access Tags: Microsoft Flight Simulator Forums
Categories Page: Microsoft Flight Simulator Forums
Tips for starting on the community:
-
Make sure to read the forum Code of Conduct found at Code of Conduct - Microsoft Flight Simulator Forums and the ToS at Microsoft Services Agreement
-
Introduce yourself to fellow community members in [ARCHIVED] New Simmers: Introduce Yourself!
-
Check out the pinned topics and the about section for each category
-
Learn how to navigate your way throughout the categories with Navigating Our Categories
-
Find new people to friend and fly with in #flying:find-a-friend
Creating a topic or reply -
To create a new topic here, simply select the “New Topic” option from the right hand navigation menu. You will be greeted with a text box allowing you to edit your title, add content and formatting. There is a preview option on the right hand side, meaning this allows for a real time preview of your post (mobile users - this is found on the bottom right). You will find the formatting toolbar below the title box, this will allow you to customise your post and customise to your liking.
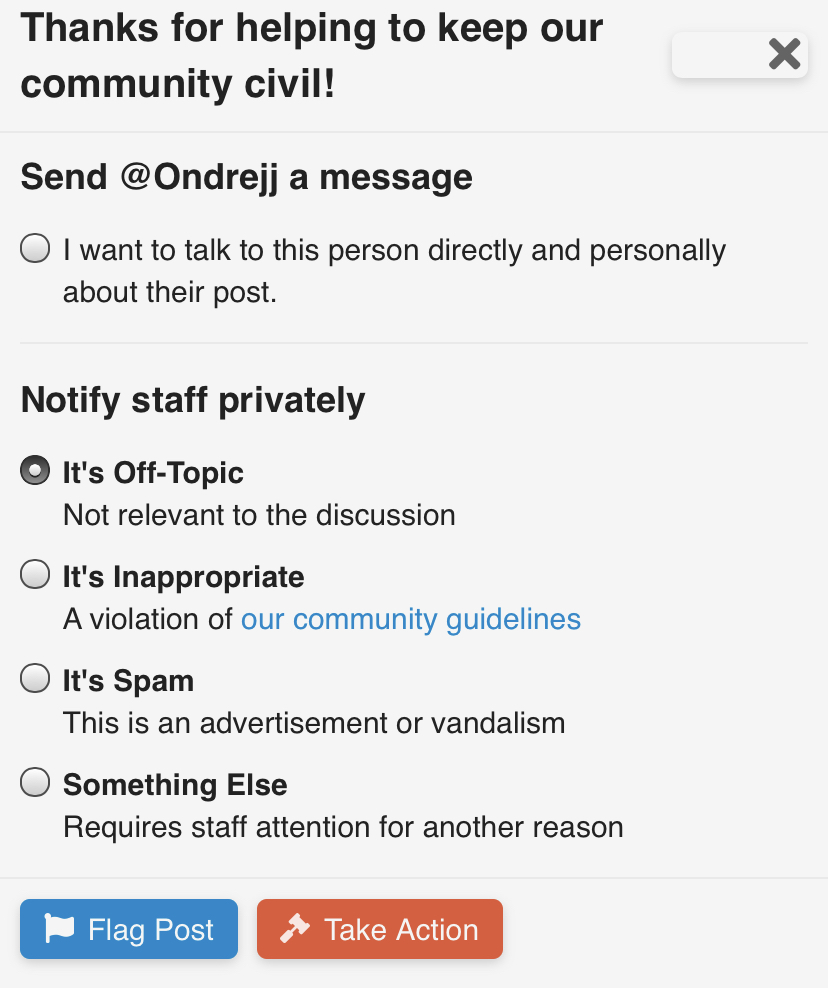
If you ever find a post on the forum that requires moderator attention, you can use the flagging feature to alert the alert the moderator team and they will look into it. Note - Flagging is only for TL2 (member) at this time.
Below you will learn some useful formatting tips when creating a new topic here on the forums.
Microsoft Flight Simulator Forum Formatting:

Bold Text -
You can make certain text bold to stand out by navigating to the “B” icon in the toolbar when creating a new post/topic. Additionally, you can also add ** before and after your text to make it turn bold. This is useful when you want to highlight important information or make things stand out more.
Bold Text Example -
This text is bold and will stand out.
Italics -
Italics can be used to emphasis any points you want to make. You can add these by going to the “I” option in the formatting toolbar. You can also add these by adding _ at the start and end of your text.
Italics Example -
This text contains Italics.
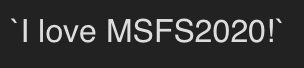
Preformatted Text
You can add preformatted text to your post by adding (`) at the start and end of your text. By adding this preformat, you will be able to view the raw text in the way it was typed.
Preformatted Text Example -
I love MSFS2020!
Blockquote
Blockquote allows you to quote text from various sources or just add some cool format to your posts. You can quote by selecting the quotation marks icon in the format toolbar. Additionally, you can quote by adding > before the text you wish to quote. You can also quote by highlighting certain text from others topics here on the forum, selecting “quote text” and adding into another post. Selecting the speech bubble icon from the toolbar will also quite the full post.
Blockquote Example -
This text is a quote!
Nested Blockquote:
1
2
3
> 1
>> 2
>>> 3
Text quote:
[quote="ThomasRalph5791, post:1, topic:129004"]
This topic has been created to get you more familiar with how to use the forums and the formatting tools Discourse has to offer.
[/quote]
Text Position
You can create multiple positions for any text such as left, center and right. You can use the div align tag to get this functionality. Take a look at the examples below:
Left Text Example -
<div align=left>Left text</div>
<div align=center>Middle text</div>
<div align=right>Right text</div>
Lists
You can create lists such as bullet and numbered. Simply select the list option for bullet or numbered from the formatting toolbar, additionally you can format with * or by the number.
Lists Example -
- MS
- FS
* MS
* FS
- List item
- List item 2
Creating a Table
You can also create a table as part of the formatting on Discourse. You can use this to represent certain data in rows and columns. Perhaps you want to list specs in a table? See the below example for how to create a table of your choice.
Table Example -
| The Table | Column 1 | Column 2 | Column 3 |
|---|---|---|---|
| Row 1 | Cell 1:1 | Cell 1:2 | Cell 1:3 |
| Row 2 | Cell 2:1 | Cell 2:2 | Cell 2:3 |
| Row 3 | Cell 3:1 | Cell 3:2 | Cell 3:3 |
The Table|Column 1|Column 2|Column 3
-|-|-|-
Row 1|Cell 1:1|Cell 1:2|Cell 1:3
Row 2|Cell 2:1|Cell 2:2|Cell 2:3
Row 3|Cell 3:1|Cell 3:2|Cell 3:3
Strike Text -
You can strike your text by adding ~~ or <strike> before and after.
Strike Text Example -
Text
~~Text~~
<strike>Text 2</strike>
Text 2
Keyboard Text
Did you know you can make your text keyboard style with the <kbd> tag? Check out the example below for how to do this.
Keyboard Text Example -
Microsoft Flight Simulator 2020
<kbd>Microsoft Flight Simulator 2020</kbd>
Creating Headings
You can create various headings with different sizes as shown below:
Heading Size Examples -
Heading 1
Heading 2
Heading 3
Heading 4
Heading 5
Heading 6
# Heading 1
## Heading 2
### Heading 3
#### Heading 4
##### Heading 5
###### Heading 6
Hiding Details
You can hide specific information within a post or add them in a drop down menu. Simply select the gear icon in the toolbar and then select “hide details”.
Summary
This text will be hidden
[details="Summary"]
This text will be hidden
[/details]
Uploading Images
You can upload images by tapping the insert image option. This will show a sub-menu to allow you to upload images. You can choose to upload directly from your device or from the web, however you can also drag and drop directly from your desktop. For mobile users, you can insert an image from the bottom right of the post editor.
Emojis 
You can add emojis to any post here on the forum. Navigate to the emoji icon in the formatting menu, this will bring up a number of different emojis that you can insert, simply click and you can insert into your post. Another way to add emoji is to type in a colon : and then the name of the emoji you wish to add.
Inserting a date/time
You can insert a date/time by navigating to the calendar icon in the formatting toolbar. This allows you to set a specific date or time and is perfect when creating events etc. You can select a start/end date, time, timezone and make use of the advanced mode.
Date/Time Example -
2020-08-17T23:00:00Z → 2020-08-17T23:00:00Z
date=2020-08-18 timezone="Europe/London"] → [date=2020-08-18 timezone="Europe/London"]
Polls
You can add polls to your topic by selecting the “Build Poll” option from the format toolbar, you will find this located under the gear icon. From here you can select from various options and layouts such as:
- Choice types (single, multiple, number)
- Results (visible, shown on vote, when closed)
- Poll types (bar, pie)
You will also be able to select allowed groups, whether to show voters anonymously or not and when to close if applicable.
Polls are currently only able to be created by users who are TL3 or higher.
Poll Example -
- Microsoft
- Flight
- Simulator
Horizontal Line
To add a horizontal line to your post, follow the example below:
Horizontal Line Example -
- Asterisk x3 (***)
- Underscore x3 (___)
Underlined Text
You can add an underline to your text by adding the [u] tag.
Underlined Text Example -
This text will be underlined
[u]This text will be underlined[/u]