You don’t need the FSX SDK.
I took some free time to test Realacars. I installed Realacars on my HP laptop running Windows 11 on a local test user account. On my gaming PC, I launched MSFS and everything works perfectly ![]()
I’m currently in the middle of a test flight. I’ll provide more details on how I set everything up once I’ve landed so stay tuned.
Edit
@BroughtSinger97
How to
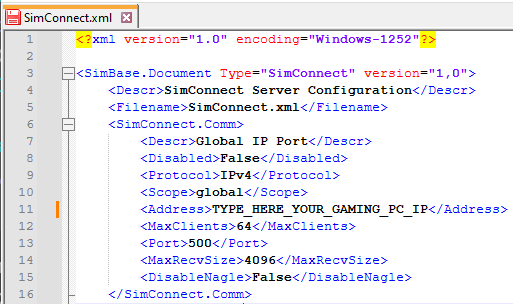
1 I started by opening the simconnect.xml file in Notepad++
2 Below the line <Filename>SimConnect.xml</Filename> I added the following lines:
<SimConnect.Comm>
<Descr>Global IP Port</Descr>
<Disabled>False</Disabled>
<Protocol>IPv4</Protocol>
<Scope>global</Scope>
<Address>TYPE_HERE_YOUR_GAMING_PC_IP</Address>
<MaxClients>64</MaxClients>
<Port>500</Port>
<MaxRecvSize>4096</MaxRecvSize>
<DisableNagle>False</DisableNagle>
</SimConnect.Comm>
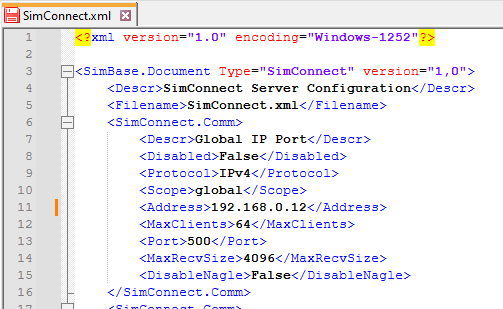
3 Then, I checked the IP address of my gaming PC
Find your IP address in Windows - Microsoft Support
4 I replaced the line TYPE_HERE_YOUR_GAMING_PC_IP with my IP address and saved the changes in the simconnect.xml file.
5 In the Windows firewall settings, I allowed the flightsimulator.exe file to connect to the internet.

6 In the advanced settings of the Windows firewall I added inbound and outbound rules for the flightsimulator.exe , allowing it to connect to the internet.
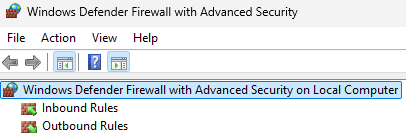
7 I did the same for port 500, both TCP and UDP, adding inbound and outbound rules. Make sure to allow connections through this port.
8 After saving the changes, I restarted my PC.
9 Once PC was up, I opened Windows Notepad and added the following lines (remember to change the IP address):
[simConnect]
Protocol=IPv4
Address=192.168.0.12
Port=500
MaxRecieveSize=4096
DisableNagle=0
10 I clicked on File > Save As, set Save as type to All Files and named the file SimConnect.cfg

Click Save.
12 I connected a flash drive to my gaming PC and copied the SimConnect.cfg file to it.
13 I connected the flash drive to my laptop.
14 After logging in, I downloaded and installed Realacars on my laptop. VERY IMPORTANT > Once installed, I copied the SimConnect.cfg file and pasted it into the Documents folder.
15 On my gaming PC, I launched MSFS and set PMDG 777 at the airport from which I would be departing. In the meantime, I prepared and generated a flight plan in Simbrief.
16 I started the 777 and clicked “Request New Data from Simbrief” on its tablet.
17 I also made a request for the flight plan from Simbrief in the FMC and confirmed the flight plan.
18 I launched Realacars and entered my SimBrief username and the generated login code from Hoopie in Realacars general settings.
19 I checked the boxes in the Service Comms and Airline Comms settings.
20 I clicked on the Docs tab and selected PMDG 777—I reminded myself to enter the flight number in the FMC.
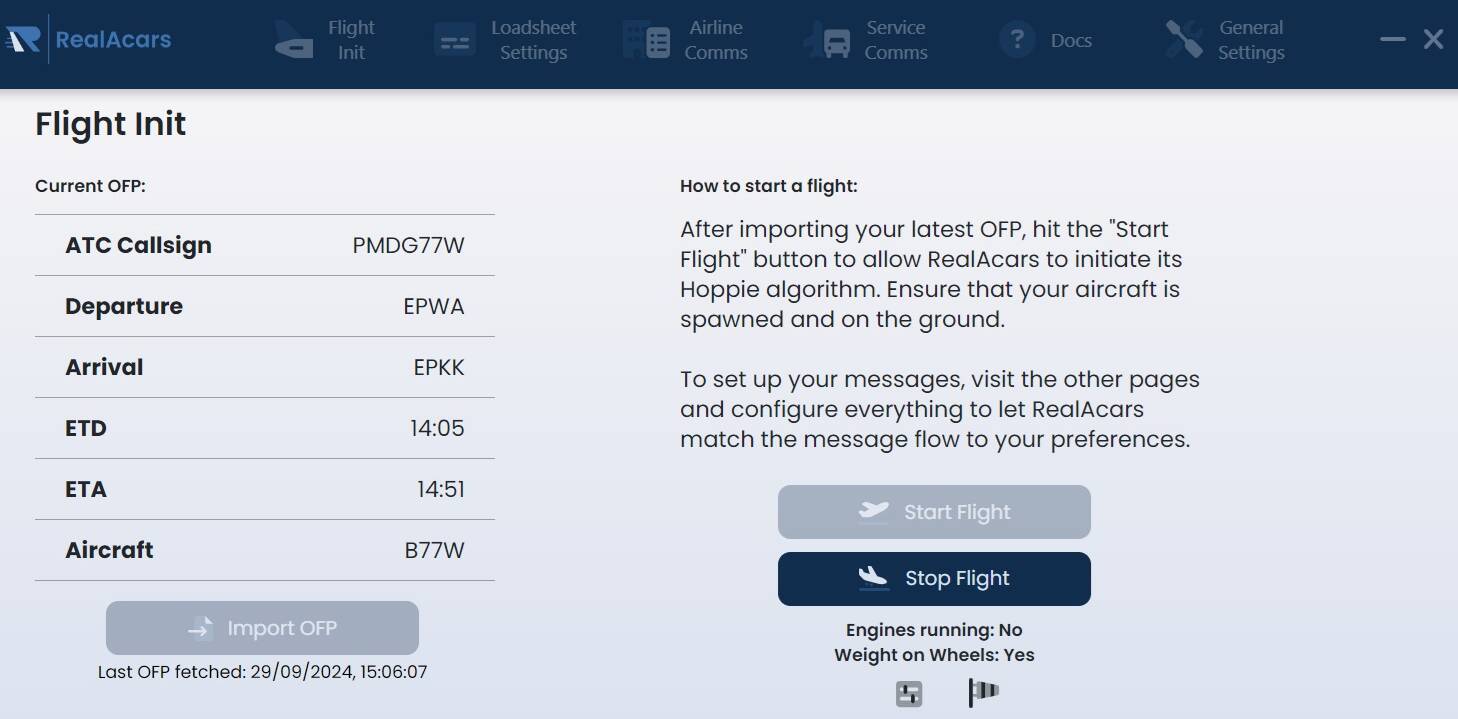
21 I clicked Start Flight
and … finally

22 Realacars installed on my laptop connected seamlessly to my gaming PC, MSFS and PMDG 777.
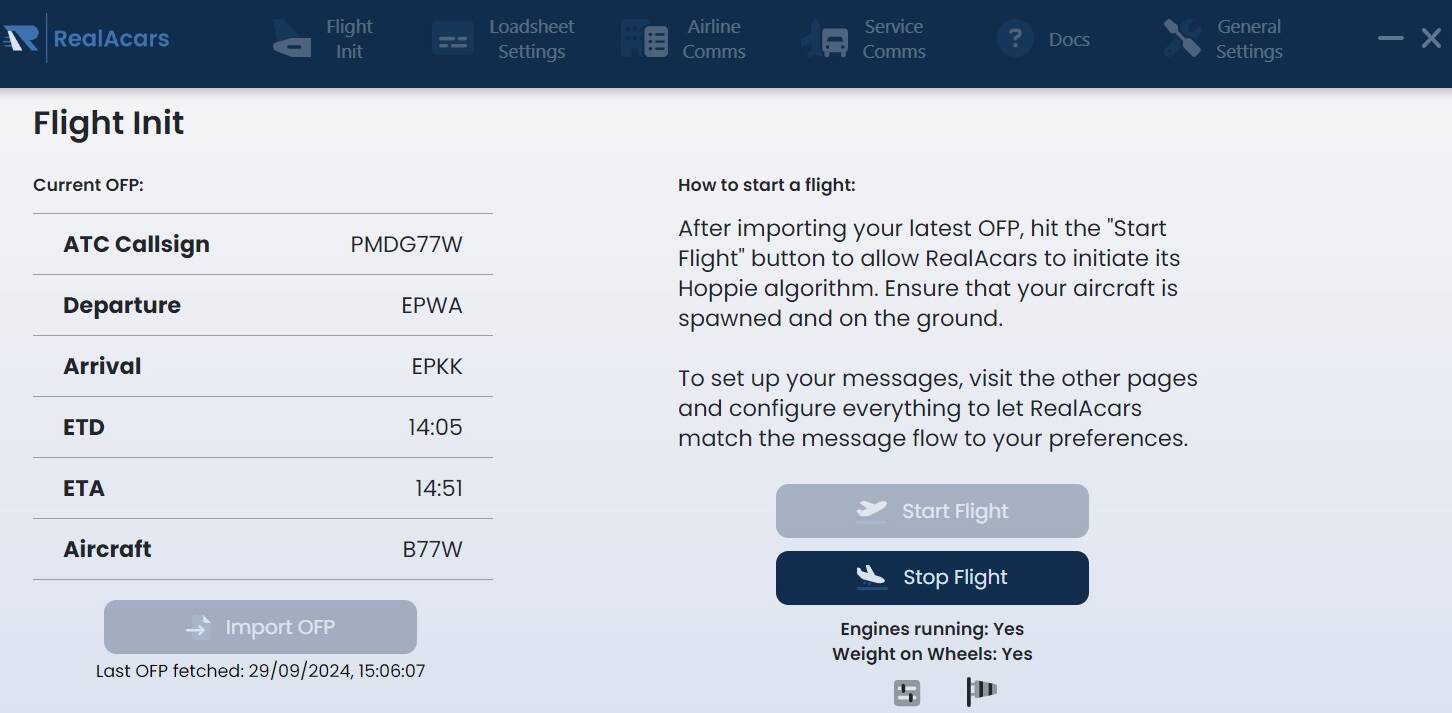
Cruise

Below is a screenshot after completing the aircraft shutdown procedure.
FYI, I did not install SimConnect on my laptop.