Yes it is progressing… but by now I have to say that it won’t be available before the first quarter of 2024.
I am learning a lot of things working on other models, and I hope to come back with amazing new things in the next months!
Looking forwards to your work, Airmax! Lovely progress in the meantime.
Having had a dig at producing a flightmodel for a friend’s project, i now know just one small thing of developing the entire project… it’s a massive numbers of factors you have to put together to create a beauty like this and your other projects… it’s astonishing, really, the amount of work/hours that goes into a project
.
So, have a great Christmas season, Airmax, make sure to take a small break every once in a while. Take care of yourself!
Woof ~ Woof & Salute!
Steiny
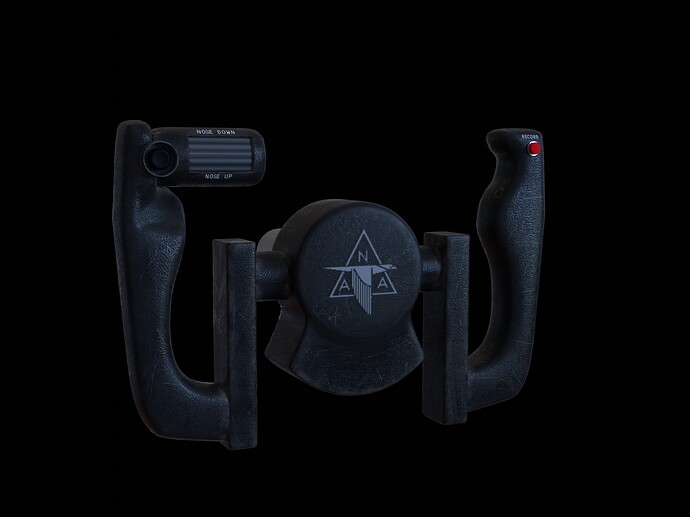
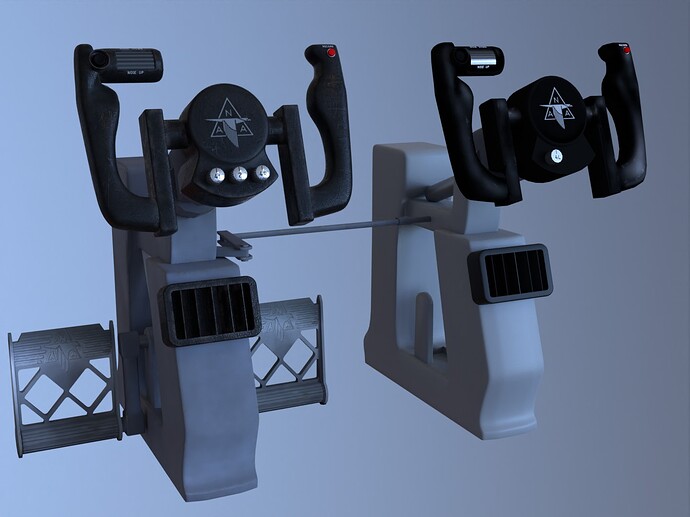
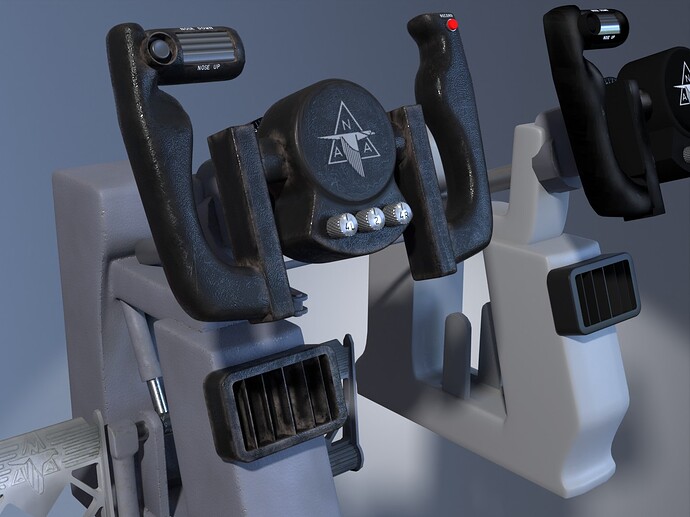
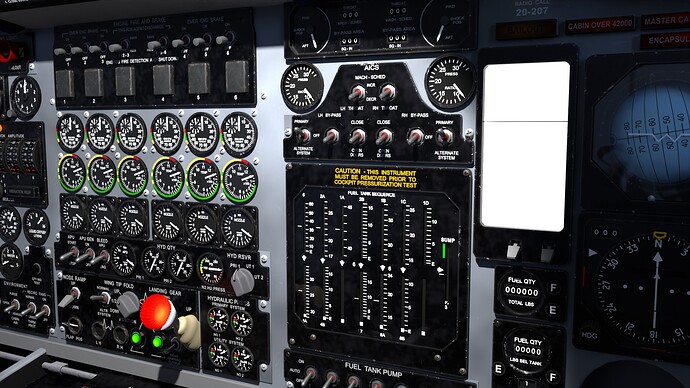
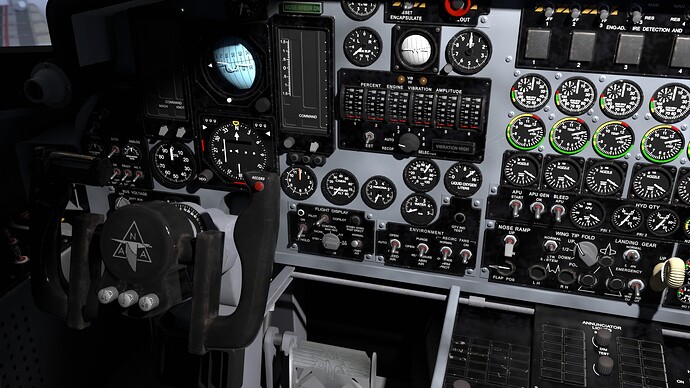
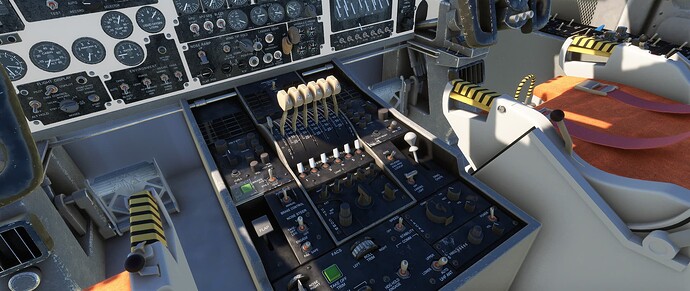
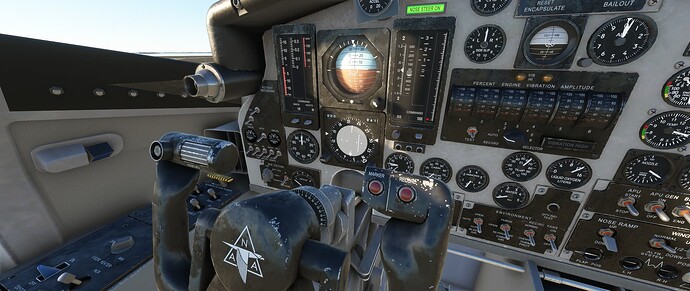
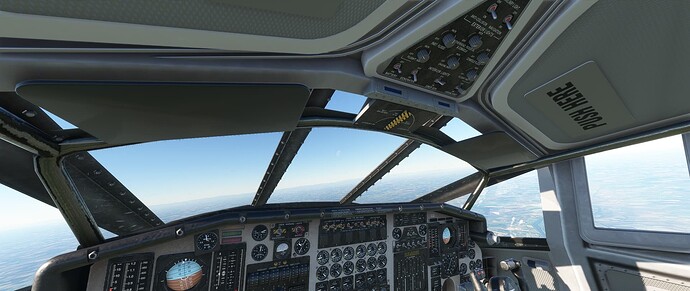
Hi, I am back with some images of new materials and higher poly-count parts for the cockpit of my XB-70.
I know they are still not perfect, but I begin to understand how multi-layer procedural materials work, and object now seem to me real objects instead of “virtual” pure geometry objects… I would like to read your feedbacks about the new level of the textures, it’s a hard work for each group of objects. After creating all the procedural textures it is necessary to bake them to appropriate texture maps since MSFS cannot apply all the material nodes that blender has, so they must be converted (baked) into textures that contain all the details created via procedural nodes…
but I am feeling more confident with those materials and I hope to apply them extensively to more and more parts of the cockpit.
Wow, those are looking great! That control yoke looks photographic.
Thanks! When I assembled all the procedural nodes and launched rendering I was suprised by the level of realism of materials…
and then backing them properly makes possible to port them into MSFS (hopefully without loosing much details…).
This is so powerful… but also much time consuming!
Looks great, I appreciate the amount of time it must take. Thanks
It’s going to look so amazing in VR!
Epic pit! This thing is going to be a blast to fly!
Holy Moly, yer doing a fantastic job there Airmax! Looks stunning!!!
Thank you very much! I was surprised when I launched the rendering… before setting the new materials it seemed always different from the pictures of the XB70 in the Dayton Air Force Museum, but then suddendly it seemed much near to the real images… it was an exciting moment!
It is a hard work and a lot of practicing, but I think it’s worth the effort.
Here is what I did :
- separate all text from materials, so signs can be rendered and textured separately, adding dirt, scratches or whatever I like (also backlighting of course).
- increase polycount for all panels and subpanels, so to have real holes for all the switches, not just texture effects, and beveled corners and edges, smooth curvature, real 3d screws
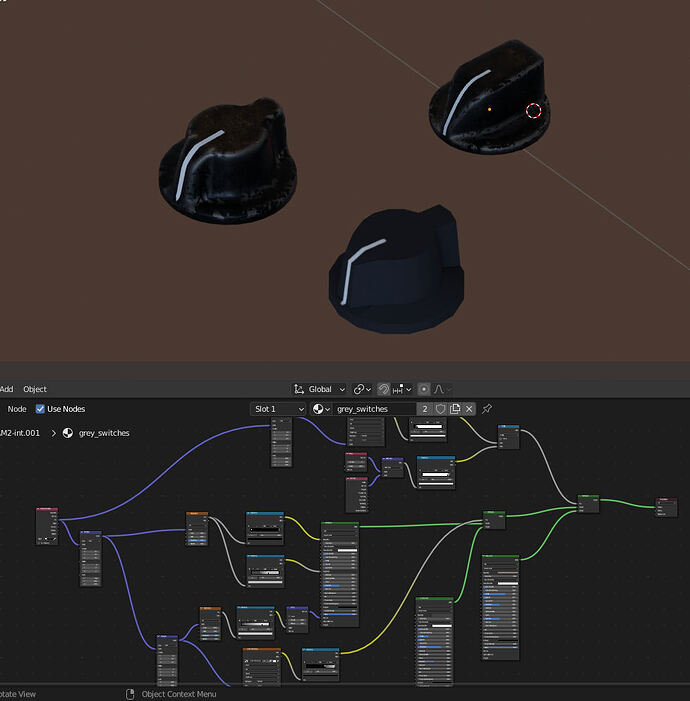
- UV unwrap all the panels and subpanels so to be able to texture all parts with complex multi-layer materials, with, e.g. edges detection, wear, dirt, scratches, roughness variations, normalmaps and then bake all these procedural nodes into a standard fs materials with albedo, composite, emission and normal textures (to be high quality this step takes a lot of time.
Separating materials from text and materials by objects or subparts allows to scale both textures and text virtually without limits, maybe to 4K or 8K maintaing (or better improving) the accuracy of details.
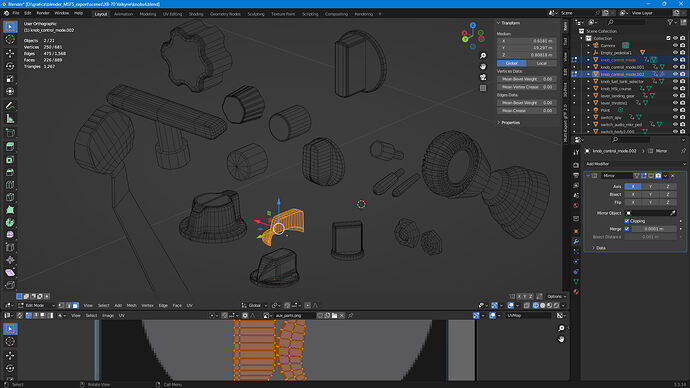
A phase in the process of refining and re-topologizing switches and knobs
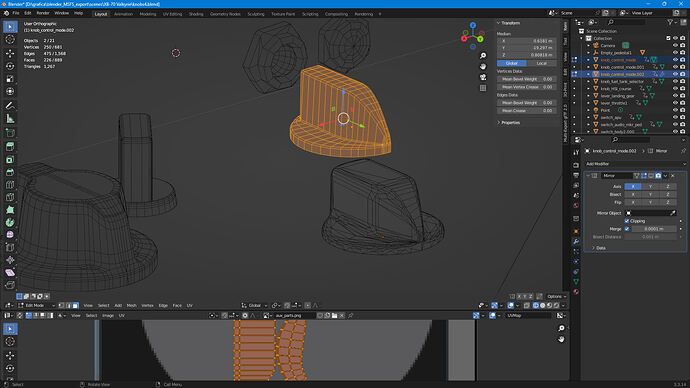
The same knob after improving the topology, look how the meshes are more linear and easy to unwrap in comparison to blender meshsmooth result (below).
I’ve read through this topic, and am really looking forward to both this gorgeous bird, and the B58. Loving the detail and effort you guys have put into it so far. ![]()
Thanks!
Work is progressing in a new direction (at least for me). In the past I used “generic” textures applied to many parts, with undetailed surfaces very fast to modify and with few bitmaps for multiple parts with huge overlapping polygons.
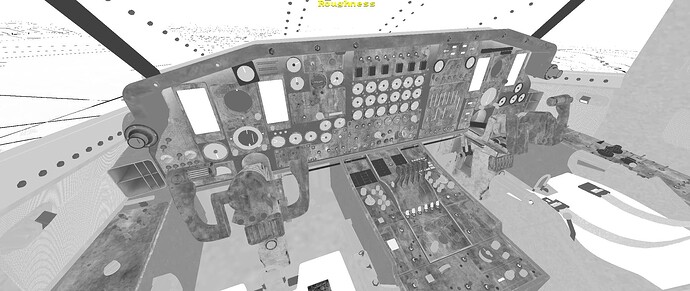
Now I am UVunwrapping almost all the parts and texuring them with separated textures, all with albedo, AO-roughness-metallic, normal and emissive textures, and adding wear and tear and dirt. This is a long process but once learned it gets more fast and proficient, and materials can then be applied to other models.
It is difficult to obtain realistic materials though, but the new meshes mapping will allow to improve them pretty easily also for future releases!
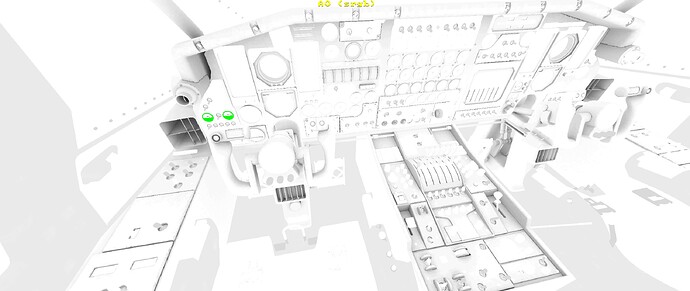
I post some new images, included one with Ambient Occlusion pbr channel and Roughness channel to show the work done.
They are far from perfect, but this is a new generation level and for me is a great achievement so far!
Seats and floor have still to be done, and other parts have to be improved but as you can see a lot of the parts are now unwrapped and textured individually.
I hope this work will be finished in a couple of weeks or so.
Nice keep it up
Those are looking really good. The only suggestion I’d make is maybe to make the displays a bit less dirty, as most people would try to keep those clean so they can see them in varying lighting conditions. Other than that, they’re outstanding ![]()
Yes absolutely! As I wrote I am just learning to use procedural materials and other complex texturing technics, but I have to fix a lot of things.
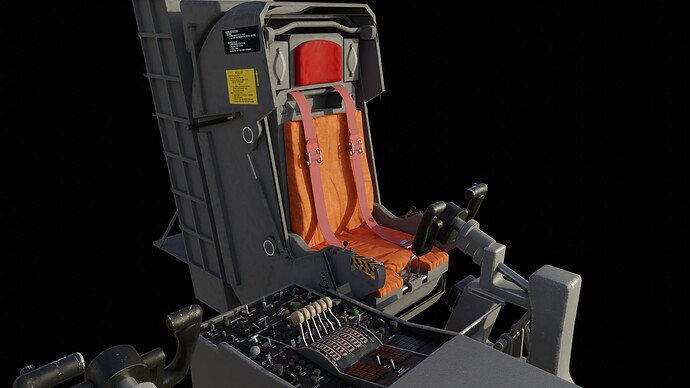
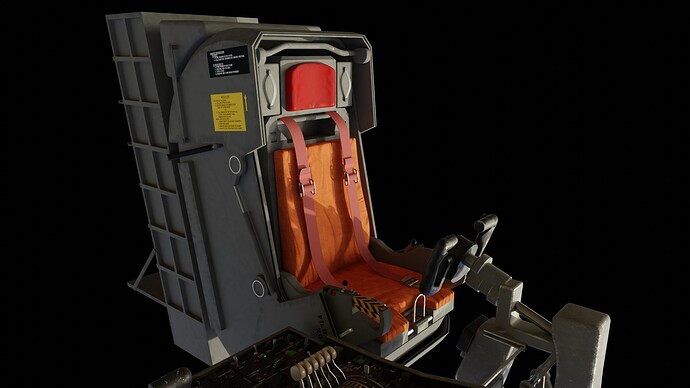
Right now I have finished unwrapping and started texturing the seat shell… it was a very hard task since the whole seat and shell are made of a lot of parts…
this is the result by now.
Just the first stage, so keep in mind that at this stage unwrapping and assigning materials to each part is the first target.
sweet dreams
Very nice textures. Looking good, cant wait.
