I started to create an Import Add-On for blender that is able to read the essentials from the FS2020 models (3d geometry with correct UV coordinates) so that one can use 3D Painting software like blender itself for texture painting.
Please also read the known issues, I expect to find time to care about these soon. Of course also don’t hestiate to contribute on github to this project if you are able to.
I hope I will see even more beautiful liveries soon!
Thanks for this, will definitely try! But, are we able to use these models in MSFS after painting? I mean, how do we apply the textures as this doesnt use the native paintkit layout?
The models get imported with their native UV layouts, and you just save the images (textures) after painting them for example in png format just as if you would have painted the 2d images in Photoshop, GIMP or similar 2d painting tools. The process is then similar as it have been before.
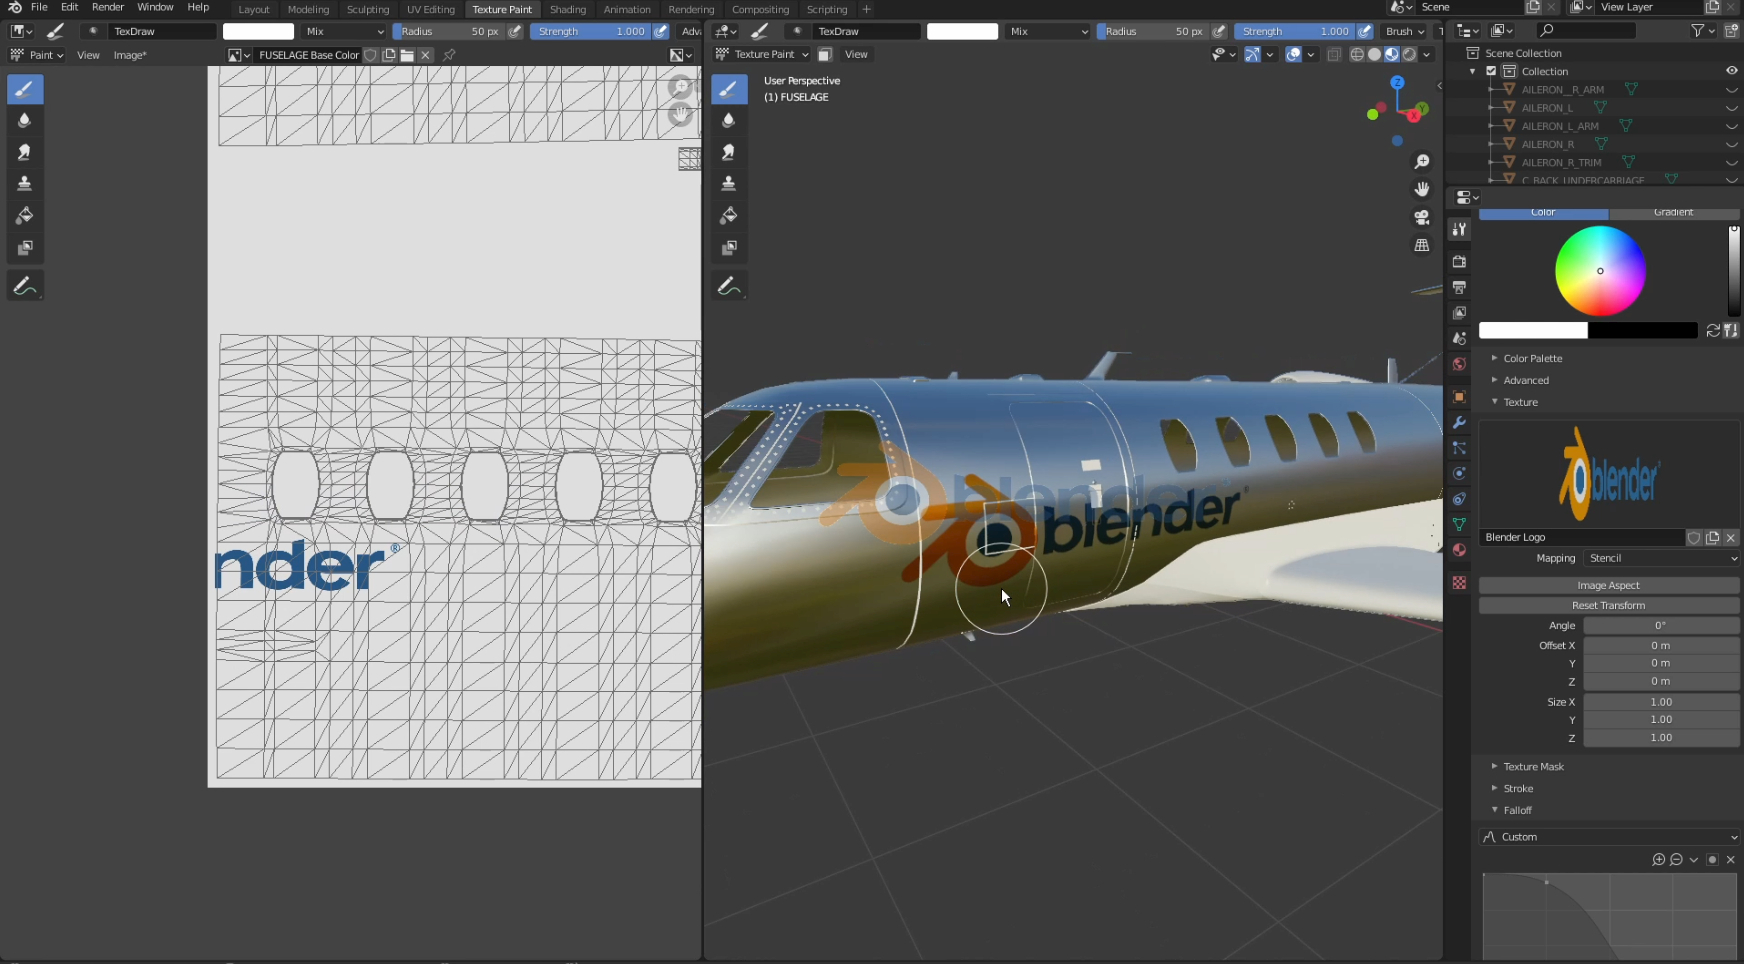
This is the model with the MS2020 textures in blender using the original UV-Layout for example:
That’s very nice thank you so much!
I have no experience with substance painter or texturing in blender. Can you explain your last answer a bit more? I tried something quick for the cessna and try to get it into the sim now but it doesn’t seem to be the same layout and the only thing I have now is a png and I’m not sure what I have to do with it.
Looks very promising. Does anyone know where to find a few good painting tutorials on Blender? I’m looking for things that go over some advanced painting items such as layering, curved lines, overlaying reference photos, colour selection, gradient, and text.
I’m also guessing there’s also no way to conjoin and paint multiple 3D objects at the same time or editing multiple objects at one time?
Regardless, here’s what I got done with about 30 minutes of playing around: (Mostly just playing around, you won’t be seeing this livery released any time soon or at all)
Since painting in blender is very basic, there’s for now no actual layering system built in directly (but there are addons that add this). One can use the node based shader system for this though, but this is unfortunately not a very straight forward process if you aren’t familiar with these things (improving painting is on the roadmap for future blender releases).
The same holds for creating curved shapes. You can of course prepare these shapes with photoshop, GIMP and so on and import these as I did with the logo in my quickstart tutorial. Another way in blender could be actually 3d modelling the shapes and then baking it to a texture layer but this is also a large topic on its own.
Objects can be joined together easily (ctrl + j) to then paint on these (I recommend to make a copy first to also keep the separated ones).
I have never used it on my own but I heard https://armorpaint.org might be a good 3d painting freeware software that supports basic layering as some alternative to payware tools like Substance Painter.
I wanted to do a short commentary here on my findings in making the hybrid Blender/PDN livery which was the Eva Air 787-10 recently released by myself. A few key takeaways that I got with my experience.
Pros for the blender method:
It’s extremely useful for creating and placing even cheatlines. I will continue using this for future paints solely for this reason.
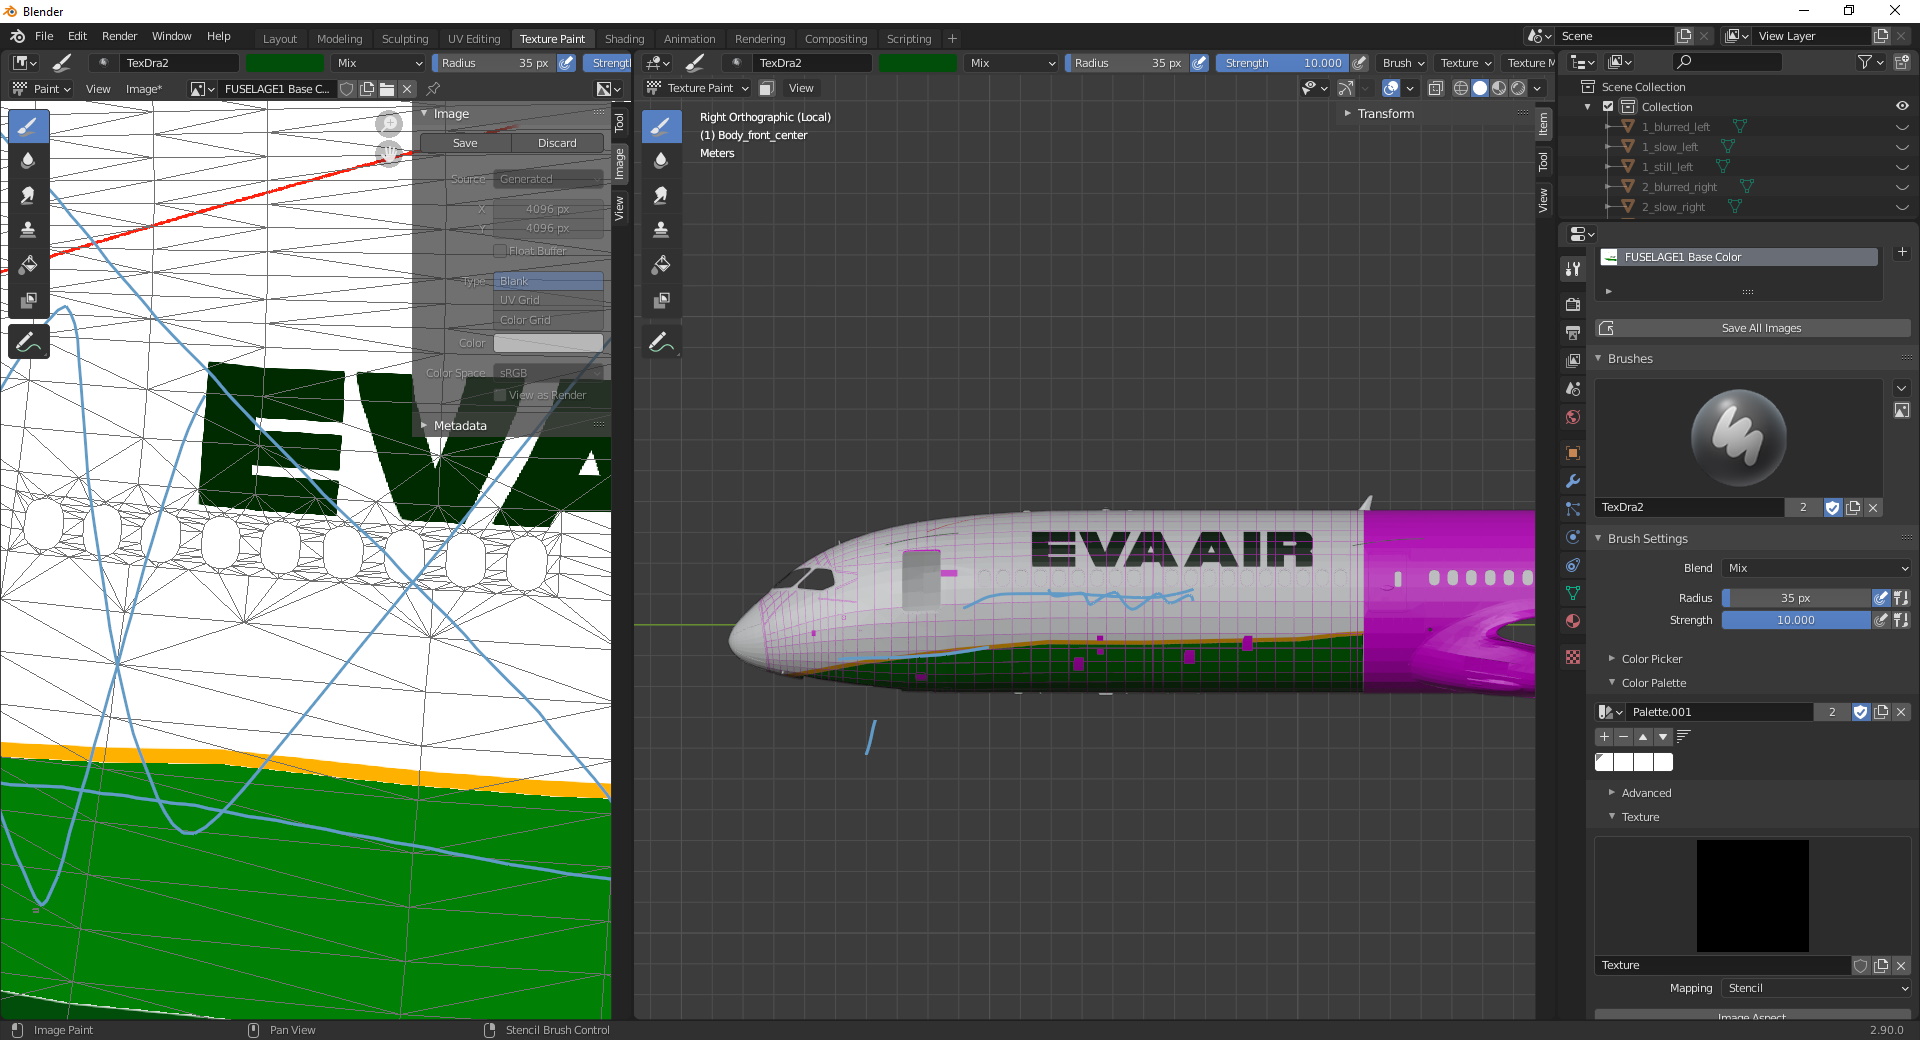
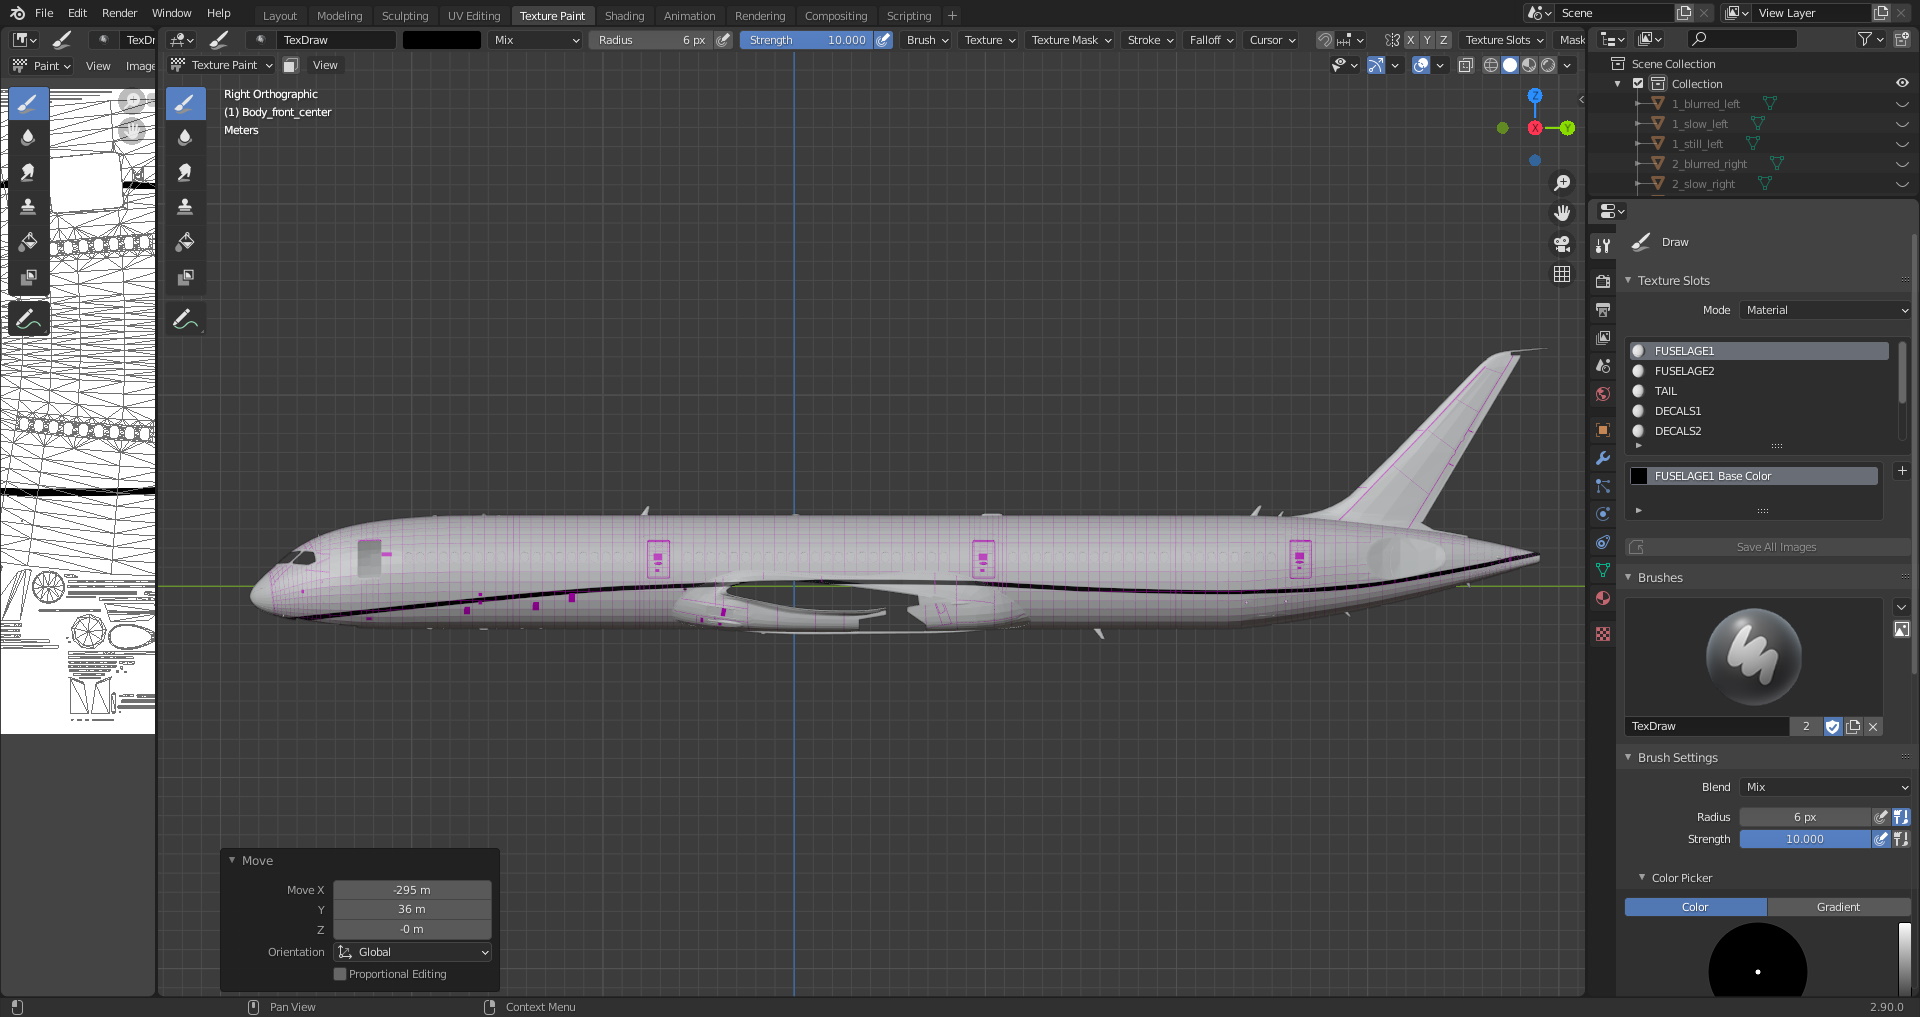
It’s possible to paint multiple different models at the same time, which greatly reduces the time it takes matching up lines (Shown below with the 787-10 that uses a Fuselage 1, 2 and tail configuration for paint files.
Placing text. I found that this method was much easier. When placing the “B-17801” just beside the 1L and 1R doors, the sim would output it as crooked even if using references such as the rivet lines.
In general, it’s very simple to convert the drawn on model to the 2d paintfile and resume painting there. The learning curve is not that huge.
The method makes it much easier to find out what I’m painting on or find out what resources need to be painted. Things such as the gear doors are often on separate locations in the 2D paint file
Cons for the blender method:
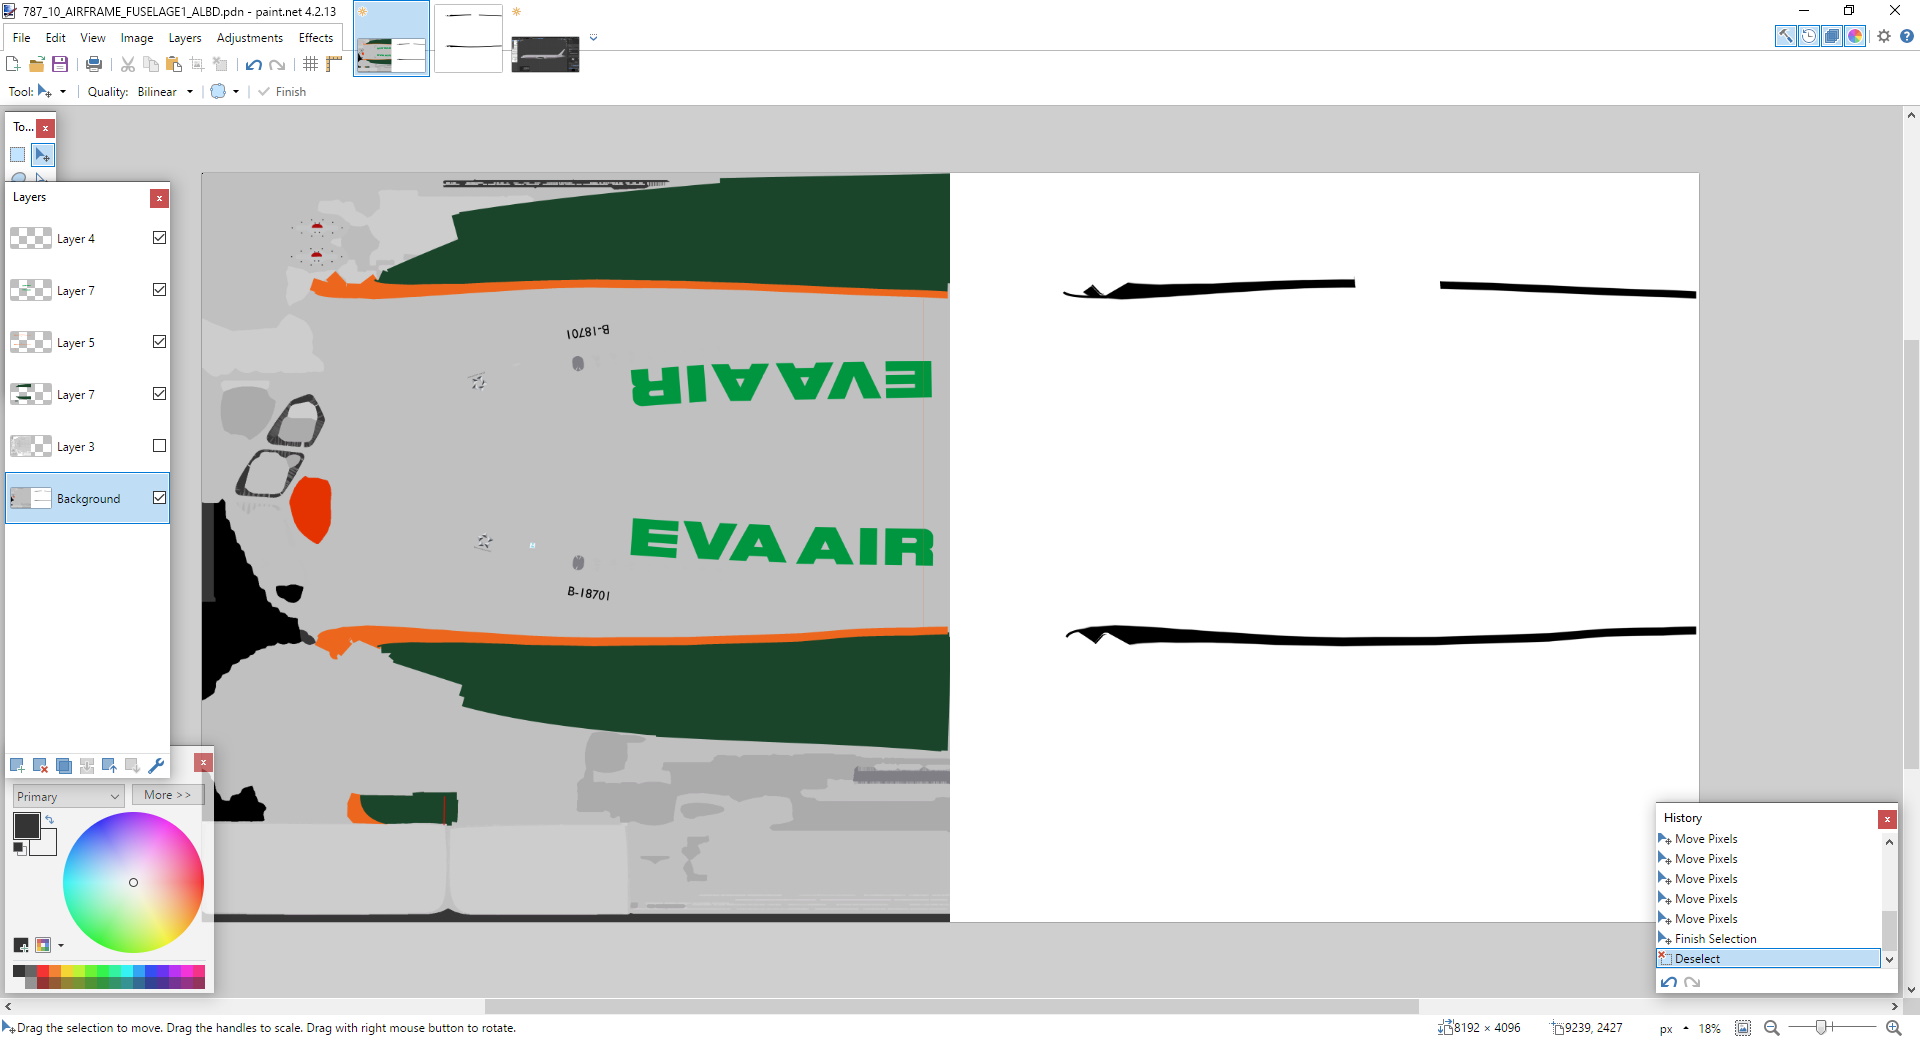
Colours are off. This is seen in my previous post where the “EVA AIR” titles look dark grey. Those would be the same titles/reference image I use in the final repaint, which, is evidently light green.
Basic layering is not possible, fill option is also difficult to use.
Because of the previous two cons, placement of titles, large logos, and livery emblems must be done on 2D applications such as photoshop or PDN.
Painting the lines and baking them onto the livery is no easy process, but easier than 2D. I used the “Curve” stroke method inblender. Any changes in the zoom or any panning of the camera will not change where the line is placed. If you end up offsetting yourself, you have to redraw the line.
Some resources don’t transfer over. For example on the 787, the rudders do not show when pressing “CTRL+H” on the fuselage. The rudder doesn’t automatically place itself in the correct location either.
Here are some interesting pictures:
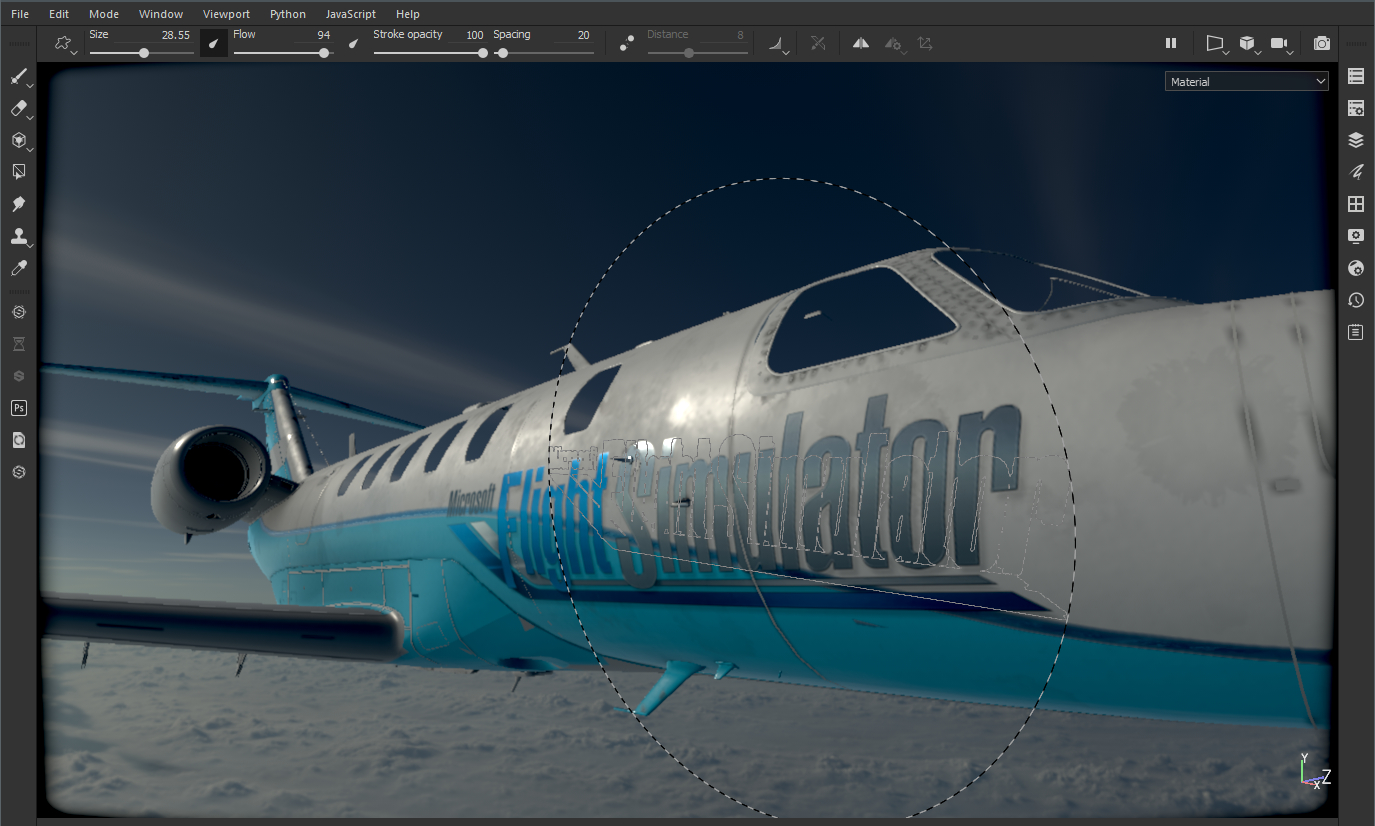
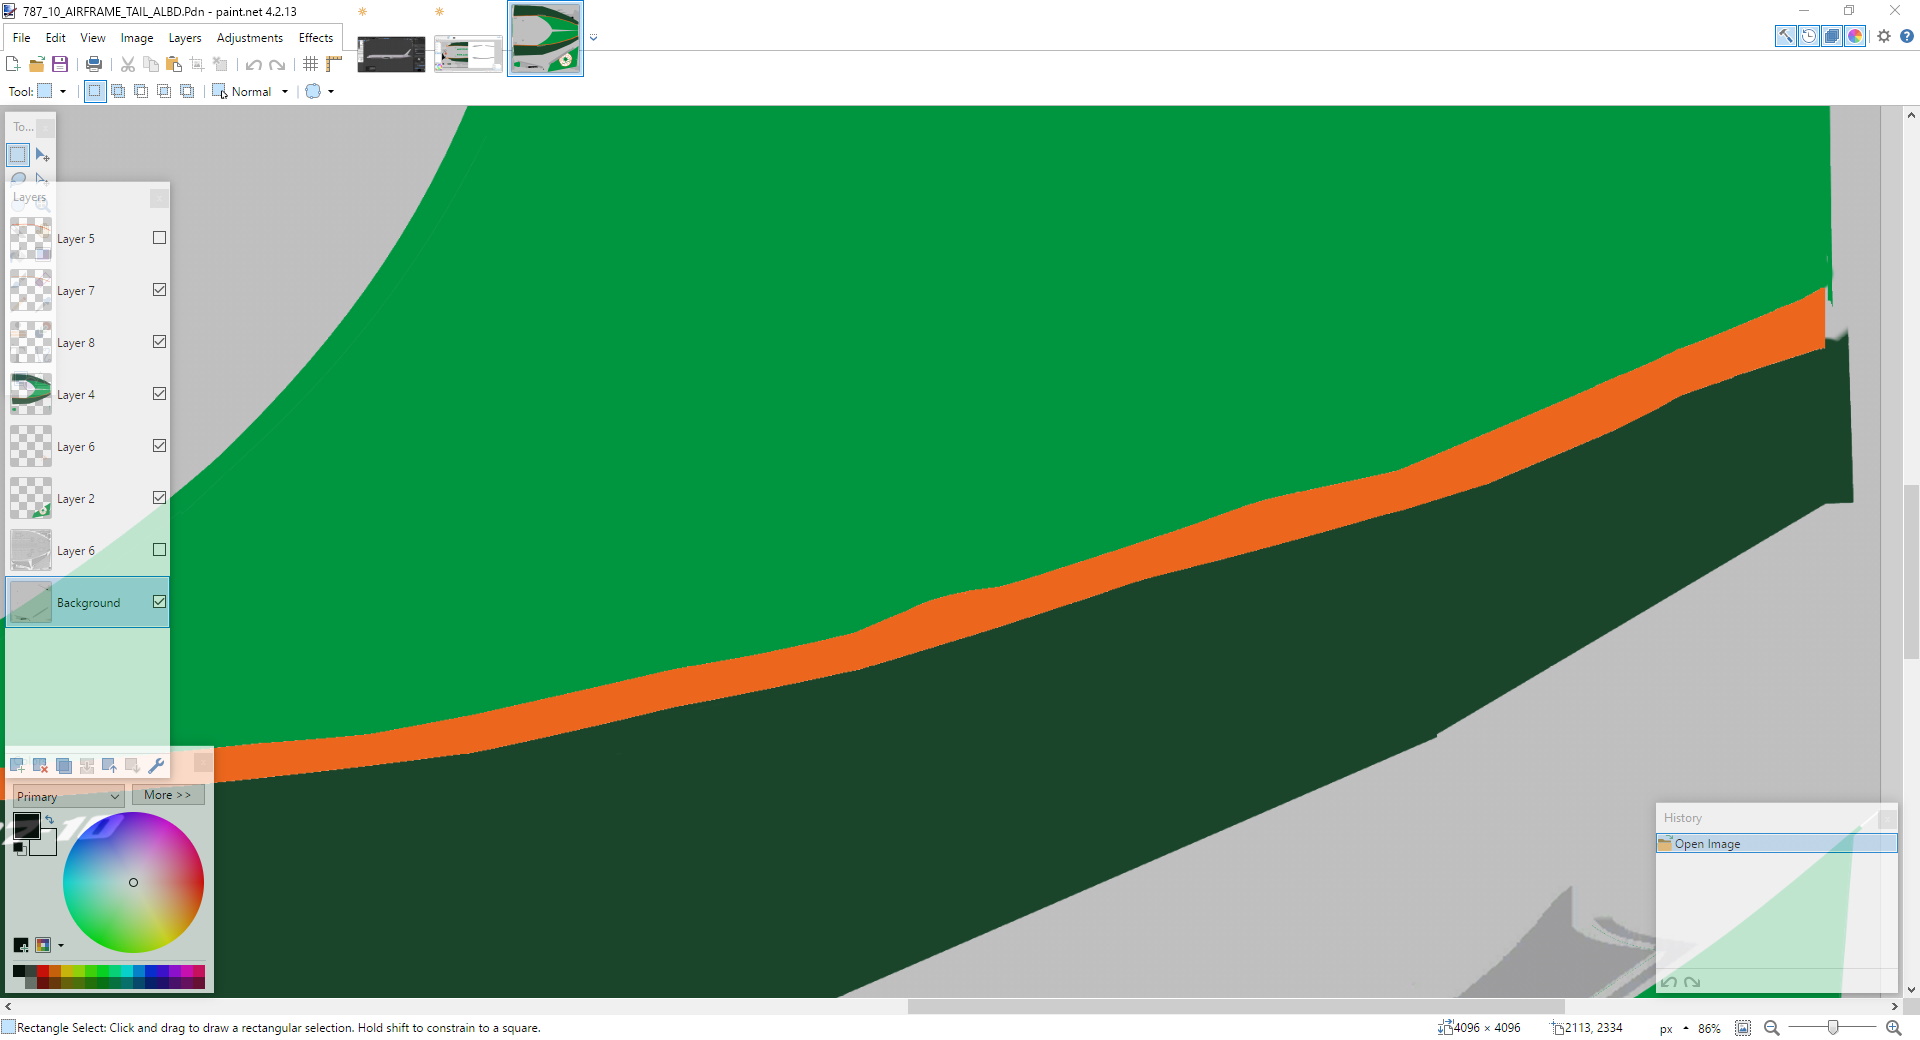
The blender model which has a baked-in cheatline that was eventually used in the final repaint:
A showcase of how uneven the line is in the 2d repaint. Note that this appears almost completely even in the 3D airplane. Straight lines in 2D drawings do not always translate to straight 3D lines.
Conclusions:
The second picture shows that I really only used the blender method with the orange cheatline. Fact of the matter is that this would’ve taken the longest time to complete. What would’ve taken 5ish days got cut down to just 3 days of work. One of the inherent problems of the 787 model that Asobo provided us is that it’s extremely difficult to paint straight lines using the 2D method. Moreover, with the 787 and some other models, the vast amount of parts makes it difficult to line everything up. This holds true for many aircraft I’ve painted (Default XP 747, XP A350, XP 777, various AI aircraft and so on). Ultimately, it’s safe to say I’ll be continuing to use this method. Thanks again to @bestdani90 for introducing this to our forums.
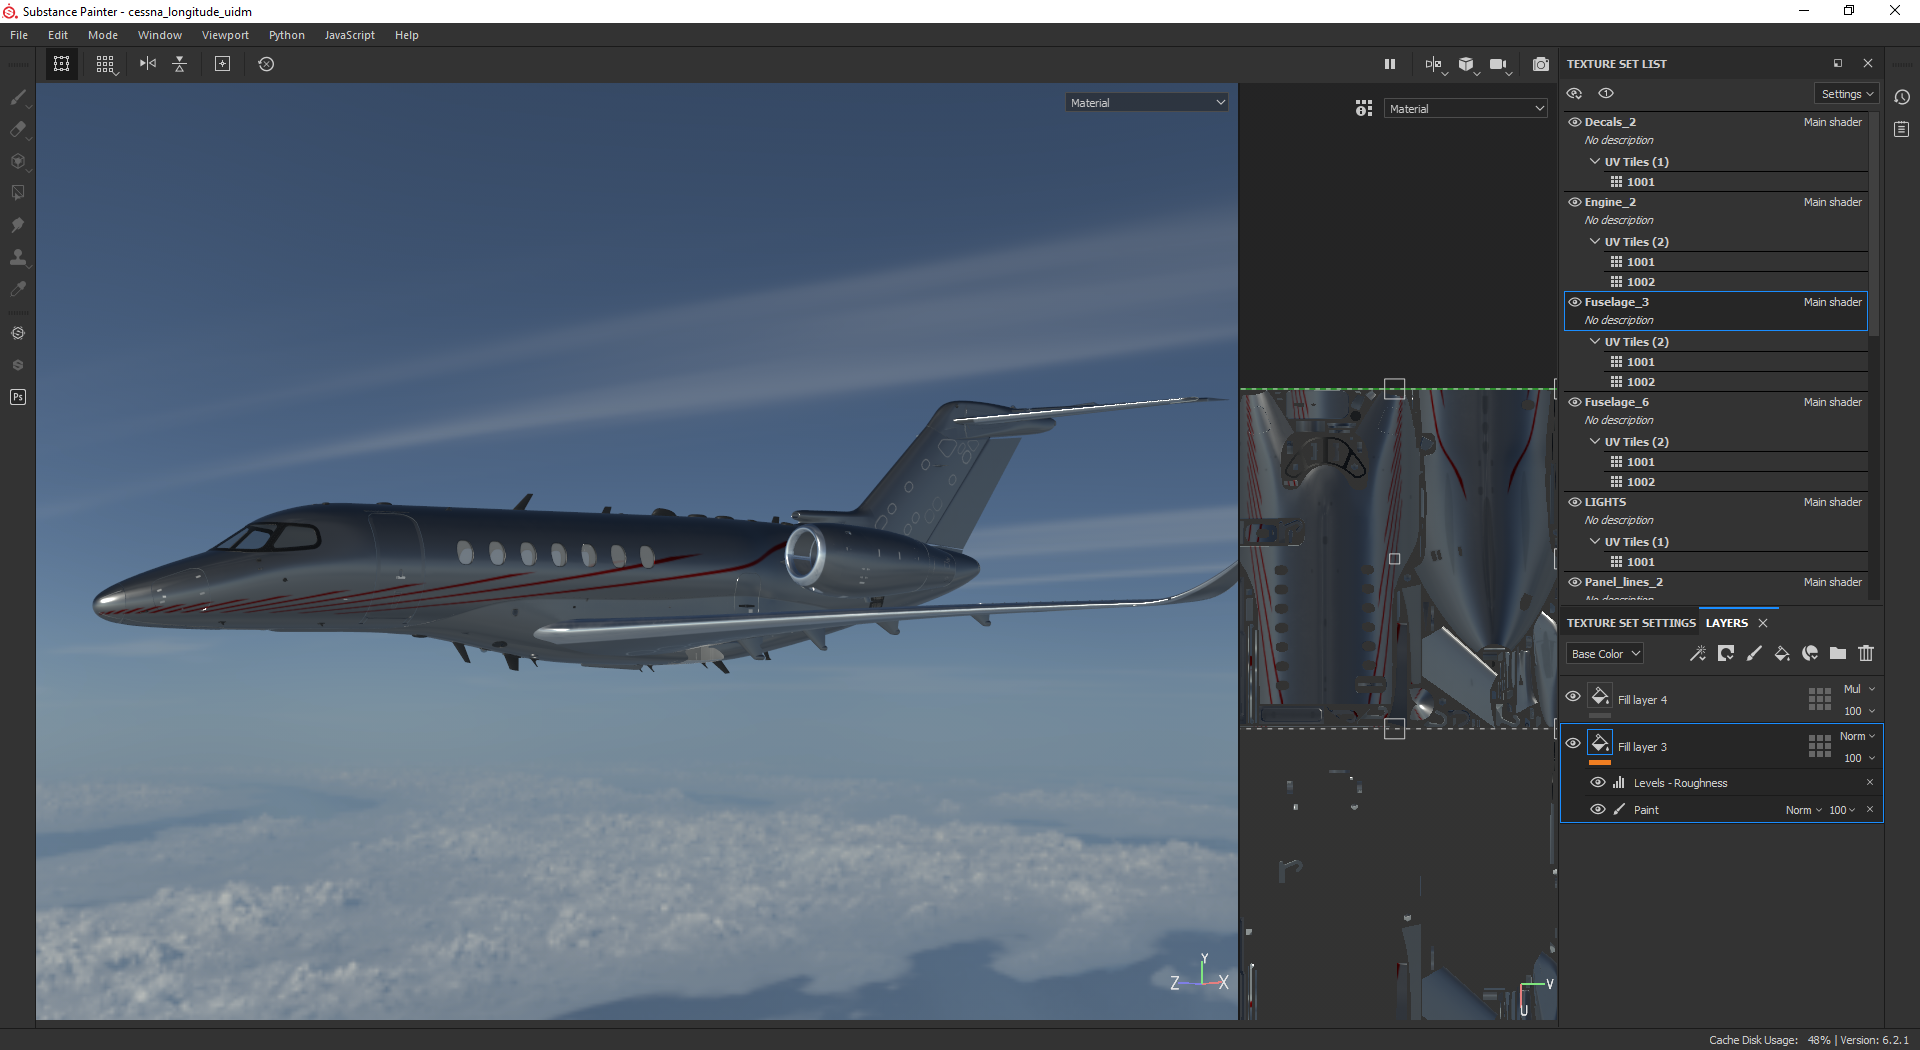
If you want more control in painting and maybe a better preview you can save the model from blender to obj and import it into something like Substance Painter. Way more control to paint your plane. Unlike Blender Substance Painter is made to paint onto 3D models.
I’m a noob in Blender so I use MODO as a step between to clean the model a bit more and check some UV’s, some are not valid, at least, Painter says they have errors.
Without the Blender plugin to import them I would be lost anyway but I think there will be some fixing in some plane models as well since some have really weird UV maps (or unmapped parts) and for a sim that has so many people who want to create liveries and such I can’t imagine they don’t make some planes a bit more friendlier to skin.
For Painter, it has a bit of a learning curve and I only use it for fun (used to skin cars for Assetto Corsa) but it’s great fun to play with and it’s a clever program so adding wear/dirt etc on logical places is all possible. And you can export the files the way you want like combine the AO/roughness/Metal in the RGB channels like used within FS.
OP has recently made some improvements in this area, but it doesn’t seem to work yet.
I’ve found that this pull request (this version to be exact) does put the control surfaces in the correct position (on the C208B, haven’t checked other aircraft).
I have also pushed my own version with fixed rotation and beginning support for texture importing into a dedicated experimental branch (which means it might be unstable / untested and I might decide to change some things rapidly and drastically I test out there): GitHub - bestdani/msfs2blend at experimental
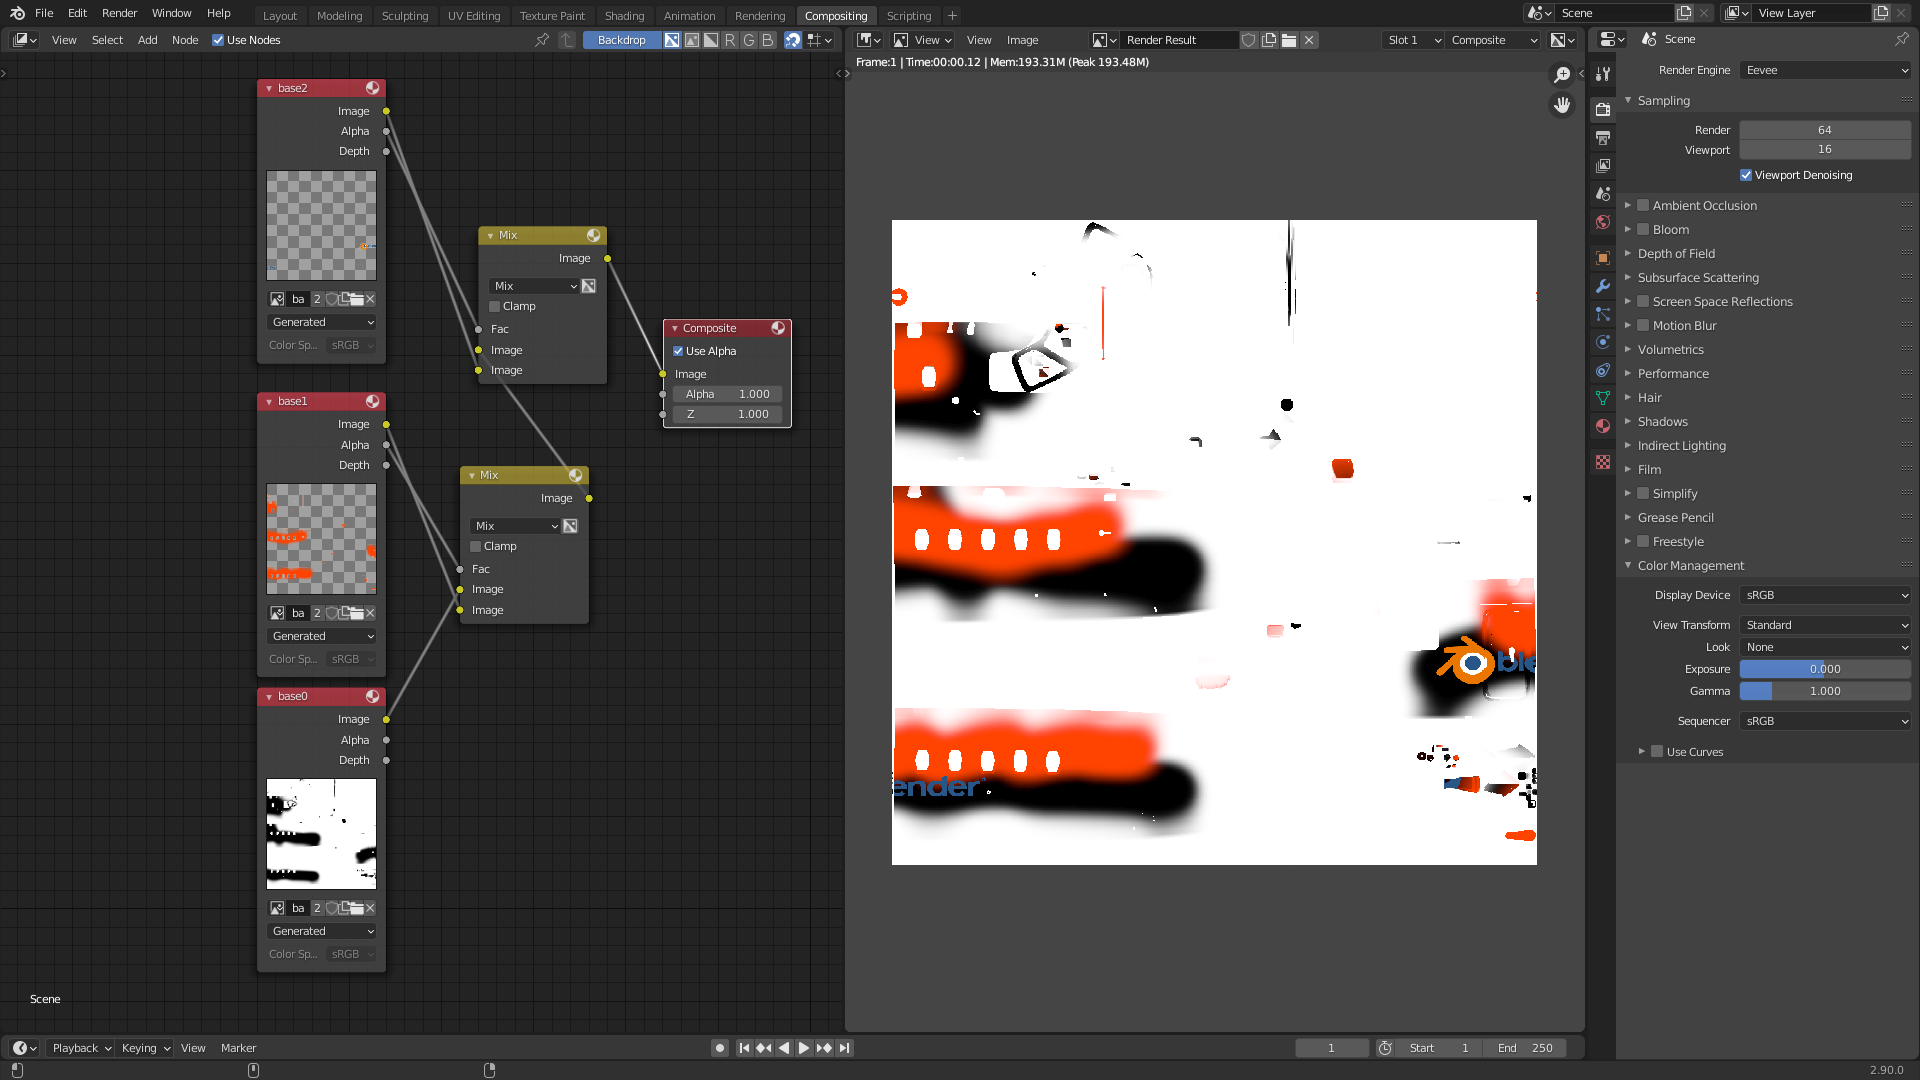
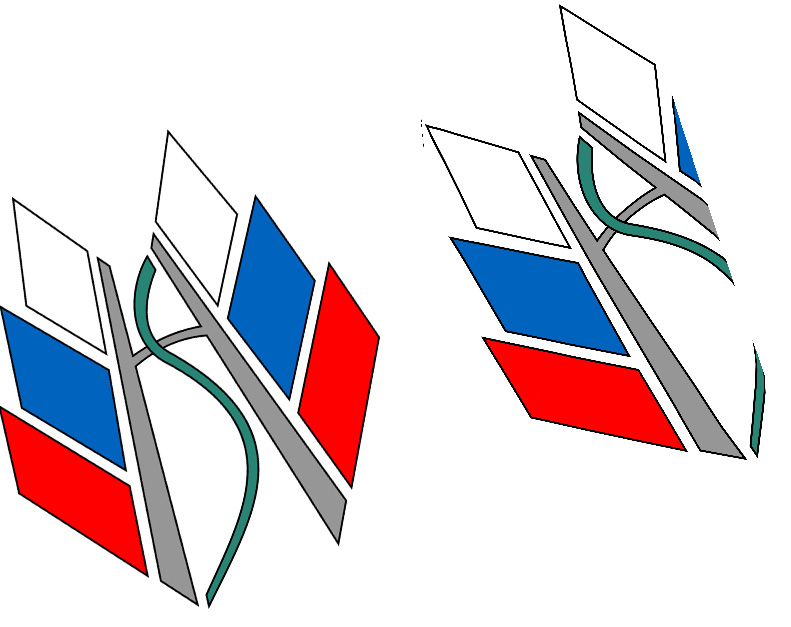
It is actually possible to use layering in blender for painting, but without any addons this workflow is not straight forward and efficient to use, afaik there exist both freeware and payware that promise to do this).
But one can use a node setup of multiple rgba textures like this to achieve it:
If one then mixes together the layers in the compositor for example (also note the color space setting has been set from “filmic” to “standard”) one can get the layers back:
But as had been mentioned dedicated 3d painting software might be a better choice for more complicated paintings indeed as an alternative to using some combination of 3d strokes and 2d image manipulations afterwards. Blender might also get improvements in the future for this directly built in.
A third option would be actually 3d model the painting (like it is done on the Asobo models in parts) but then bake these results onto the image texture. But this process is even more advanced, I don’t even know how I could show this with just a few screenshots.
@bestdani90 Thanks very much for creating this addon. I was looking forward to doing basic 3D painting in Blender. I’m familiar with using it for modeling and texturing but I think for painting I will only use it for blocking out masks or guidelines onto the UV sheets, or for applying pbr textures. I feel like the bulk of the graphics editing is still better done elsewhere, but being able to live preview them on the models is vital!
Primarily I’ll focus on liveries but I am also looking to customise the interiors - is this now possible using this tool, or are they packaged differently? I really want to give the C152 a retro plastique interior as seen on the C150! And maybe some fluffy dice (but that can wait).
Blender can create extremely sharp textures, probably better than or as good as any other app - though I’m not sure whether this applies if you’re drawing directly on the model. If you create the textures beforehand in Blender and render them out nice and large, then add them to the texture sheets, you shouldn’t get pixellation. There are also ways you can take a live snapshot of another layer and use it on a UV for your model in the same file, but that workflow is a little more involved to setup.
Getting sharp lines is mostly just a case of setting up your render camera view properly and not skimping on the settings that give you good quality output - lots of squares, large output resolution etc.
Many tutorials on Youtube for rendering out textures that will help.
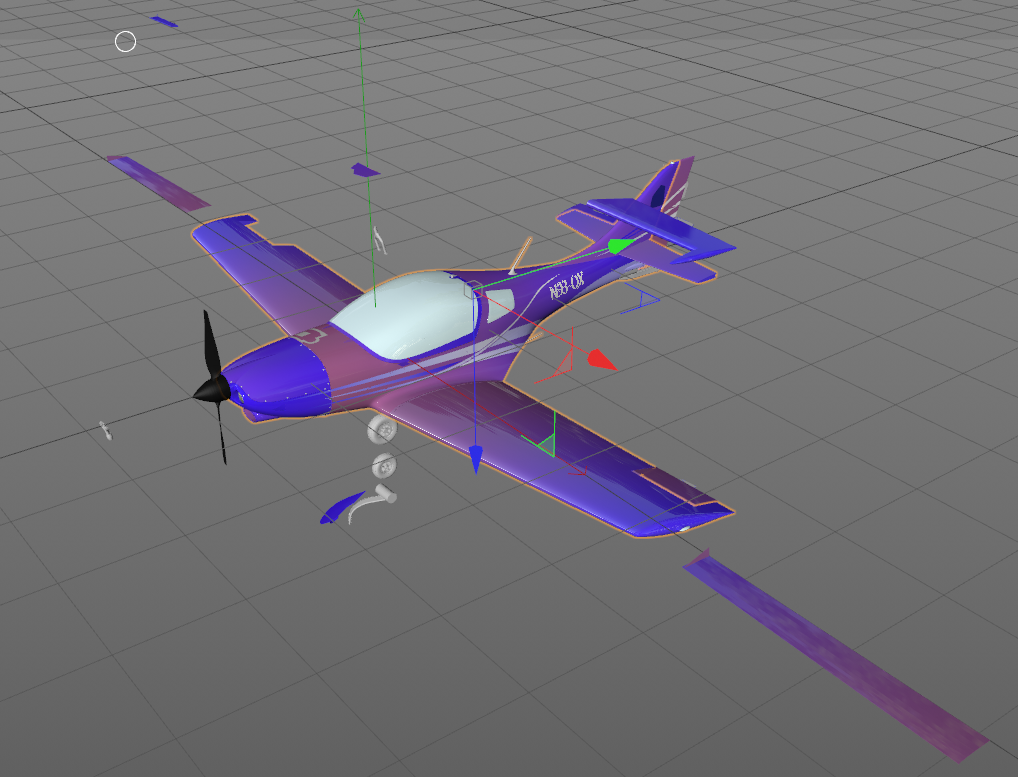
Regarding the placement of the movable parts, flaps, wheels etc which you put down to being unable to import bones. You’re probably right, I’ve been moving those which do import into their correct (or neutral) locations in Cinema4D on a VL3. Ailerons for example aren’t parallel to the ground because the wings aren’t parallel to the gound, however the models of them are.
Out of interest, I haven’t actually gotten around to getting the Photoshop plug in and getting the textures from the game yet. Are there multiple textures matching the multiple materials in the model, or is it all a single texture as I was led to believe?
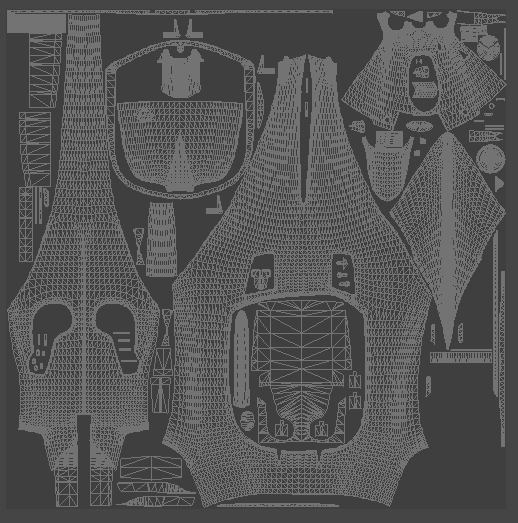
Here for example is the UV Map for the fuselage texture, this fills the entire space for that texture and doesn’t include the wings, interiors, flaps and other parts of the plane which have their own materials in the model.
In the COMP are R G and B used for AO / roughness and metal. So if you look at it that way you do have more than one material in a UV. But there are not that many materials used for a plane and besides some parts of for example wings and wheels are metal it’s still same UV.
You can try to reimport the VL3 with a newer version and with some luck you have all parts at the place they should be. Works like a charm with the Cessna Longitude
This thread which I saw a while ago, I thought I’d seen a texture with the whole shebang, interior and all but I guess not, looks like there are multiple texture files. The folder for the VL3 does have quite a few different textures so perhaps there is one for each material in the model.
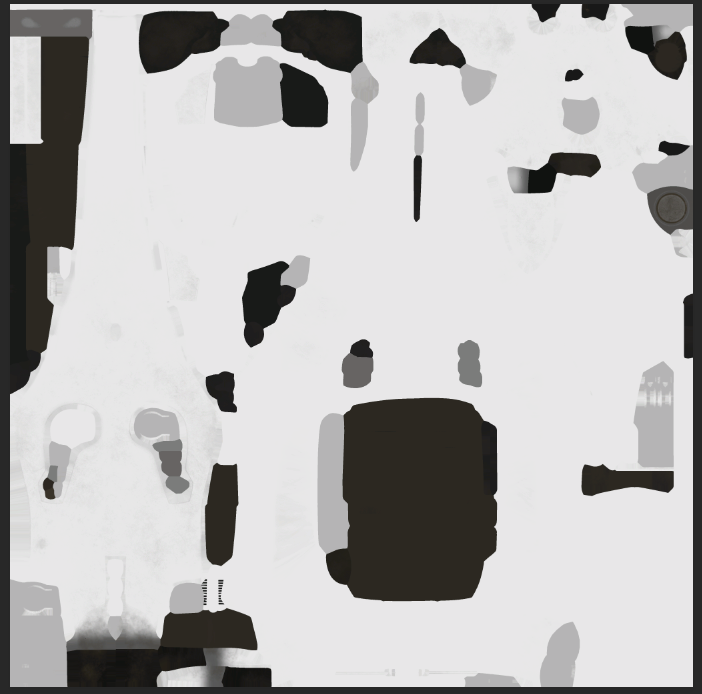
UPDATE:
Looks pretty much like the exact same texture that I had the UV Map for above, jobs a good-un