Dear participants of the MSFS2020 forum!
As you know, ReShade cannot be installed on MS Store version of the MSFS2020 using standard methods, because access to the “FlightSimulator.exe” file is blocked. The reason is the “UWP” platform. If I understand correctly, one of the properties of the platform is blocking access to the game’s executable files. However, there is a program called “ReshadeForUWP”. Its author is “MilkyDeveloper”. It is specially designed to solve the problem. The program placed on GitHub website. The work of the program doesn’t violate the law, since it doen’t break protection of the “UWP” platform. If I understand correctly, the principle of the program’s work is that it finds out the exact name of the game’s system process, and then connects the ReShade injector to the process at the moment of its launch. The program creates a special bat file to perform this task. (Also, the program doesn’t change the system files of the MSFS2020.)
Here is a link to the GitHub web page with the “ReshadeForUWP” releases. The program is free. (You only need to download the “ReshadeForUWP.exe” file. You don’t need any other files.)
https://github.com/MilkyDeveloper/ReshadeForUWP/releases/
Here is a link to the MilkyDeveloper’s guide about the program.

Please don’t rush to perform all the actions as described in the guide! It is not that simple. I tried to perform all the actions specified in the guide exactly. Unfortunately, the ReShade appeared on the MSFS2020 only once. It disappeared in further runs of the simulator. According to the author, It doesn’t work well with MSFS2020. But, I didn’t want to give up. I carried out a number of my own experiments with the program, then I came to conclusion that it can work correctly with the simulator if the above guide is slightly modified. In particular, there are actions that need to be performed with administrator rights.
So, let me introduce you the MilkyDeveloper’s guide slightly modified by me. This sequence of actions actually worked in my case.
- Run “ReshadeForUWP” program as administrator. Then wait a little and the main window of the “ReshadeForUWP” program will appear. (The window may not appear quickly, that’s okay).
- Click the “Choose a game to launch” button in the program window. A list will open. Find the “Microsoft FlightSimulator: AppName” item in the list. The item should be highlighted in blue when you click on it. Then, click on an empty area of the program window to close the list. (After these actions, the name of the simulator will not appear on the “Choose a game to launch” button. It will look as if you didn’t choose anything. Don’t worry about it.) Now you don’t have to close the “ReshadeForUWP” program until the 6th step of this manual.
- Run the MSFS2020 in the usual way without administrator rights while “ReshadeForUWP” working in the background. Wait until the simulator is fully launched (for the main menu to appear). Now the simulator cannot be closed until the 7th step of this manual.
- Switch to the “ReshadeForUWP” window with using the “Alt + Tab” key combination while MSFS2020 working in the background. Click the “Launch your game from the start menu and then press this button” in the program window. Select the “Microsoft Flight Simulator - 1.17.3.0: FlightSimulator.exe” item in the list that opens. (The numbers in the item may differ as it indicate the current version of the simulator.) The item will turn blue. Click the “Done filling out everything” button that is in the same list. After that, a window will appear to save the “bat” file. (You will run the simulator from this “bat” file after completing all the steps.) Save this file to your Desktop. Then, you will return to the main window of the “ReshadeForUWP” program.
- Click the “Generate Reshade.ini” button. Wait a little. The program automatically downloads and installs ReShade along with the shader packs at this moment. A small message “Done!” will appear when the installation is complete.
- Now close the “ReshadeForUWP” program.
- Return to the MSFS2020 window using the “Alt+Tab” keyboard shortcut, and then close the simulator in the usual way.
- Wait a little and then restart your computer.
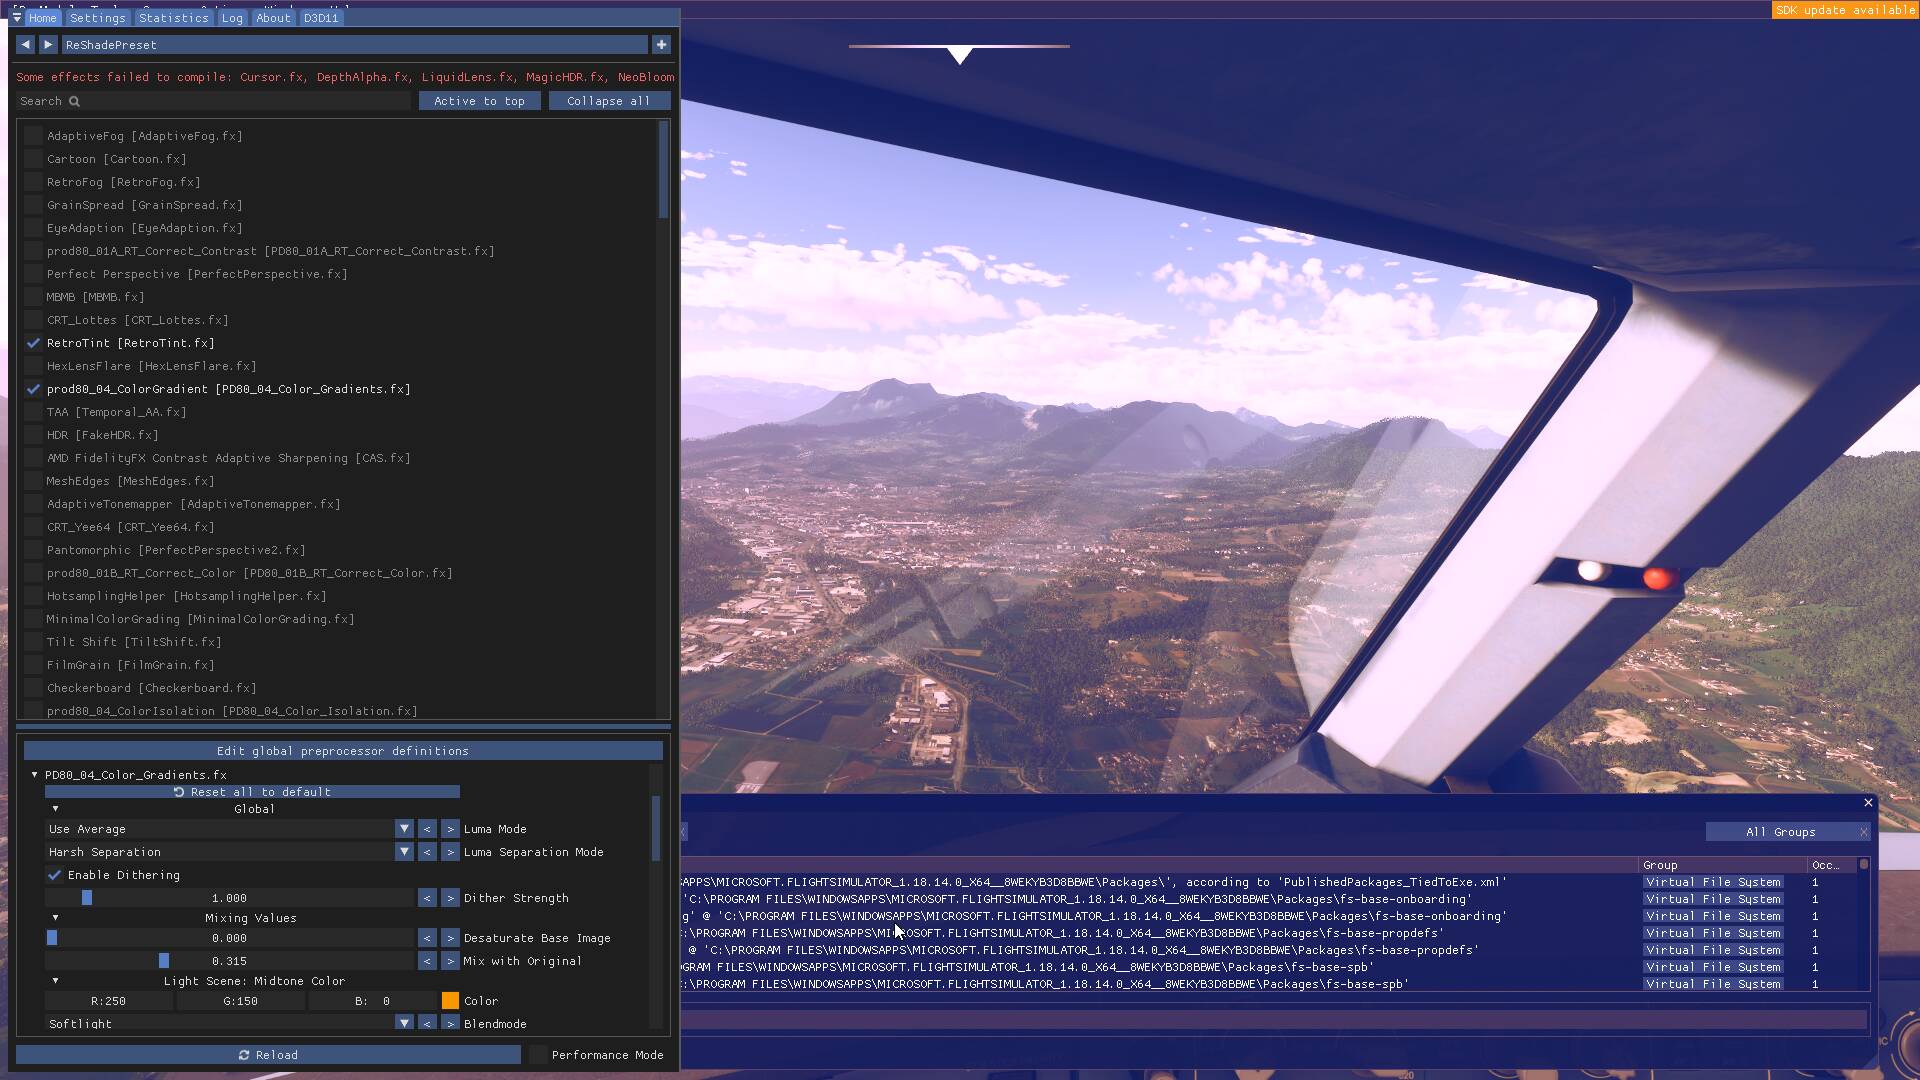
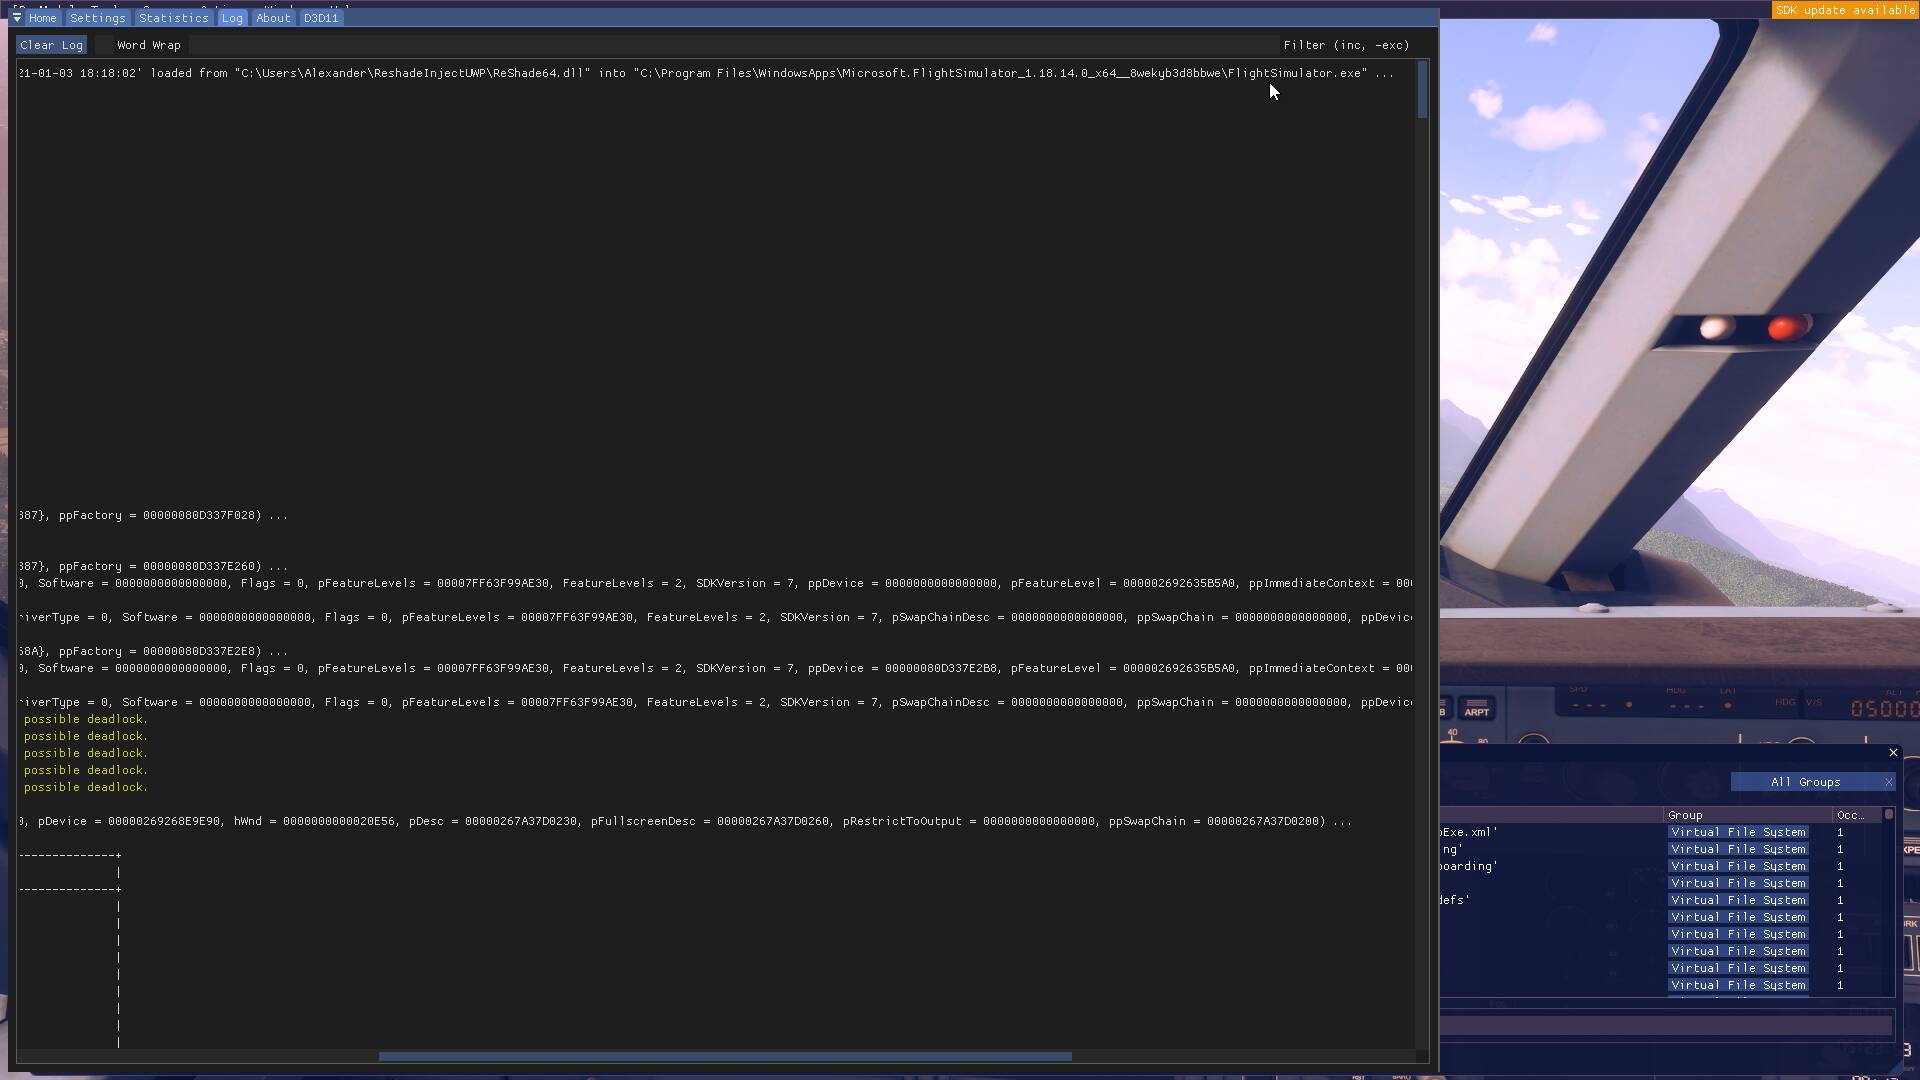
- Run the “bat” file on the Desktop with a regular double-click without administrator rights. Important! You will only need to run the simulator this way once. Watch to see if the ReShade appears during the MSFS2020 launch. (In particular, watch to see horizontal bar of ReShade’s interface during the simulator launch.) Press the Home button when the simulator is fully loaded. Then the ReShade window should appear. Click “Skip tutorial” in it and click “Home” again to close the ReShade window. Then, exit the simulator in the usual way. (Also, just exit the MSFS2020 in the usual way, even if ReShade doesn’t appear during this run of the simulator at all.)
- Wait a little and then restart your computer.
- Run the “bat” file on your Desktop as administrator. Run the “bat” file with administrator rights is very important to correct work of the ReShade! Now you will need to do this every time to run the simulator.
The job is done. Now the Reshade should appear in the simulator.
(Perhaps it would be more logical if the 9th and 10th steps were skipped. But I was afraid that further experiments with the sequence of actions might be less effective. So I decided to leave it as it is.)
This method allowed me to successfully installed ReShade on MS Store version of the MSFS2020 in my case. I also recommended this method to several other users of the MSFS2020. It worked good among four of them. But in one case it didn’t work. So I concluded that the method doesn’t always work. However, the chances of its successful work are quite high, in my opinion.
Perhaps there is another method, another sequence of actions, but I haven’t tried it. Also, there are other videos about the issue on the MilkyDeveloper’s Youtube channel, but I didn’t study it because I stopped at the method that really worked for me.
The root directory of ReShade will not be located in folder:
“C:\Users\Username\ReshadeInjectUWP”.
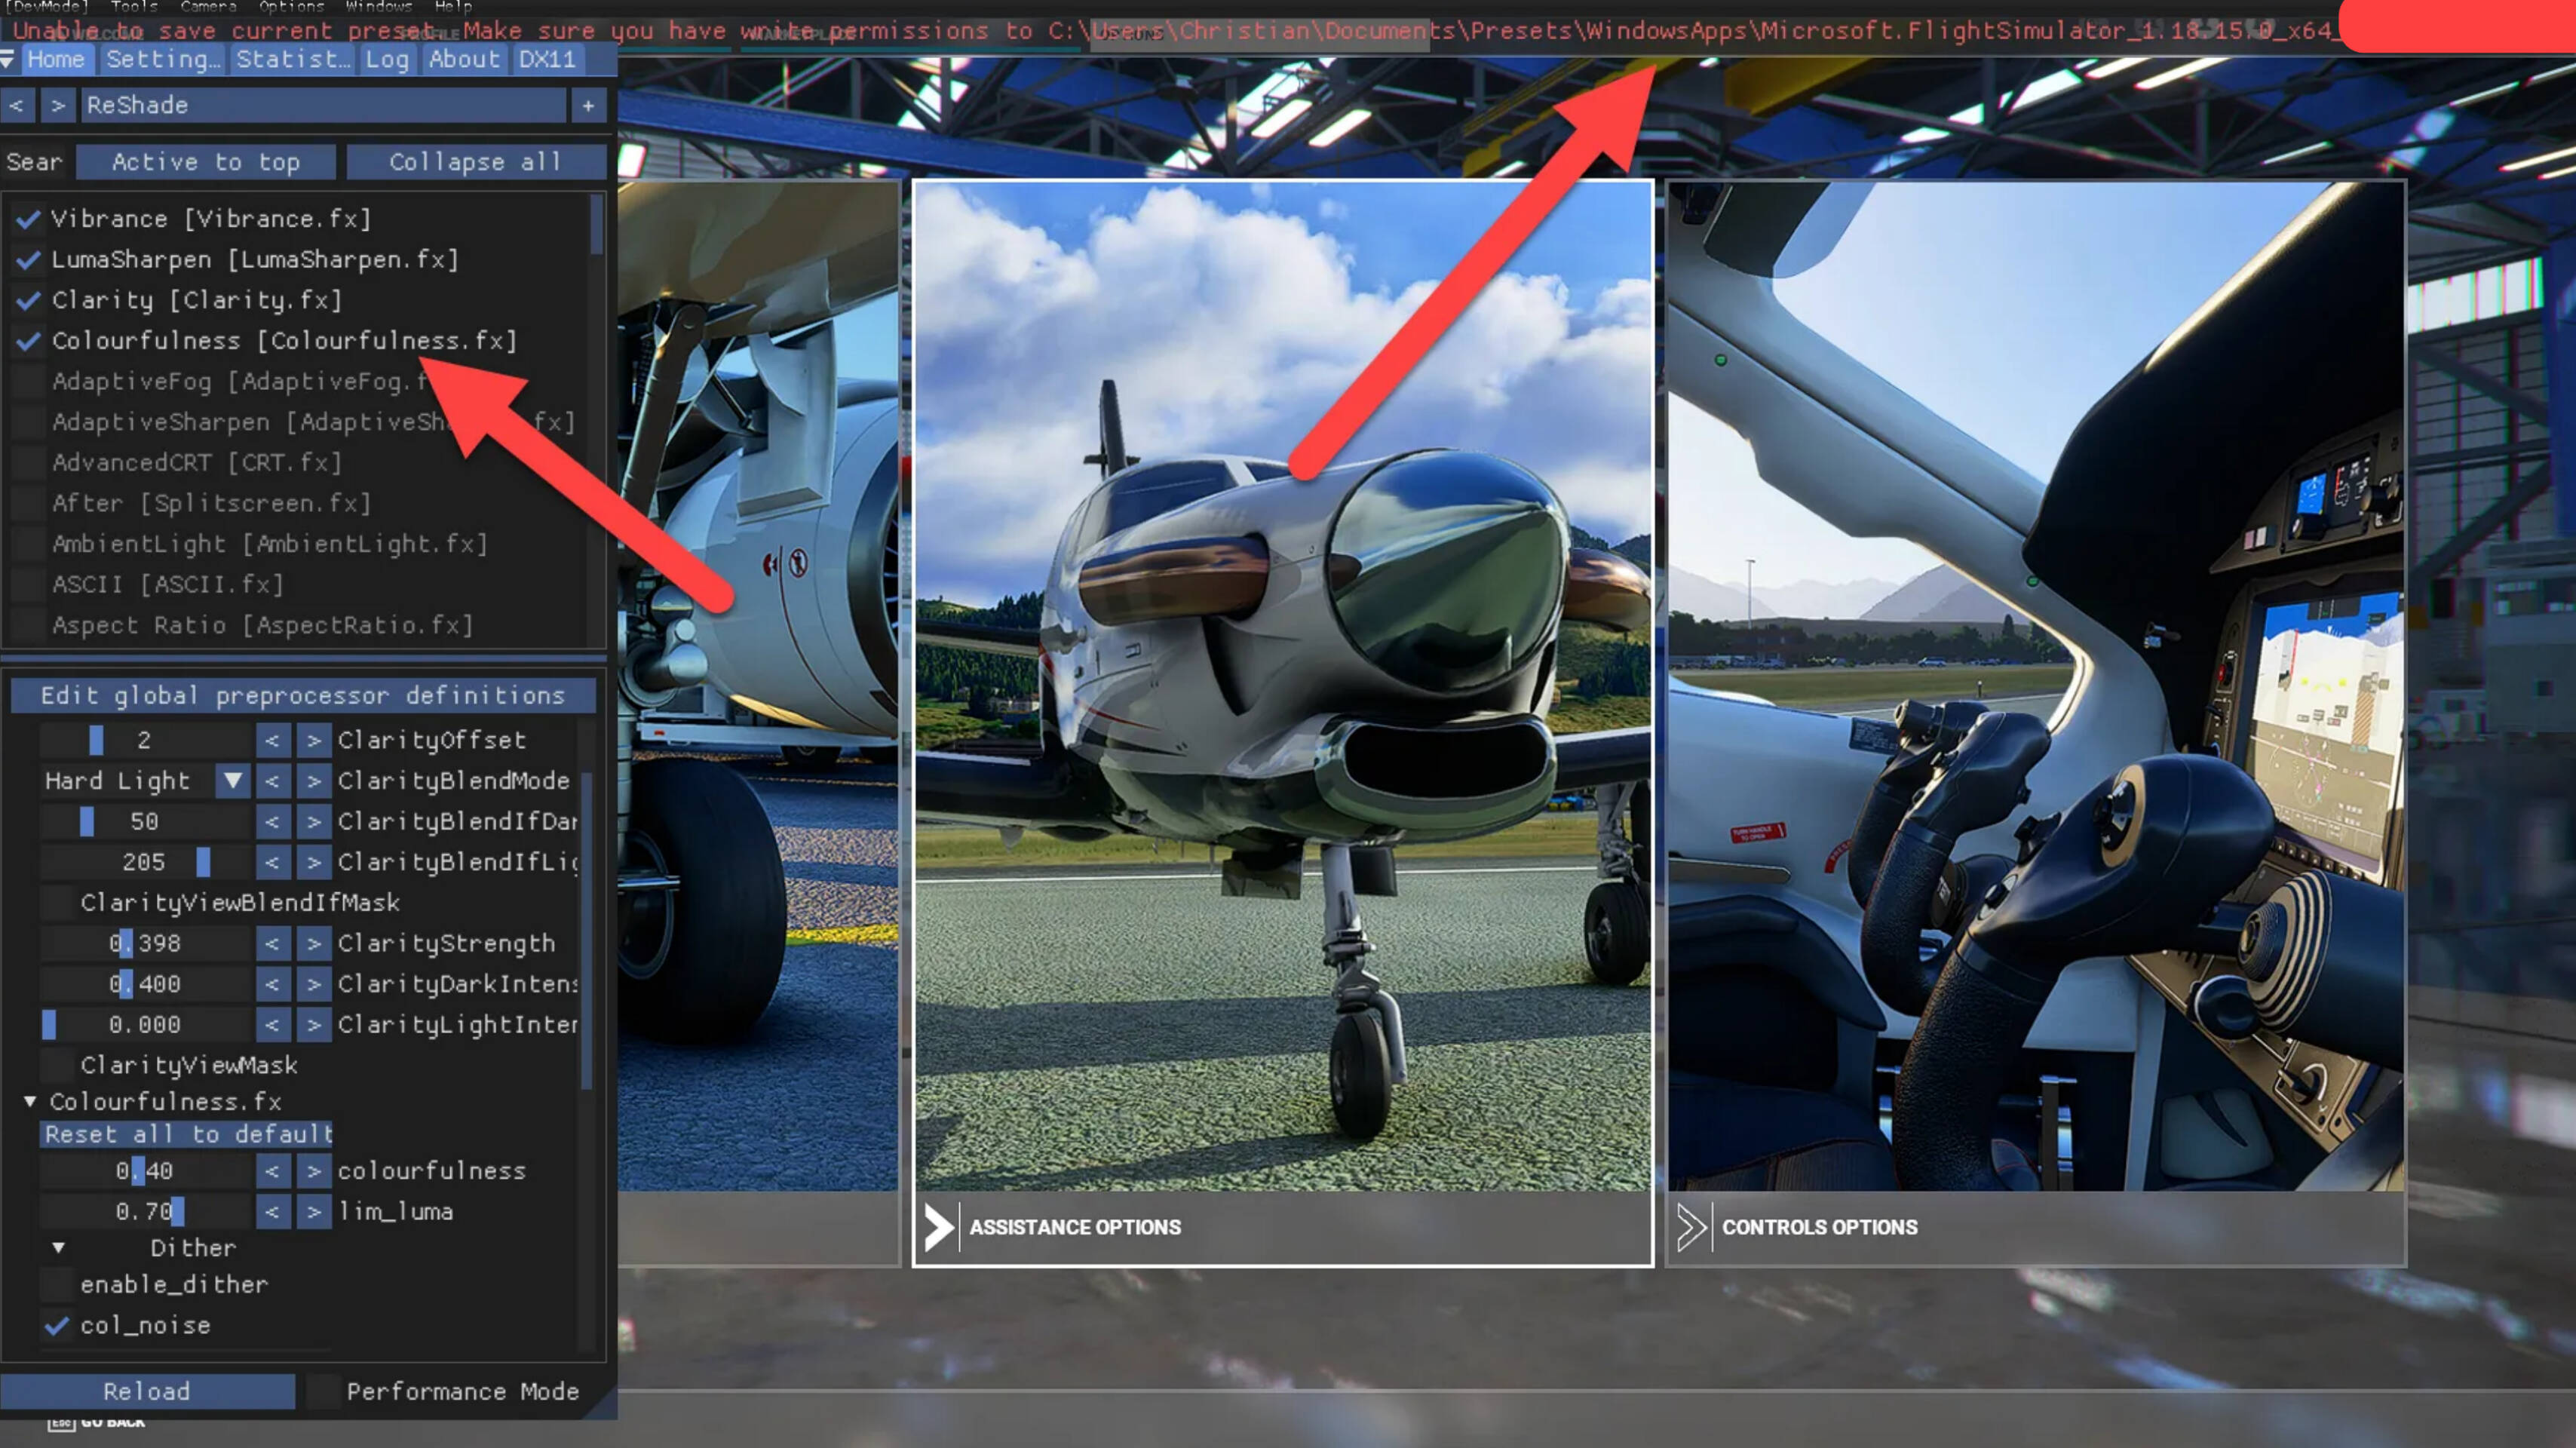
Presets for ReShade will need to be placed in the same folder.
if you need to update the MSFS2020, you don’t need to change or delete anything. Just start the simulator from a regular shortcut without administrator rights and install all updates as usual. (ReShade will temporarily disappear during this time.) Then, restart your computer and run the simulator from the “bat” file as administrator. ReShade will reappear and can be called up with the “Home” key, as usual. I have already installed many sim updates this way. Everything works and no glitches, for now.
I hope this information will be useful for you and you will install the ReShade successfully. Please post the results to this thread, if you are interested in this issue.