I give up. I have tried to install Alpha 3 multiple times with no luck. I am using Windows 11, HP G2, and OpenXR developer tool all current versions. I have ran the included installer with window power shell under administrator account. I can not get the api layer to appear in OpenXR developer tool. I copied the regedit string from previous posts in this topic and again no luck getting the api layer to appear in OpenXR developer tool.
I haven’t done performance testing with SteamVR. It’s quite possible that you are right, and the processing is just heavier with SteamVR. Remember that I had to go through some hoops to get it to work and I added some extra conversion pass… maybe this negates the benefits of the scaler ![]()
I’ll have to add some performance indicators to see where the time is spent.
1 Like
Hi, tried it now with NIS in 2d via the Graphics Driver.
No problem there, so it should be somewhere in the plugin code?
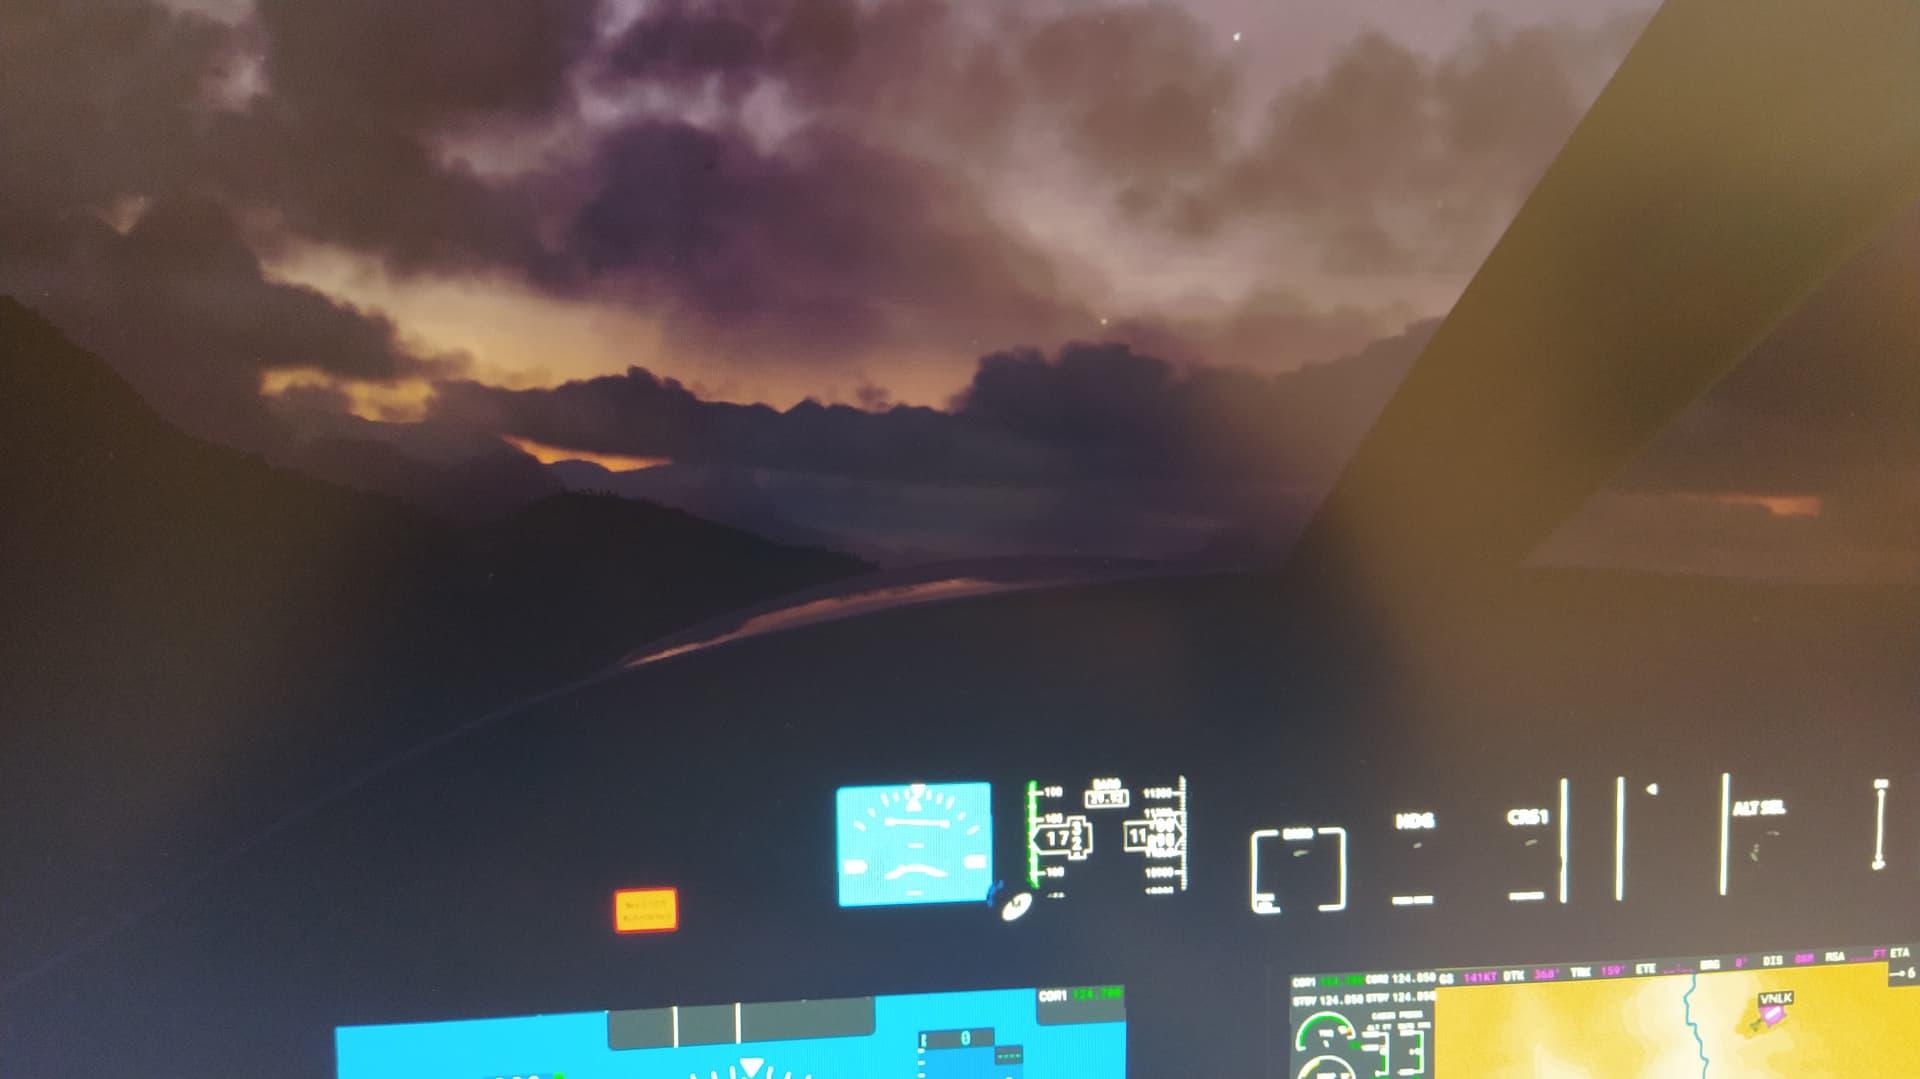
Picture in Reverb G2 with NIS plugin, through the lens:

Picture on PC, upscaled via NVidia 497.09 Control Panel:
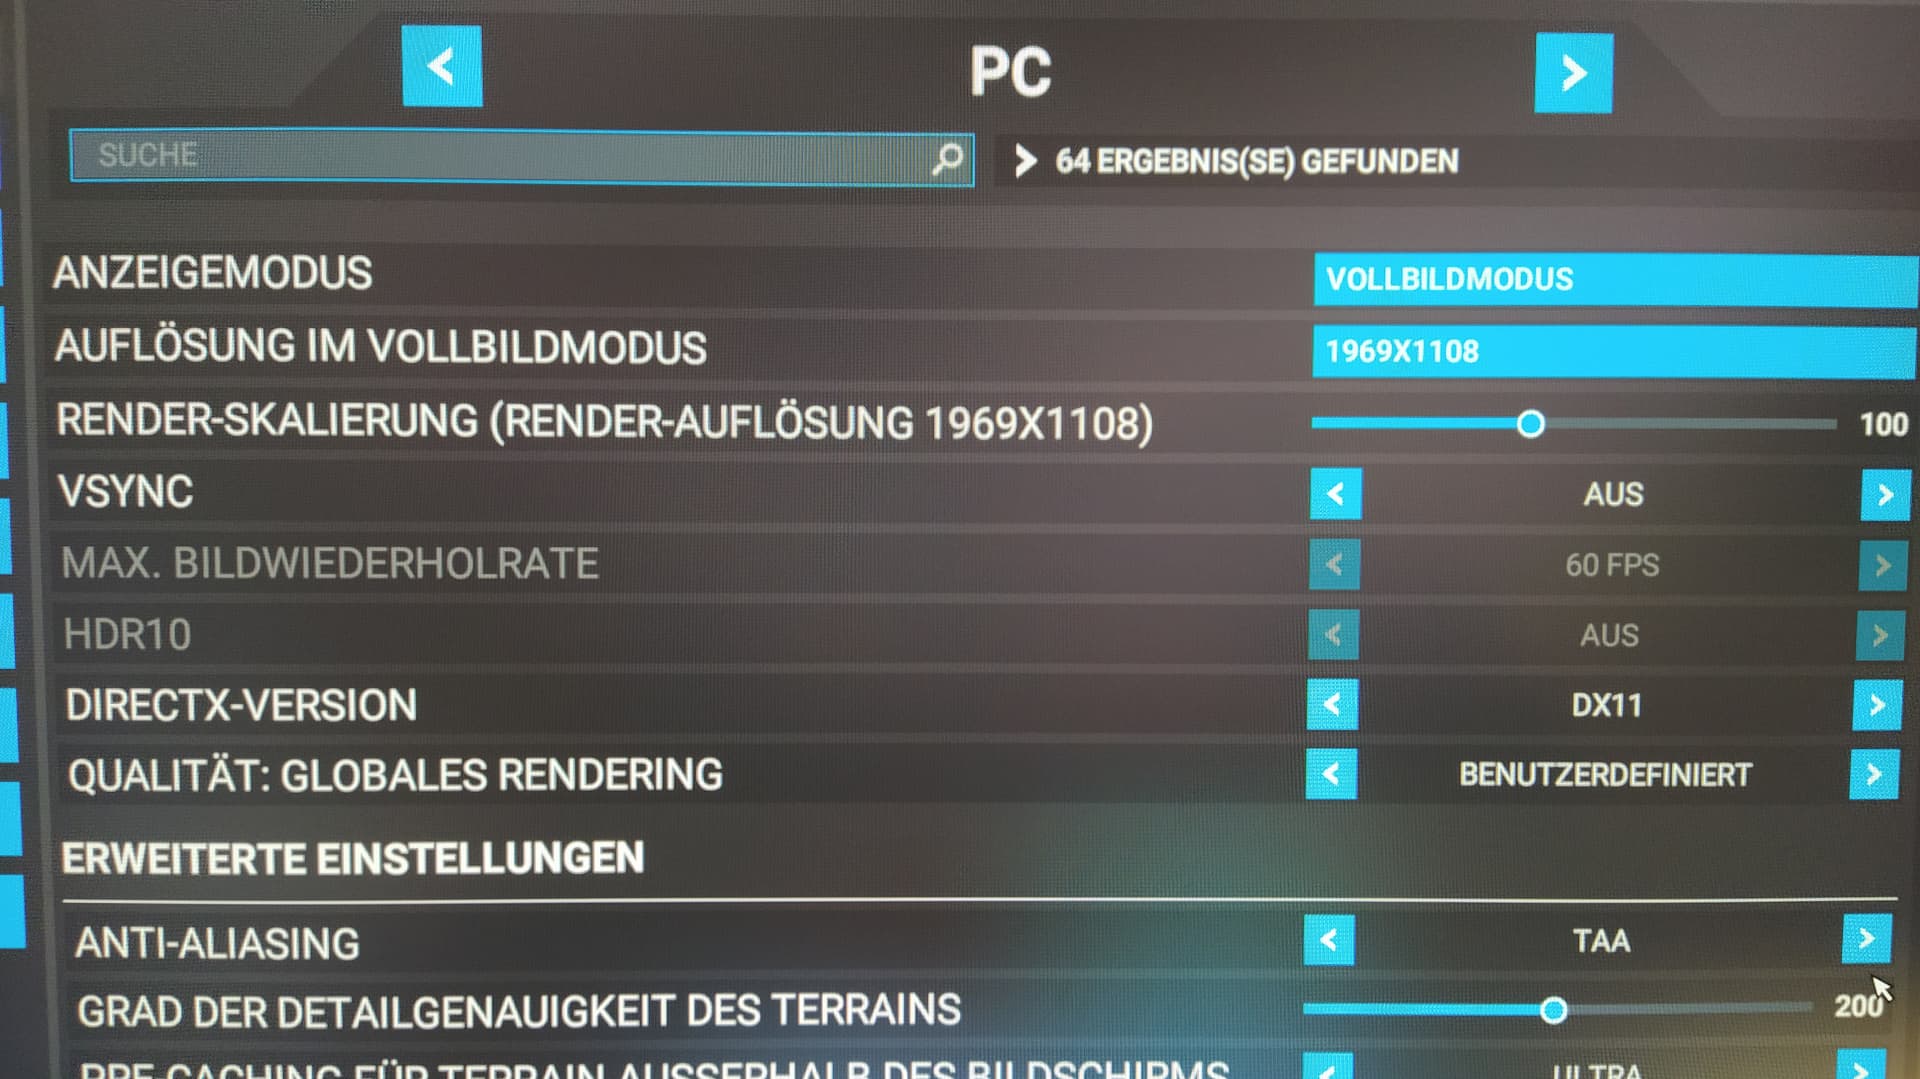
Setting for Resolution (i used this, because this is not a native Resolution of my WQHD screen):
Sorry for image quality, everything made with smartphone.
3 Likes
No worries we appreciate your efforts !
For testing/comparison purposes could you confirm that setting scale to 100 and sharpening to 0 is equivalent to not having the plugin at all?
It is not - I have a TODO on my list to make it that scale 100 → skips the scaling pass and do sharpening only but it’s not implemented. So in theory today with scale to 100 your will likely see lower performance (because we do an unnecessary scaling pass).
Until then, to compare, you want to delete (or rename is easier so you can restore it later) the FS2020.cfg file before you enter VR to disable the software. The presence of the config file for the app is the only way to enable/disable the extra processing.
1 Like
Why give up?
I have the same specs, Windows 11, hp reverb g2 etc. Are you sure you have Nvidia graphics? and the latest drivers?
If so. Edit your Reg with regedit manualy with the correct values (See my screenshot).
1 first make in the “1” dir a new key “Apilayers” (Set your cursur on the 1 and then clik right “new key”)
2 make in Apilayers a new key “Implicit”. In there make a reg_dword value en set the value with the correct path.
For me the installer alpha 1 also don’t work. But the latest alpha 3 install version does work for me
But always be carefull when you mess around with the register. Maybe you make first a windows recovery point or a register backup.
2 Likes
Thanks for jumping in - I have also DM’ed @RCFlyer51 with similar instructions.
To be clear, you do not need a NVIDIA card for this to work. The NIS scaler shader works on any modern GPU. The only thing that is exclusive to the NVIDIA drivers is the option to enable NIS in the control panel - and it doesn’t apply to VR anyways.
I can certainly confirm that the installer in the Alpha 1 was totally busted ![]()
One thing people might be missing is that on certain PC, you will need to right-click on the installer and do “Run with PowerShell”.
2 Likes
I got it working with help from some good folks on this thread. Thanks to everyone who took the time to help me out. It was just my lack of experience working with registry edits.
1 Like
Windows 11, hp reverb g2, Rtx 3070 ti …
OXR 125; RS 65
fs2020.cfg:
scaling Line - Removed
sharpness=0.4
Please try this and let me know…
(without scaling it still does some work to the rendering, optimizing also FPS …
Finally got around to giving this a go, I need to tweak/experiment but early indications are this could be great!
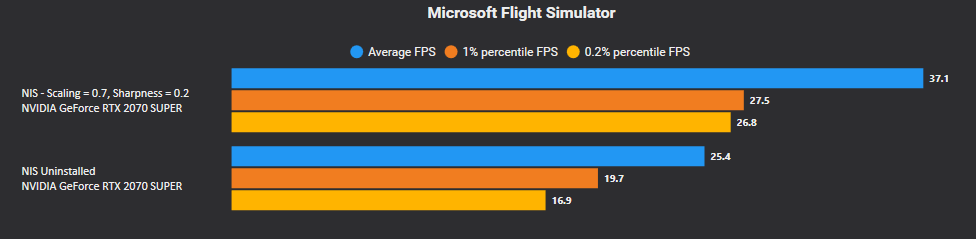
I usually run 50% OpenXR and 95% in Sim with my Reverb G2 & 2070Super.
Changed to default 100% in both for this experiment and the difference in FPS, as you can see below, was great. The image quality was a bit compromised but not by much, hence more tweaking to do one day when I have more time to play, many thanks @mbucchia ![]()
1 Like
Well this was worth the effort. I was running 80 oxr and 80 ingame with TLOD at 55 and Detail LOD at 100; getting a smooth 30 fps. Visuals were adequate and the flights were smooth. GPU was running 95% up. With this app running at .8 scale and .6 sharping I have been able to run 100 oxr, 100 ingame, TLOD 100 Detail LOD 100, with GPU running at 90 to 95%. Visuals are much clearer with very little simmer and flight is almosts as smooth. I still need to do some tuning to get the smoothness optimized. Overall a very beneficial addition. My computer system is 8700K @ 5 ghz, 32 gig 3200 ram, gpu 1080TI, HP G2.
2 Likes
Im a bit confused by the procedure. Im on quest 2 and I´d love to test it, but I can´t manage to find the way. I follow the setup instructions, steps 1 and 2 no problem, with the 3erd I run the script with powershell (a blue windows opens and closes seconds later). I skip the 4th step since I don´t have WMR.
With the App configuration on step one it says that I have to run the application, is that the NIS window in geforce experience? It musn´t since you said it runs in AMD cards as well…er..then what app?
And I can´t find the XR_APILAYER_NOVENDOR_nis_scaler.log nowhere ![]()
Come on…and I thought I wasn´t too dump
Cheers
Carlos
You’re not the only person to have reported the instructions being a bit confusing, and I have better instructions for the next release. For now, you can skip the whole “App configuration” and just make sure you have this FS2020.cfg file copied next to the DLL etc.
If you’re not seeing %LocalAppData%\XR_APILAYER_NOVENDOR_nis_scaler.log though, it means you might be having issues with the install script. When you run the install, did you get prompted for “this app will make change to your device” Yes/No dialog? If not then somehow your PC has security settings preventing the installer to work.
1 Like
Just my 2c: for me double-clicking on the script, or right-clicking and selecting “Install” didn’t install it - it just opens the script in notepad instead. I don’t know why. What worked for me is right-clicking it, and selecting “run in a PowerShell” or something similar. You see a couple of PowerShell windows quickly flash and it’s installed. Same for uninstall.
Yes. And Vulkan produced a significant FPS/performance boost itself over OGL .
Same for me. The instructions should say to right click the installer/uninstaller and select “run in PowerShell” as you say.
1 Like
I trust you ran MSFS (‘the App’) after the installation? Otherwise you won’t produce a .log under your %users/****/AppData/Local%.
1 Like
I did exactly that, but for us not so technically savvy in the VR world/new to this, how do we know that it installed? I did not see a registry created nor I had an option in OpenXR\System status\ API with the option to select a different one. Just a blue screen quickly flash and disappear.
I have to admit that I’m new to this, and I appreciate what it’s being done and it’s amazing, but at least for me, with the readme and Github instructions, I’m not to clear about this. Again, I have to admit that I’m not to familiar about dealing with this but if we could get some instructions, especially for us new VR users, that would be nice as I’m trying to get this setup.
How do we circumvent those security settings or change them? Because I did not get that message either.
Unfortunately I have no idea. If anybody on the forum does, I am more than happy to add the procedure to the instructions.
As you might have understood, this software is still very early stage (it’s literally 2 days old ![]() ) so it does not have yet a proper installer. Once I get some time to work on an installer (instead of this cheap PowerShell script), this issue should be gone.
) so it does not have yet a proper installer. Once I get some time to work on an installer (instead of this cheap PowerShell script), this issue should be gone.
In the meantime what you can do is create the necessary registry key manually, which is shown in this post: