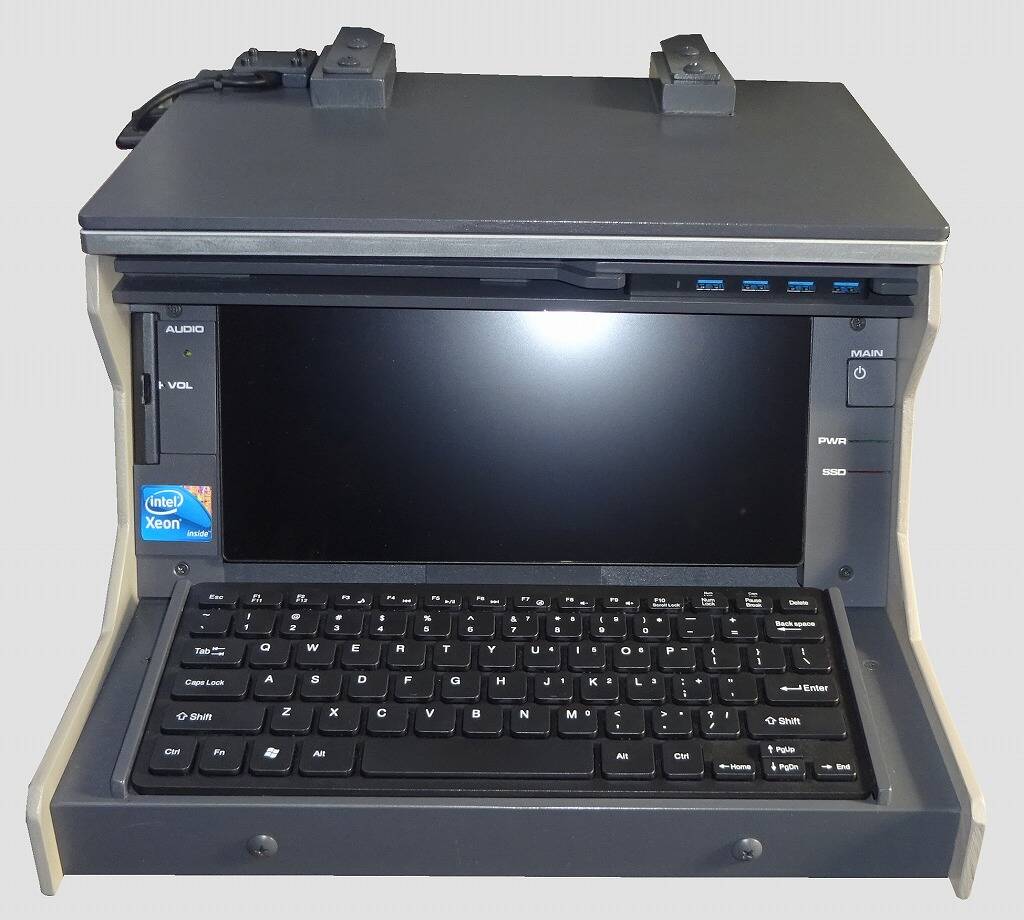
[SATA SSD to M.2 SSD Upgrade]
I feel that the startup time for the OS (Windows 11) and MSFS2020 (Microsoft Flight Simulator 2020) on this PC is slightly slower compared to other PCs.
Additionally, while running MSFS2020 in complex flight areas, I noticed a slight stutter or hitching during data loading.
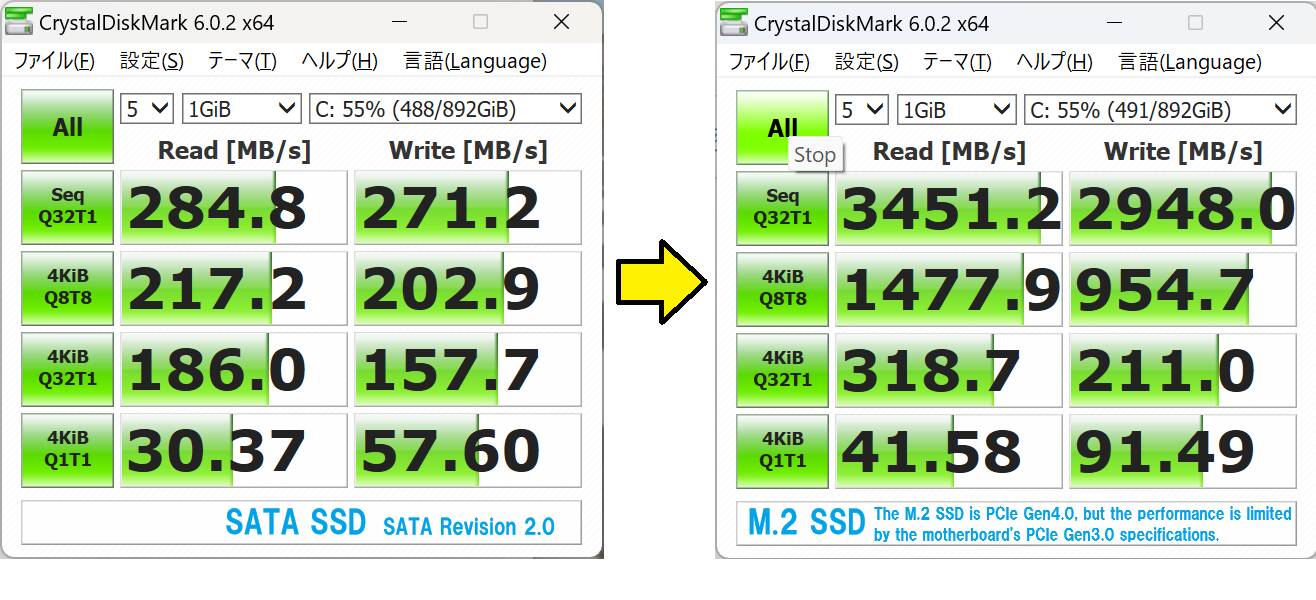
Since I felt the SSD speed was slow, I measured it using the disk benchmark tool CrystalDiskMark, and the sequential read speed was around 280 MB/s.
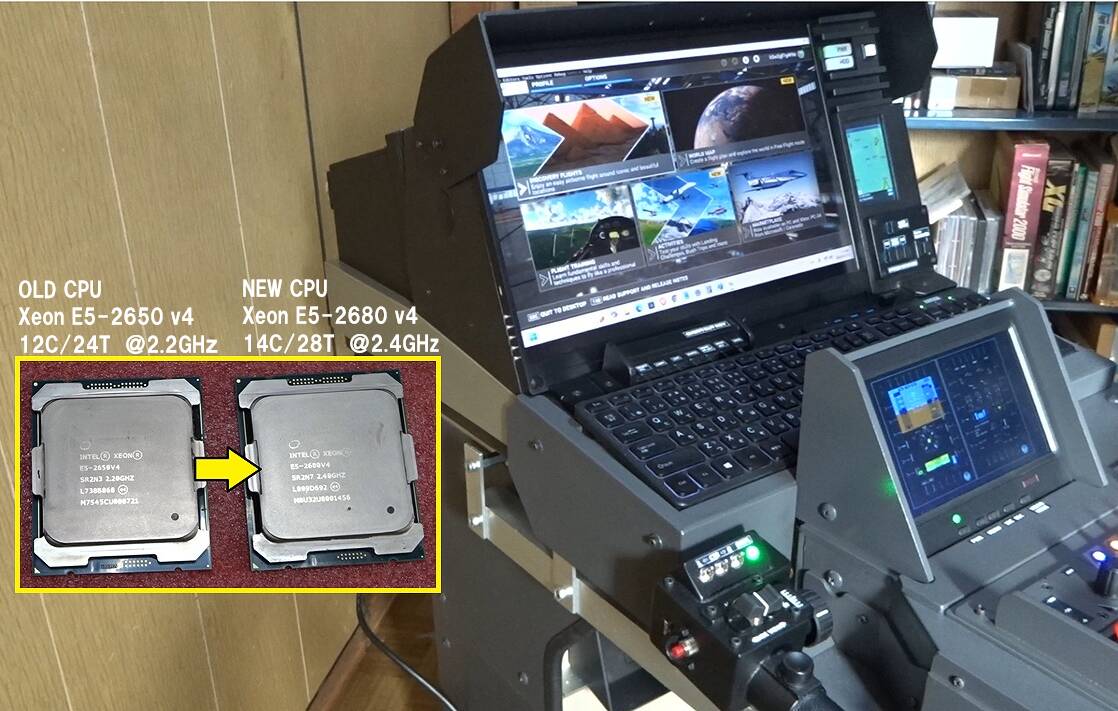
Although this seemed slow for a SATA SSD, the reason is that the specifications of the motherboard for this Intel Xeon E5-2680 v4 are old, resulting in a SATA 2.0 specification.
I decided to switch to an M.2 SSD.After moving the OS from the SATA SSD to the M.2 SSD, measuring with CrystalDiskMark showed significant improvement.
The M.2 SSD I installed this time is PCIe Gen4, but since my motherboard is only PCIe Gen3, the speeds are not as impressive as the latest M.2 SSDs.
However, compared to the original speed, I am satisfied with the better numbers achieved.
The OS startup time has improved by about 20%.
The MSFS2020 startup time has improved by 20% to 30%.
The stuttering caused by loading in complex metropolitan areas has been resolved.
*SATA Generations and Theoretical Max Transfer Speeds
Each generation of SATA has a different theoretical maximum transfer rate.
SATA Revision 1.0SATA I.5Gbps1.5 Gbps 150 MB/s
SATA Revision 2.0SATA 3.0Gbps3.0 Gbps 300 MB/s
SATA Revision 3.0SATA 6.0Gbps6.0 Gbps 600 MB/s
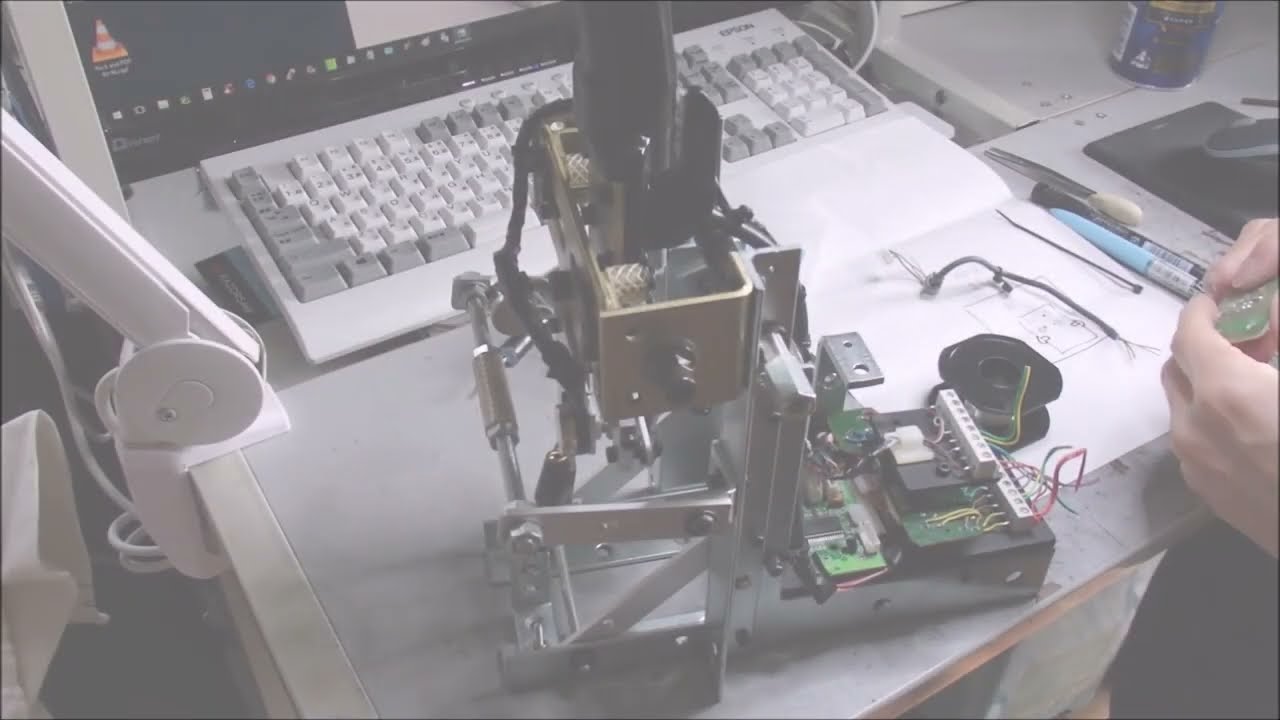
The following is a description of the video.
It seems that some recent motherboards have adopted a lever-style mechanism for securing M.2 SSDs. However, this particular motherboard uses the more conventional method of securing the drive with a small screw.
When attempting this installation without removing the motherboard from the chassis as in this case, it can be very difficult to properly fit the tiny retaining screw. I’ve tried various methods, including using tweezers, but the screw sometimes falls inside the computer case.
In such situations, I apply a tiny amount of rubber cement, such as “G17,” to the tip of the screwdriver to hold the screw in place while I work.
Only a very small amount of adhesive is needed.
As shown in the video (or as you would demonstrate), align the cross-head of the screw with the screwdriver, and while the screw is held like this, insert it into the screw hole and fasten it.
Note that a rubber-based adhesive like “G17” is suitable for this, but super glue is not appropriate.
While removing the motherboard from the case would make the job easier, this method is useful when removing the motherboard is difficult. I do not recommend this technique, but if you choose to perform it, please proceed at your own risk.


st版")