A lot of people say configuring TrackIR is a personal thing which depends on personal preferences and on screen size and distance which is true. However, I found a profile made originally for DCS that works perfectly with Flight Simulator with almost no modification needed. In combination with of one key of Custom Camera view in addition to keys for Pause and another one for Center TrackIR, I achieved an almost close experience to VR.
The core points are: 1) Good curve 2) One custom camera button 3) Center TrackIR button
Here are the details:
(1) Download the profile made by Spudknocker :
- The profile link is: https://www.digitalcombatsimulator.com/en/files/3300419/
- The YouTube video which explains his setting is https://www.youtube-nocookie.com/embed/zrC3IC6oFoI
(2) Load the profile to TrackIR and make sure to:
- Save the profile file under the profiles folder which is located under
C:\Users\ [UserName]\AppData\Roaming\NaturalPoint\TrackIR 5\Profiles. - You will find the profile name is “Hud” when you open TrackIR
- Important:
set the speed to 0.5- Note: Some people may find
0.4more natural for head movement.
- Note: Some people may find
- Important:
set the smoothness to 50 - Shortcut for centering TrackIR
- preferably using a joystick button under your thumb
- Shortcut for pausing TrackIR
- preferably with a key that can be accessed by your left hand (assuming you’re right handed). So, you can use the mouse with your other hand if you ever needed using it such as for clicking buttons on GPS)
- Optional: You may enable/disable the “Roll” axis (depending on your preferences)
(3) Configure Flight simulator settings as follows:
- Important: Unassign the key you used under TrackIR from doing anything inside Flight Simulator
- Important: Unassign the key you used under TrackIR for Pause from doing anything inside Flight Simulator
- To get closest view to VR:
- Select
Landing viewas default view. Configure it under General/Camera settings menu - Then, personally, I found the landing view is very close and a little low which also varies by airplane. So, my suggestion is to modify the landing view inside the cockpit by to be slightly back (but not to the extent to be wide view) and increase the height of the pilot a little bit. Then save it as custom camera. For example, click Ctrl+Alt+8 (#8 above the keyboard not the one in the keypad
- Note: set the exact view you like using keyboard translate keys (forward/backward) and the height using Cockpit veiw Geight increase/Decrease keys
- Select
- Optional: assign a key for Smart Camera
- Optional: assign a key to Toggle Cockpit Focus Mode (preferably a button under your thump). This is useful to focus on something inside or outside the cockpit.
- Optional: assign keys for zoom in and zoom out
- Optional: assign a key to reset cockpit view
- Optional: if you have a secondary POV stick (such as the one in Thrustmeter throttle), configure it to move the view inside the cockpit. This will be useful to make very slight modifications of views if needed.
So, now how to use it
- Click the key of the one custom view you configured before to look a little higher and back.
- Use Track IR normally to view around. Move your head naturally (no need to be slow).
If you want to look 160/170 degrees behind you, move your head a little faster.- Optional: let’s say you looked to the left and then wanted to modify your head a little to see the bottom. Instead of using your neck (and strain it), you may use the POV stick a little to the bottom.
- Then to reset to normal view either use the stick to view above a little (i.e reverse the previous action) or click the custom view camera
quickly twice(as one time will get to the default landing view and the second one will get the custom camera you set before)
- Then to reset to normal view either use the stick to view above a little (i.e reverse the previous action) or click the custom view camera
- Use the pause key whenever you want to relax or to focus on certain thing inside or outside the cockpit
- Optional: use Smart Camera key to automatically focus on nearby airport or runway.
- Optional: use focus mode key or zoom keys if needed
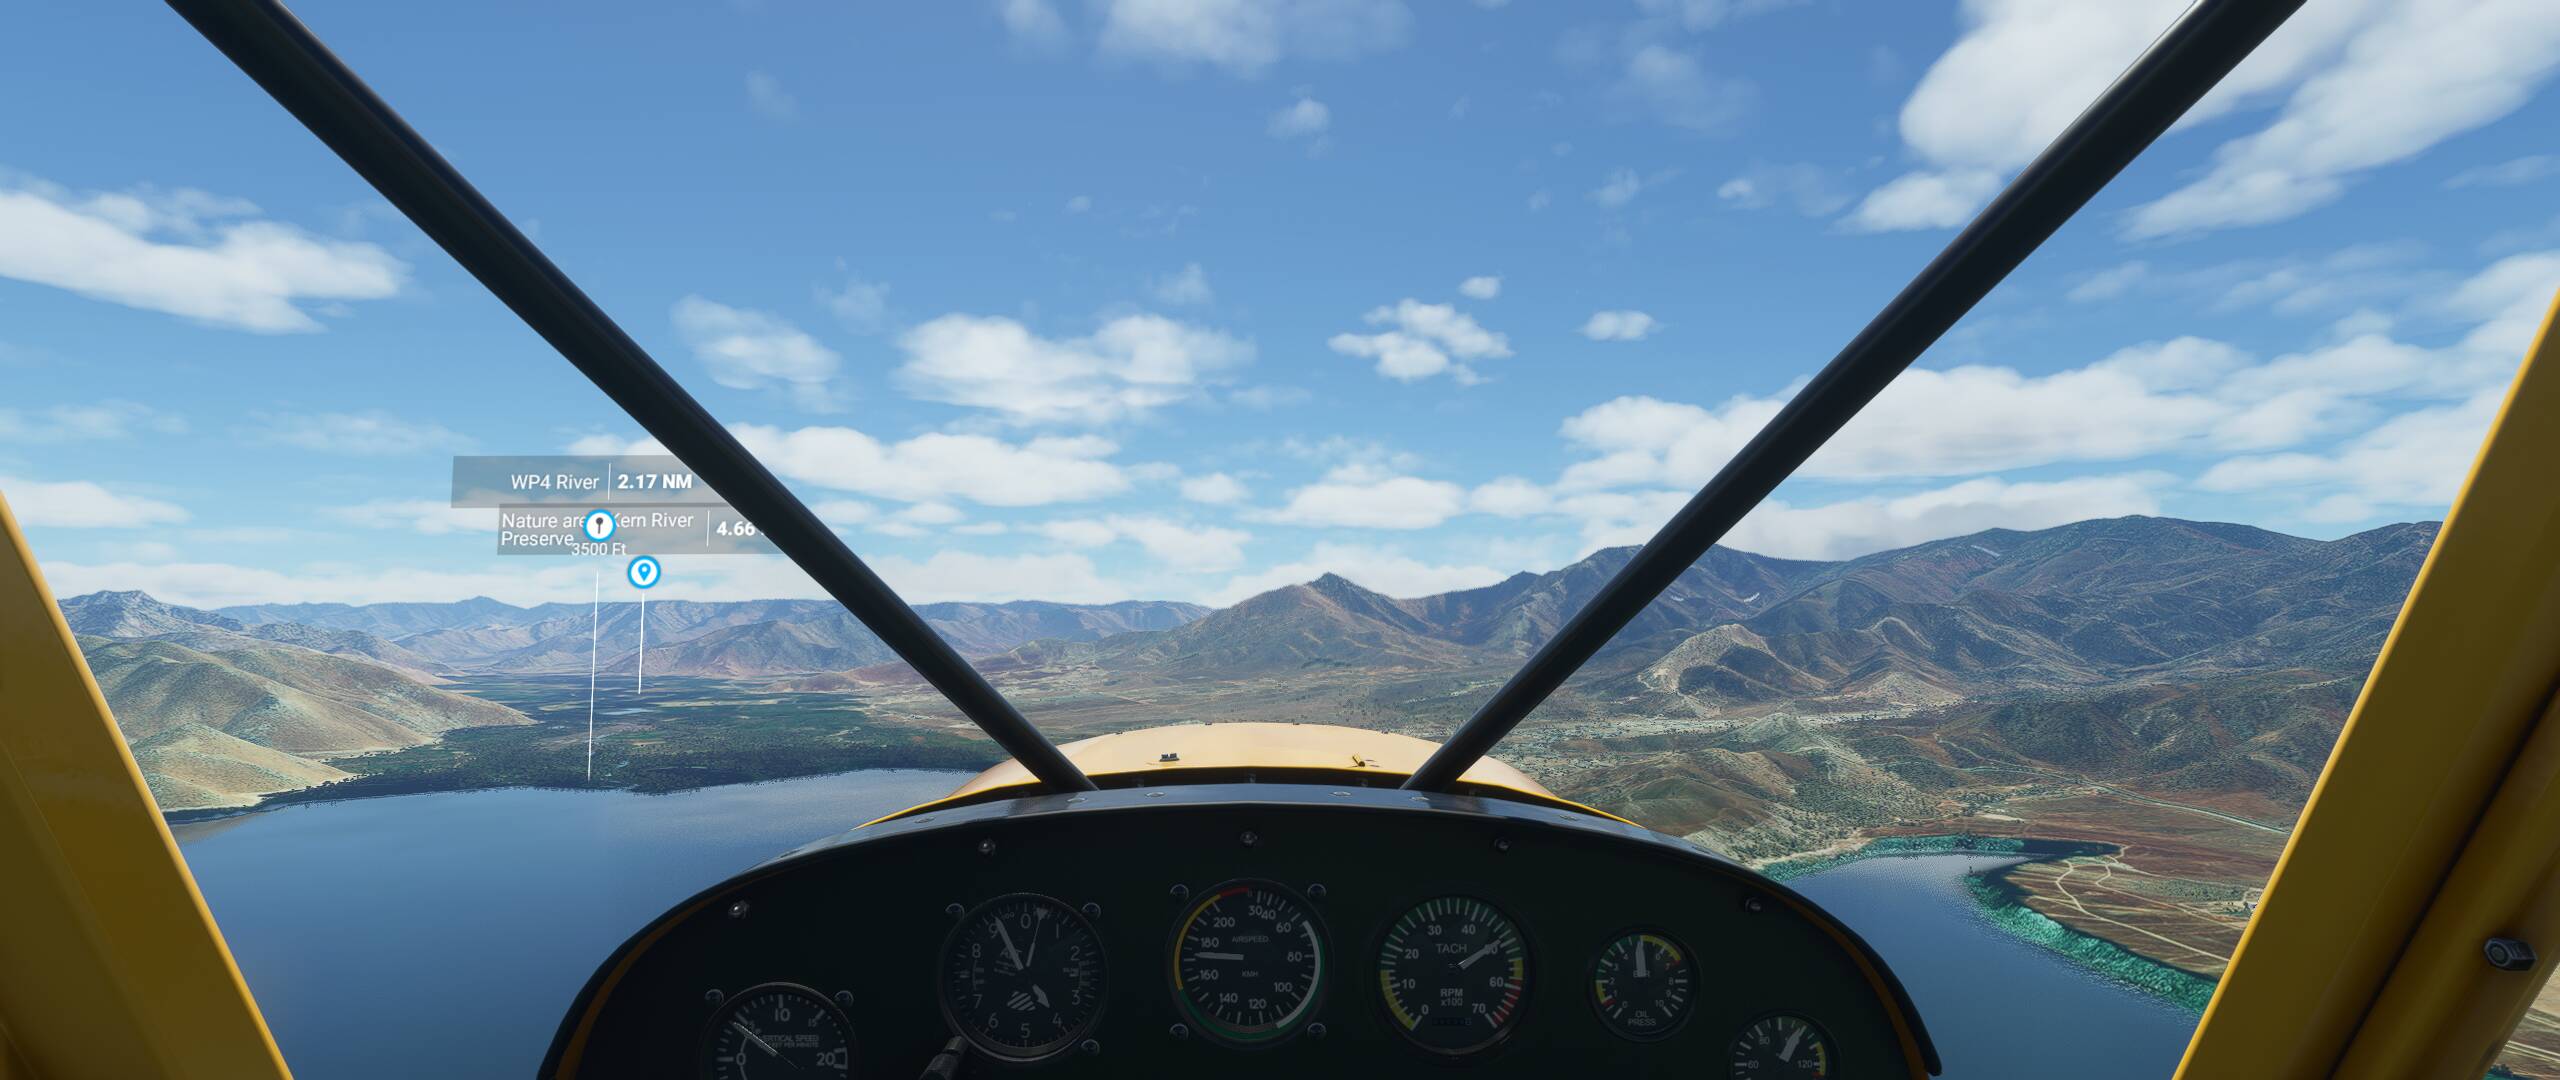
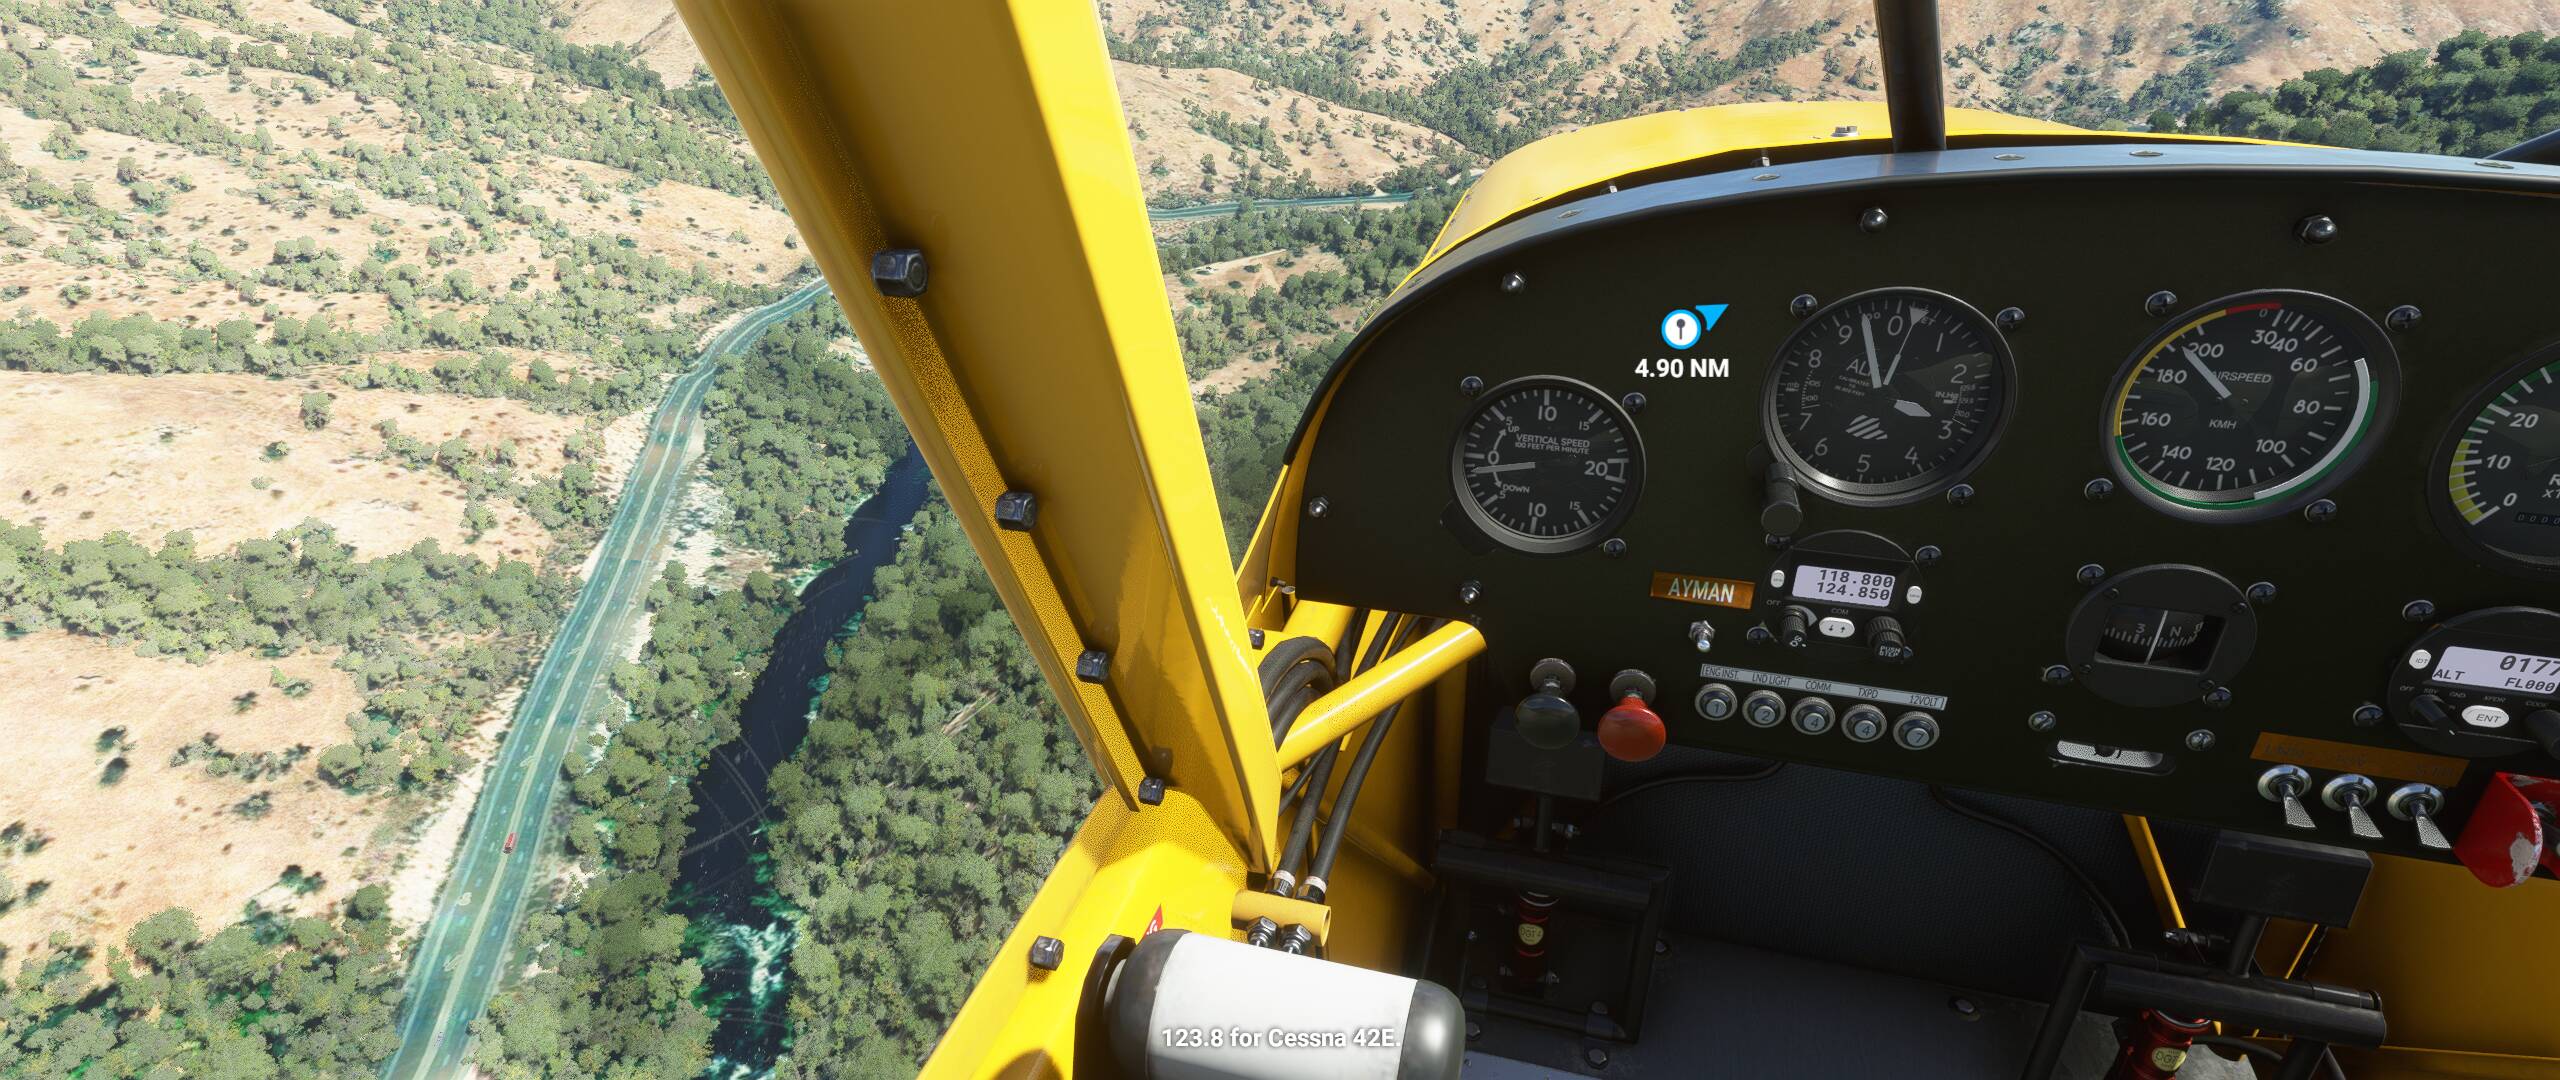
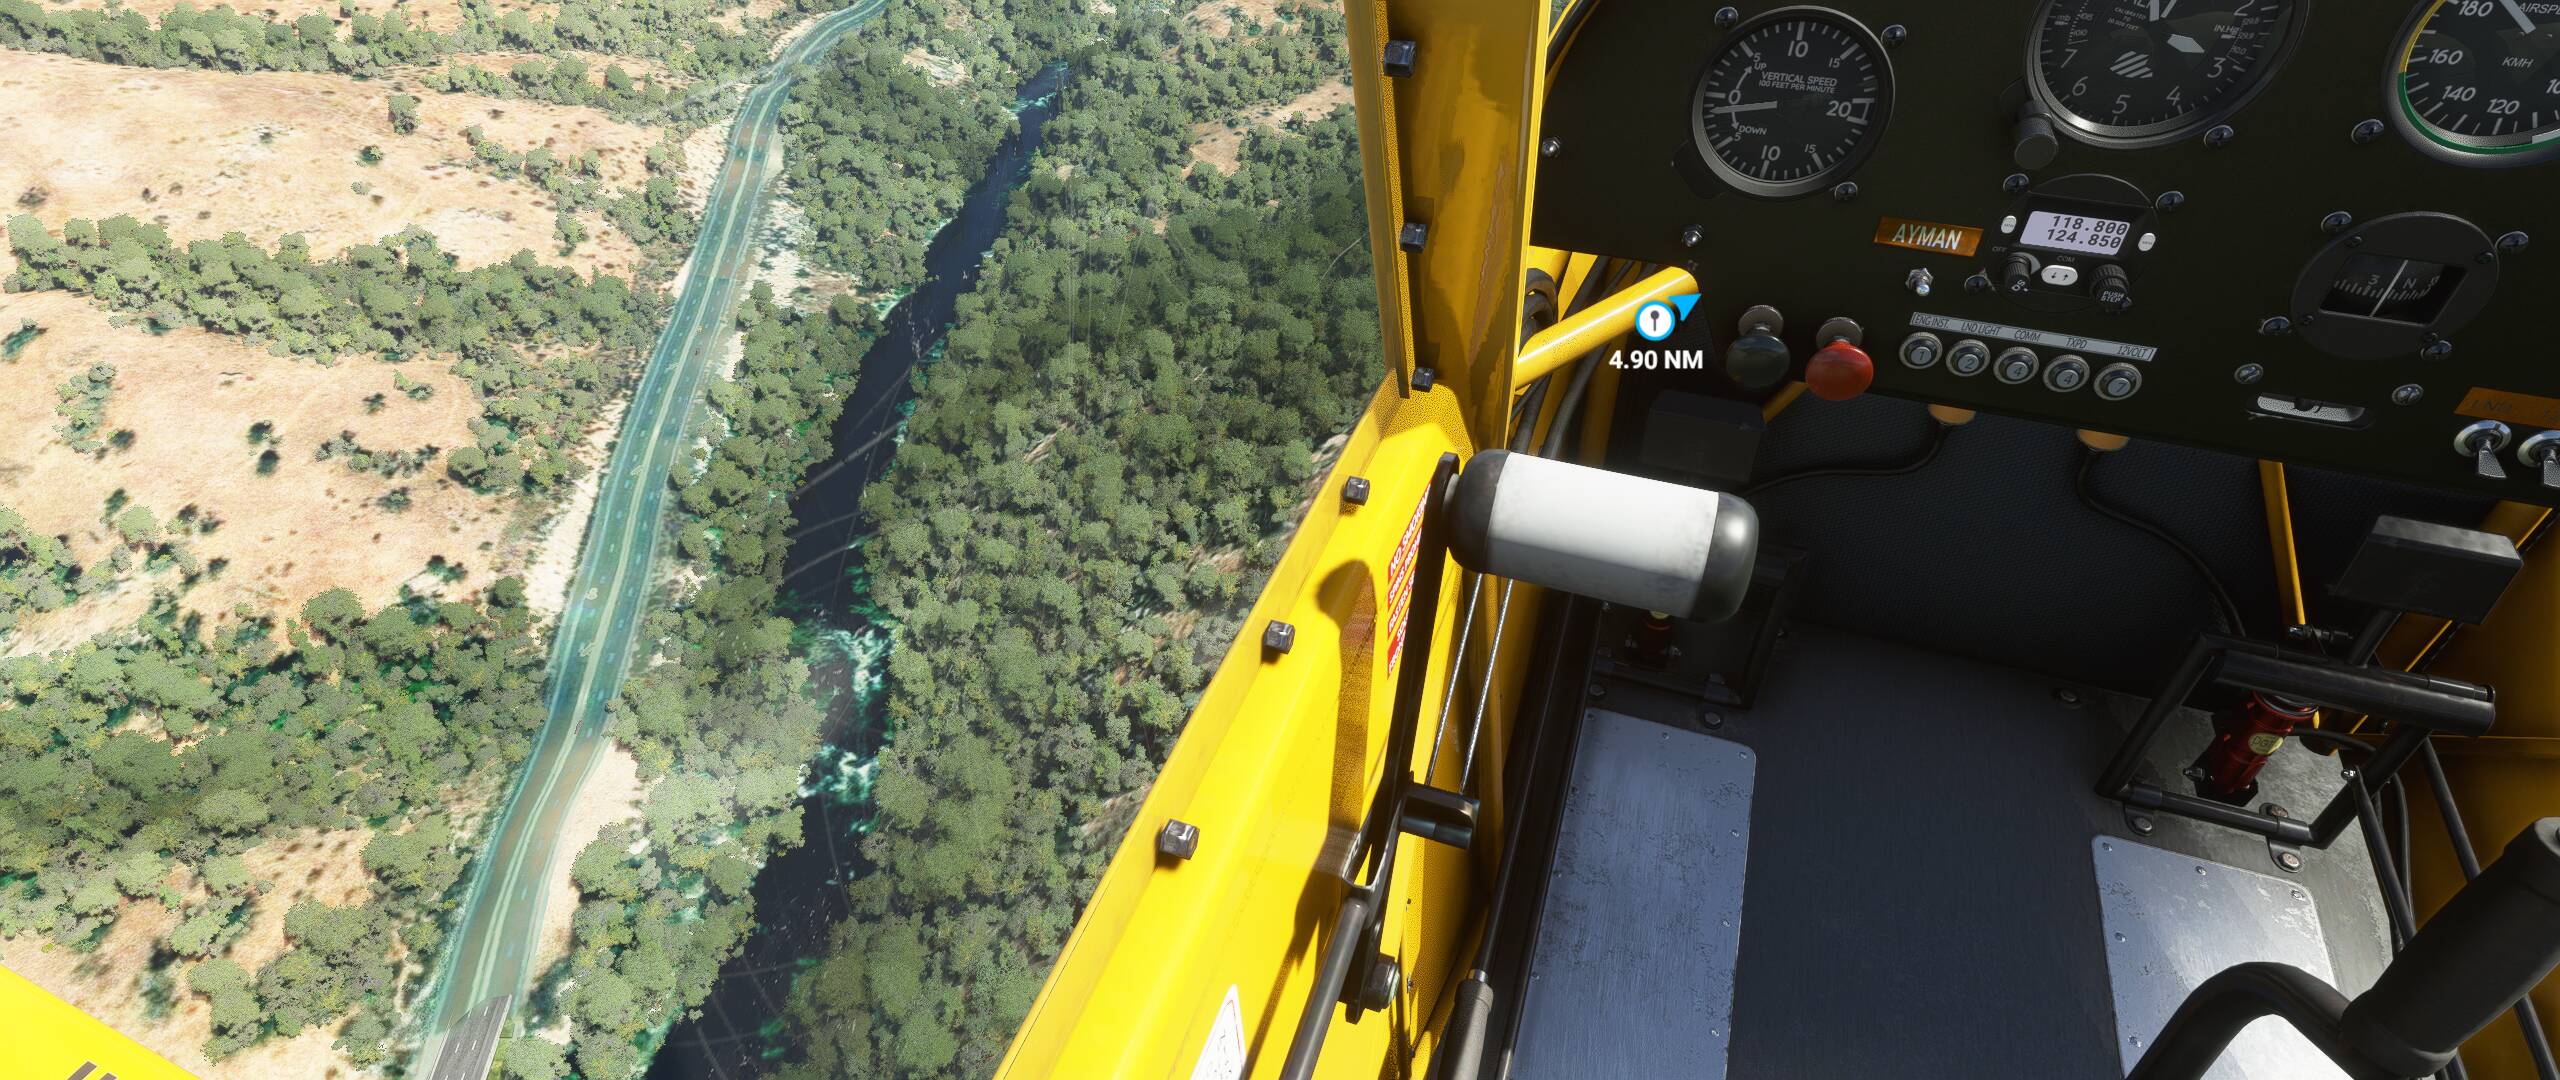
In Nevada bush trip, I had to follow a river and a runway inside a narrow valley. It’s easy and amazing in VR. Now I could do it using TrackIR without the need to be in external view. Here are some photos to illustrate it
Enjoy ![]()
Here’s the default landing view

Here is an example of custom camera (littler higher and slightly to the back). You may need configure it differently for each airplane
See the river beside road I’m following

By the way, if you interested, I made complete guide to explain how to configure custom views. You can find it here
Also, another guide about different camera modes